
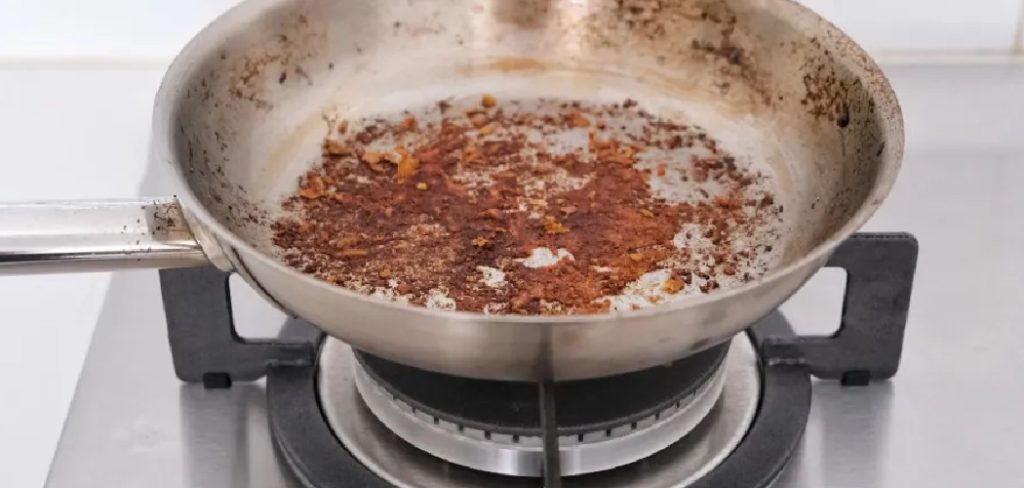
You lift the lid expecting dinner, and instead you find a dark, crusty layer welded to the bottom of a pan you actually like. Maybe the sauce reduced a little too far, or you stepped away for a phone call at exactly the wrong moment. It happens to everyone.
Stainless steel handles high heat beautifully, which is part of why cooks love it. The flip side is that one distracted minute can leave scorched food that shrugs off even determined scrubbing.
Here’s the reassuring part. Learning how to remove burnt food from stainless steel cookware is far easier than that blackened mess suggests, once you know which simple ingredients loosen the bond. This guide walks through why food burns and sticks, the everyday supplies that lift it, a clear step-by-step process, stronger methods for the worst baked-on layers, and a few habits that keep it from happening again.
Why Food Burns and Sticks to Stainless Steel
Before you start scrubbing, it helps to understand what you’re actually dealing with. The burn isn’t just bad luck. A few predictable factors tend to cause it, and knowing them makes the cleanup and the prevention far simpler.
The Role of High Heat and Hot Spots
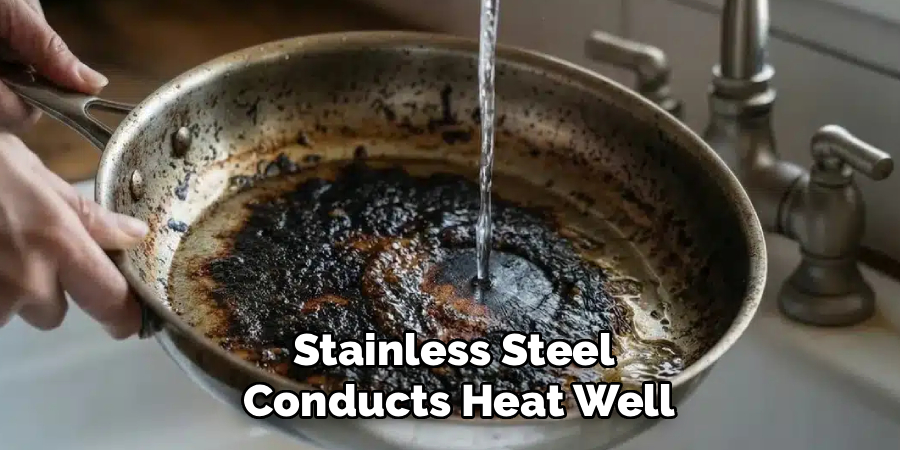
Stainless steel conducts heat well, but not always evenly. Cheaper or thinner pans can develop hot spots where the temperature spikes, and food sitting over one of those spots scorches in seconds.
Cranking the burner higher only makes this worse. High heat may feel like it speeds things up, yet it often just burns the bottom before the rest of the dish has a chance to cook.
Too Little Fat or Liquid
A dry pan is a sticky pan. Without enough oil, butter, or liquid, sugars and proteins make direct contact with bare metal and bond fast.
This is why a splash of water or a bit more oil can rescue a dish on the edge of burning. The fat or liquid creates a buffer between the food and the hot surface.
How Burnt Residue Bonds to the Surface
Once food caramelizes and then chars, it hardens into a stubborn crust. That crust grips the tiny pores and ridges in the steel, which look smooth to the eye but aren’t quite.
The result is a layer that feels almost fused in place. The good news is that this bond responds well to heat and mild chemistry, so you rarely need brute force to break it.
The takeaway: burnt food is usually a heat-and-moisture problem, and the residue clings to the surface mechanically rather than permanently.
What You Need to Lift Burnt Food
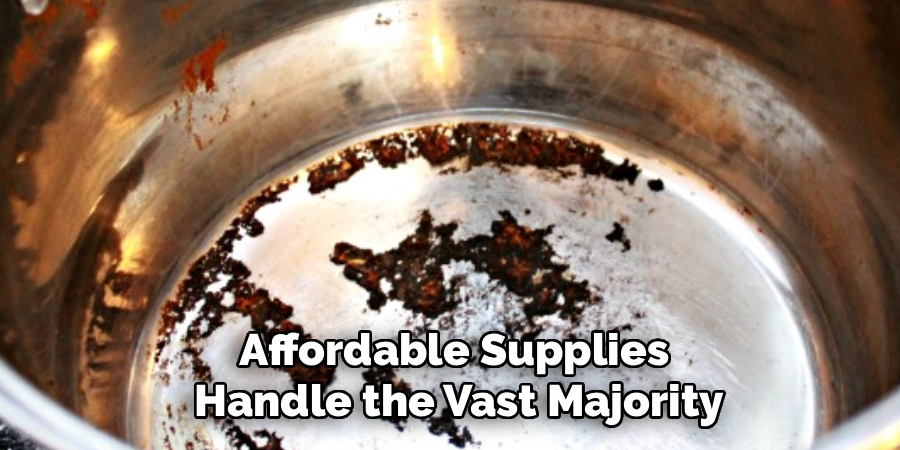
You almost certainly have everything required already. A handful of gentle, affordable supplies handle the vast majority of scorched pans without scratching the finish.
Gentle Everyday Cleaners
Baking soda is the workhorse here. It’s mildly alkaline, which helps break down burnt residue, and mildly abrasive, which helps lift it.
White vinegar dissolves stuck-on film and tackles discoloration. Dish soap rounds out the trio, cutting grease and handling the lighter cleanup. Between these three, most burnt-on messes don’t stand much of a chance.
Soft Tools That Protect the Finish
The tools matter as much as the cleaners. A wooden spoon nudges loosened crust without marking the metal, and a soft sponge handles general washing.
A nonabrasive scrub pad gives you a little extra muscle for stubborn spots. The key is keeping anything genuinely rough away from the surface, since scratches on stainless steel are permanent and tend to trap food afterward.
Specialty Helpers for Heavy Jobs
For the worst buildup, a few extras earn their place. Bar Keepers Friend, a gentle powder cleanser, cuts through heavy residue without the deep scratching that steel wool causes.
A nylon scraper reaches into corners and along the base. Cream of tartar, a quiet pantry staple, can brighten the surface while it loosens scorched deposits. None of these is strictly necessary, but they’re handy when the basics fall short.
Preparing the Pan Before You Scrub
A little prep makes the whole job faster and protects the pan from accidental harm. It’s tempting to attack the burn immediately, but these steps pay off.
Letting the Pan Cool Safely
Patience here matters more than people realize. Adding cold water to a hot pan can warp the metal base through sudden thermal shock, and a warped pan never sits flat again.
Let the pan cool before you do anything else. A warped base heats unevenly from then on, which ironically makes future burning more likely.
Scraping Away Loose Burnt Bits
Once the pan is cool, use a wooden spoon to lift off the chunks that release easily. You’re clearing the obvious debris before any soaking or boiling begins.
This isn’t deep cleaning. You’re just removing the loose material so the cleaners can reach what’s genuinely stuck.
Soaking to Soften the Residue
Before reaching for a scrub pad, give the pan a short warm soak. Fill it with warm water and a little dish soap, and let it sit for fifteen or twenty minutes.
Soaking does quite a bit of work in the background, loosening the bond between the burn and the metal. For lighter scorching, this step alone may handle most of it.
How to Remove Burnt Food From Stainless Steel Cookware: Step-by-Step Guide
Here’s the core method, built around boiling water, baking soda, and a vinegar boost. The principle running through all of it is simple: let the cleaners do the work. Patient soaking and simmering beats aggressive scrubbing nearly every time, and they’re far kinder to your pan.
Step 1: Fill the Pan With Water
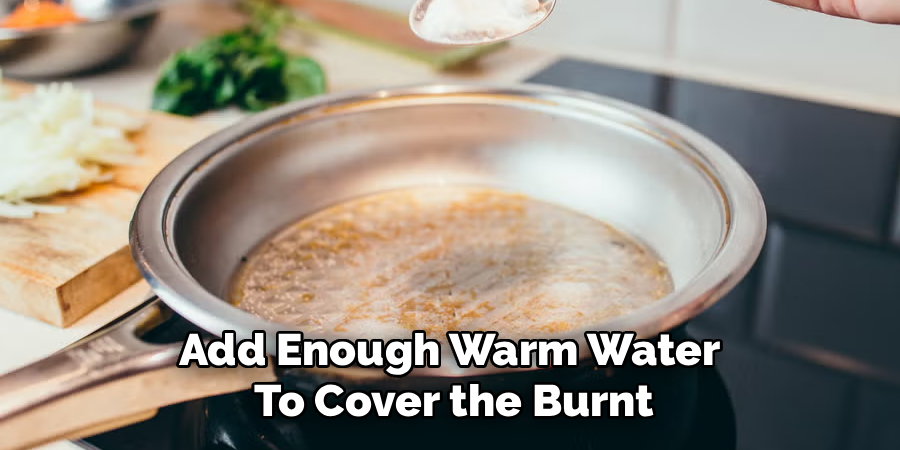
Add enough warm water to cover the burnt area completely. The whole scorched layer needs to be submerged for the method to work evenly.
Don’t worry about precise measurements. As long as the burn sits under water, you’re in good shape.
Step 2: Bring the Water to a Simmer
Set the pan over medium heat and bring the water to a gentle simmer. You’re not after a rolling boil, just steady bubbling.
The heat alone begins loosening the scorched layer, softening the bond before you add anything else. Give it a minute or two to get going.
Step 3: Add Baking Soda
Once the water is simmering, sprinkle in a few tablespoons of baking soda. Stir so it dissolves and starts working on the residue.
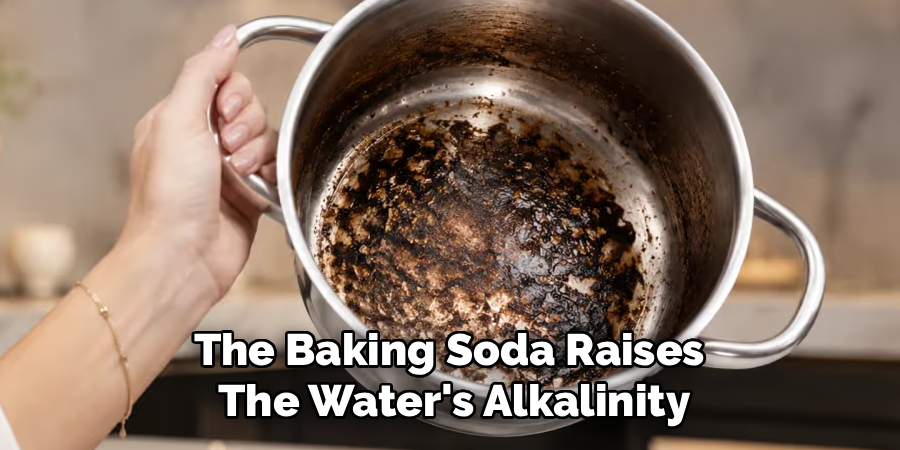
Expect a little fizzing, which is normal and harmless. The baking soda raises the water’s alkalinity, which helps break down the burnt material chemically rather than by force.
Step 4: Let It Boil and Loosen the Burn
Keep the solution simmering for several minutes. As it works, you’ll often see burnt bits begin to lift and float away on their own.
This is the part where patience pays off most. The longer the cleaners work, the less scrubbing you’ll need afterward, so resist the urge to rush ahead.
Step 5: Scrape Gently While Warm
After the simmer, the residue should be noticeably softer. Use a wooden spoon or a nylon scraper to nudge the loosened crust away while the pan is still warm.
Work gently and let the softened layer release rather than forcing it. If a section resists, that’s a sign to keep soaking, not to scrape harder.
Step 6: Pour Off and Add a Vinegar Boost
Carefully drain the pan, then add a mix of equal parts white vinegar and water. Vinegar’s acidity dissolves any remaining stuck-on film that the baking soda left behind.
Let it sit for a few minutes, or warm it gently for stubborn cases. You may notice the last traces of residue starting to lift on their own.
Step 7: Make a Baking Soda Paste for Spots
For any patches that still cling, mix baking soda with a little water into a thick paste. Spread it over the spot and rub in gentle circles with a soft sponge.
The mild abrasiveness lifts the last of the burn without scratching, as long as you keep the pressure light. Let the paste sit a minute or two on the most stubborn areas before wiping.
Step 8: Rinse, Dry, and Inspect
Once the pan looks clean, rinse it thoroughly to remove all the baking soda, vinegar, and loosened residue. Dry it right away with a soft cloth.
Then hold it to the light and check your work. A missed spot or two is normal, and you can simply repeat the targeted step rather than starting over.
The takeaway: boil with baking soda, scrape gently, finish with vinegar, and let chemistry handle the heavy lifting.
How to Tackle the Toughest Baked-On Layers
Sometimes the basic boil doesn’t fully clear a deeply scorched pan. When that happens, a few stronger approaches step in without resorting to anything harsh enough to damage the steel.
The Bar Keepers Friend Method
This gentle powder cleanser is genuinely effective on heavy buildup. Make a paste with a little water, apply it to the burnt area, and rub softly along the surface.
It cuts through stubborn residue without the deep scratching that steel wool leaves behind. Rinse thoroughly afterward, since you don’t want any cleanser lingering on the cooking surface.
The Overnight Baking Soda Soak
For a pan that’s badly neglected, time can do the work for you. Fill it with a strong baking soda solution and let it soak overnight.
By morning, the residue has often softened enough to wipe away with little effort. It’s the lazy approach, and on the worst burns it may be the most effective one.
The Cream of Tartar Boost
Cream of tartar is an underrated option hiding in many spice racks. Mixed with a little water into a paste, it loosens burnt deposits while brightening the surrounding steel.
It’s particularly handy when scorching has left both stuck-on food and dullness behind. A gentle rub usually addresses both at once.
Removing Scorch Marks and Discoloration
Getting the burnt food off is one thing. Restoring the pan’s appearance afterward is another, and a few quick steps bring back the shine.
Lifting Dark Heat Stains
Sometimes a faint dark stain lingers where the burn was. Wipe the area with a cloth dampened in white vinegar to help fade it.
The acid lifts much of the residual discoloration. Stubborn stains may need a second pass, but they rarely require hard scrubbing.
Fixing Rainbow Heat Tint
That bluish, rainbow sheen on the inside of the pan often appears alongside burning, and it tends to alarm people. It’s harmless heat tint, not damage.
A light vinegar rinse usually clears it right up. There’s no need to scrub, since the acid does the lifting for you.
Polishing the Surface Back to Shine
For a final touch, a stainless steel cleaner or polish restores the luster. Apply it sparingly and buff along the grain, those fine brushed lines on the surface.
Working with the grain rather than across it leaves a smoother, more even finish. This is the step that makes a rescued pan look genuinely cared for again.
Common Mistakes to Avoid
A few habits quietly damage cookware or make the job harder than it needs to be. Steering clear of them saves both your patience and your effort.
Reaching for Steel Wool Too Soon
It’s the instinct almost everyone has, and the costliest one. Steel wool and abrasive pads permanently scratch and dull the surface.
Those scratches never go away, and they trap food more easily afterward. A baking soda paste or a powder cleanser handles tough buildup without causing harm.
Shocking a Hot Pan With Cold Water
Pouring cold water into a hot pan to cool it quickly feels efficient, but it risks warping the base. The sudden temperature swing stresses the metal.
A warped pan rocks on the burner and heats unevenly from then on. Letting it cool first avoids the whole problem.
Scrubbing Before Soaking
Diving straight into hard scrubbing is the most common way people exhaust themselves for little reward. A burn that’s been soaked or simmered comes off with a fraction of the effort.
Patience genuinely beats elbow grease here. Give the cleaners time, and the scrubbing becomes almost an afterthought.
How to Prevent Burnt Food Next Time
Cleaning is satisfying, but avoiding the burn altogether is better still. A few simple habits at the stove make scorched pans a rare event.
Preheating and Managing the Heat
A lot of burning traces back to heat that’s simply too high. Moderate, even heat cooks food properly while sparing the bottom from scorching.
Stainless steel transfers heat efficiently, so you often need less than you’d think. Preheating gently and then easing off the dial protects both your food and your pan.
Using Enough Oil or Liquid
A proper layer of fat or liquid keeps food from bonding directly to the metal. It acts as a buffer, giving food something to cook in rather than weld onto.
When a dish starts looking dry, a splash of liquid or a bit more oil can head off a burn before it begins. Don’t be stingy at the critical moments.
Stirring and Watching the Pan
Many burns happen in the few minutes a cook steps away. Regular stirring keeps food moving, so no single spot sits over the heat too long.
Staying nearby matters just as much. A glance and a stir now and then prevent hot spots from quietly charring whatever’s on the bottom.
Frequently Asked Questions
A few questions come up again and again. Here are short, honest answers.
Will Burnt Food Ruin My Stainless Steel Pan?
Rarely. Most scorch marks can be completely cleaned off with the methods above, leaving no lasting damage to the metal underneath.
The pan is tougher than the burn suggests. Even severe-looking char usually lifts with a boil-and-soak, so don’t write off a pan too quickly.
Can I Use Oven Cleaner on Burnt Cookware?
It’s best avoided. Oven cleaners are harsh and can damage or dull the finish, and they’re more than the job requires.
Gentle pantry methods like baking soda and vinegar are safer and nearly always effective. There’s rarely a reason to reach for something so aggressive.
Why Does Food Keep Burning in the Same Pan?
Recurring burns usually point to heat that’s too high or a pan with hot spots. Improper preheating can play a role, too.
Try cooking at a lower, steadier temperature and preheating the pan before adding food. If one specific pan burns constantly, an uneven or thin base may be the culprit.
Conclusion
For all the dread a blackened pan can inspire, learning how to remove burnt food from stainless steel cookware really comes down to a handful of easy moves with ingredients already in your kitchen. Understand why food burns, gather a few gentle cleaners, soak and simmer with baking soda, lift the last residue with a vinegar boost, treat stubborn spots with a paste, and always rinse and dry for shine.
The single most important lesson is that letting the cleaners do the work protects your pan far better than hard scrubbing ever could. Heat and mild chemistry break the bond, so you don’t have to.
So the next time a pan ends up scorched, try the boil-and-soak method before you reach for anything abrasive. Pair that with smarter heat habits at the stove, and your cookware can stay bright, smooth, and ready to use for years to come.

About
Stuart Rich is a distinguished figure in the world of metalworking and fabrication, with a decade of expertise creating innovative and sustainable metal projects. His professional focus lies in merging traditional blacksmithing and machining with modern manufacturing techniques, fostering designs that are both practical and durable. As the author of Metalenify, Stuart Rich delves into the art and science of metallurgy and DIY metal creation, inspiring artisans, hobbyists, and industry professionals alike.
Education
RMIT University
(Melbourne, Australia)
Associate Degree in Engineering Technology (Mechanical / Manufacturing)
Focus on metallurgical properties, industry-driven projects, and practical metal craftsmanship. Gained hands-on experience with traditional machining and digital manufacturing tools, such as CAD, CNC software, and precision welding equipment.
Nottingham Trent University
(United Kingdom)
Bachelor’s in Product Design and Materials Engineering (Honors)
Specialized in product design with a heavy focus on blending creativity with metal production and fabrication techniques. Participated in real-world industry projects, collaborating with architectural and hardware manufacturing companies to optimize material efficiency.
Publications and Impact
In Metalenify, Stuart Rich shares his insights on structural metal design processes, material grades, and strategies for efficient shop production. His writing bridges the gap between raw artisan knowledge and modern industrial needs, making it a must-read for both budding DIY metalworkers and seasoned fabrication professionals.





