
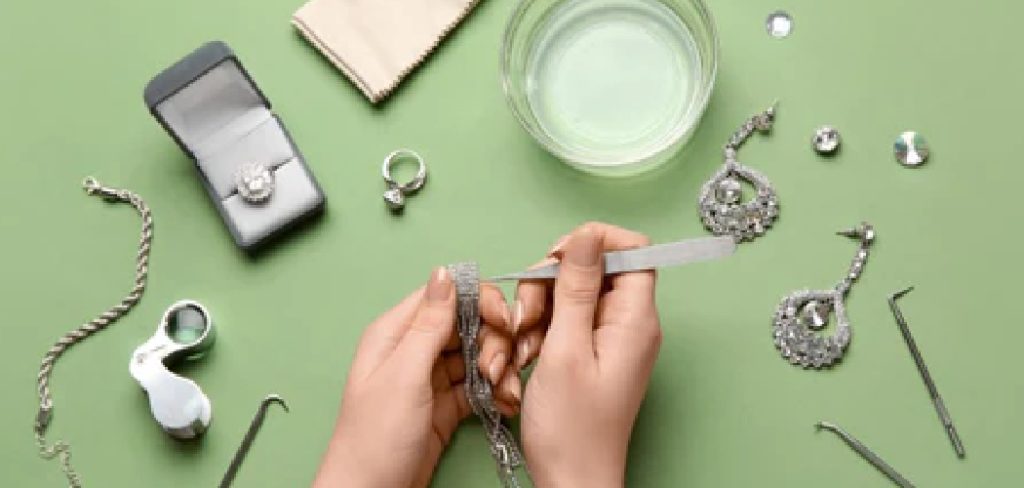
Have you ever pulled your favorite silver ring or spoon out of storage only to find a strange pinkish stain spreading across it? That rosy discoloration can feel alarming, but the good news is that it’s both common and fixable. Pink tarnish usually forms when silver reacts with sulfur, moisture, or certain cleaning chemicals, leaving behind a faint copper-toned film. Knowing how to remove pink tarnish from silver gives you the confidence to restore shine without damaging your precious pieces.
This guide is built for all skill levels, whether you’re cleaning an heirloom necklace for the first time or you’ve polished silver for years. We’ll walk through what causes pink tarnish, why it matters, and a clear seven-step method you can follow at home. Every tip uses safe, accessible materials you likely already own. By the end, you’ll have the know-how to keep your silver bright, protected, and ready to enjoy for years to come. Let’s get your shine back together.
Why Removing Pink Tarnish From Silver Matters
Pink tarnish isn’t just a cosmetic nuisance. Left untreated, it can deepen into darker stains that become harder to lift and may eventually pit the metal’s surface. Acting early protects both the appearance and the long-term value of your silver, especially for antiques or sentimental keepsakes.
There’s also a practical payoff. Clean silver reflects light beautifully, photographs better, and feels far more pleasant to wear or display. Regular care reduces the risk of permanent damage, saving you costly professional restoration down the road. For collectors and everyday owners alike, staying on top of tarnish means your pieces stay in top condition. Think of it as a small, steady habit that pays off in lasting beauty and confidence.
Step-by-Step Guide To How to Remove Pink Tarnish From Silver
Step 1: Gather Your Supplies
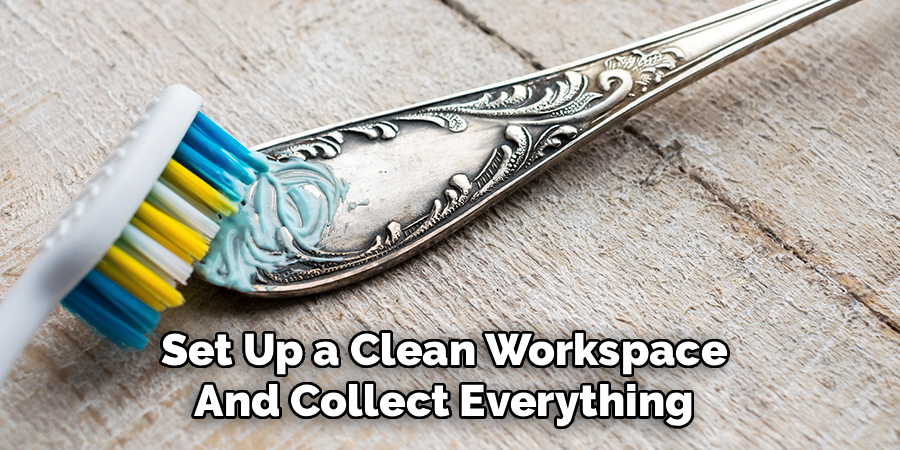
Before you begin, set up a clean workspace and collect everything you’ll need. A soft microfiber cloth, warm water, mild dish soap, baking soda, aluminum foil, and a non-abrasive silver polish form your core toolkit. Keep cotton swabs handy for detailed areas like engravings or clasps.
Having your materials ready prevents interruptions and keeps the process smooth. Avoid paper towels or rough sponges, since these can scratch the soft metal. If you’re working on jewelry with gemstones, check whether the stones tolerate water first. Learning how to remove pink tarnish from silver starts with the right preparation, and a tidy setup makes every following step easier and far less stressful.
Step 2: Inspect The Affected Area
Take a moment to examine your silver closely under good lighting. Identify where the pink discoloration sits and how widespread it is. Light, surface-level tarnish responds quickly to gentle cleaning, while deeper or older staining may need a longer soak or a second pass.
Look for any other issues too, such as scratches, loose stones, or weak solder joints. Spotting these early helps you choose the gentlest effective method and avoid accidental damage. If a piece feels especially fragile or valuable, this is the moment to decide whether professional help makes more sense. A careful inspection now sets realistic expectations and guides every choice you make through the rest of the cleaning process.
Step 3: Wash With Warm Soapy Water
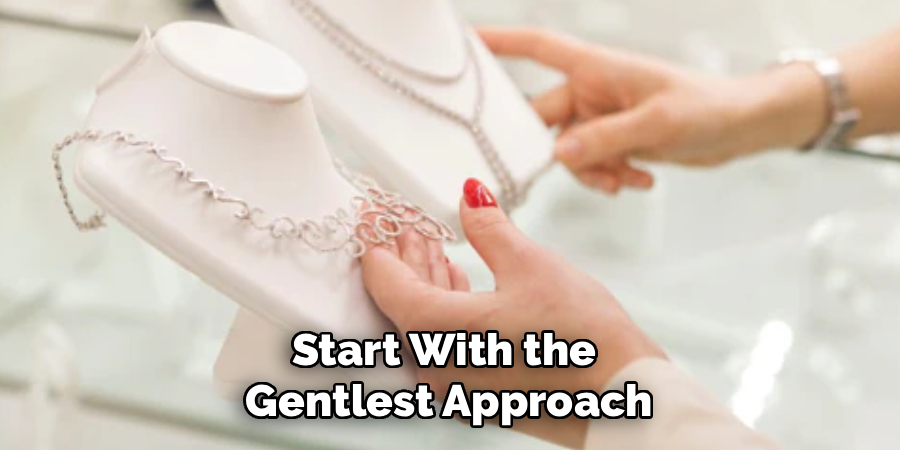
Start with the gentlest approach. Fill a bowl with warm water and add a few drops of mild dish soap. Submerge the silver, or dampen your cloth if soaking isn’t suitable, and wipe gently in soft circular motions. This first wash lifts surface grime, oils, and loose tarnish before you move to stronger methods.
Many people are surprised how much a simple soapy clean accomplishes. Use a cotton swab to reach crevices, then rinse thoroughly with clean water to remove all soap residue. Dry the piece completely with a soft cloth. If pink tarnish remains after this step, don’t worry. You’ll move on to a deeper treatment next, building gently from mild to stronger.
Step 4: Try The Baking Soda And Foil Method
For tarnish that resists soap, this gentle chemical reaction works wonders. Line a bowl with aluminum foil, shiny side up, then add hot water and a tablespoon of baking soda. Place your silver so it touches the foil, and watch as the reaction transfers tarnish away from the metal within a few minutes.
This method suits solid silver items without delicate stones or porous inlays. Leave smaller pieces for two to three minutes and check progress often. The science here is simple: the foil and baking soda pull discoloration off the silver naturally. Once finished, remove the piece, rinse it well, and dry thoroughly before deciding whether further polishing is needed.
Step 5: Apply A Gentle Silver Polish
If a faint pink film lingers, reach for a non-abrasive silver polish. Apply a small amount to a clean microfiber cloth and rub gently along the grain of the metal, never in harsh back-and-forth scrubbing. This step targets stubborn spots and restores that mirror-like glow you’re after.
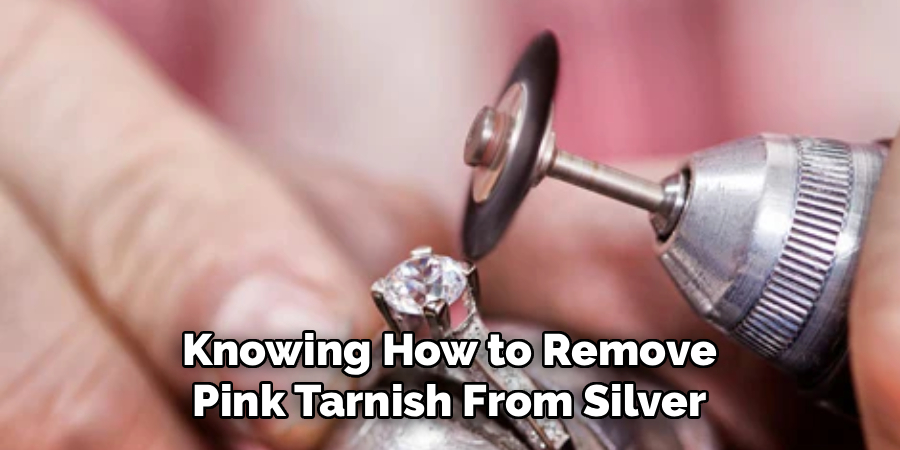
Knowing how to remove pink tarnish from silver effectively often comes down to patience here. Work in small sections, reapplying polish as needed and wiping away residue as you go. Avoid over-polishing antique pieces, since their patina can add character and value. Always read the polish label to confirm it’s safe for your specific item, and test on a hidden area first whenever you’re unsure.
Step 6: Rinse And Dry Thoroughly
Once the tarnish lifts, rinsing matters more than people realize. Leftover polish or baking soda can dull the surface or cause new spotting over time. Rinse the silver under clean, lukewarm water, making sure to reach every groove, crevice, and detailed engraving where residue likes to hide.
Drying is just as important. Use a fresh, soft cloth and pat the piece completely dry, since air-drying often leaves water marks on shiny metal. Take your time with intricate designs and clasps. A thoroughly dried piece resists fresh tarnish far better than a damp one. This simple finishing habit protects all your hard work and keeps your silver looking polished and professional.
Step 7: Buff And Protect
The final step seals in your results. Use a clean, dry microfiber cloth to buff the silver with light, even strokes until it gleams. This removes any last traces of cloudiness and brings out the metal’s natural brilliance. Take pride in the transformation you’ve achieved.
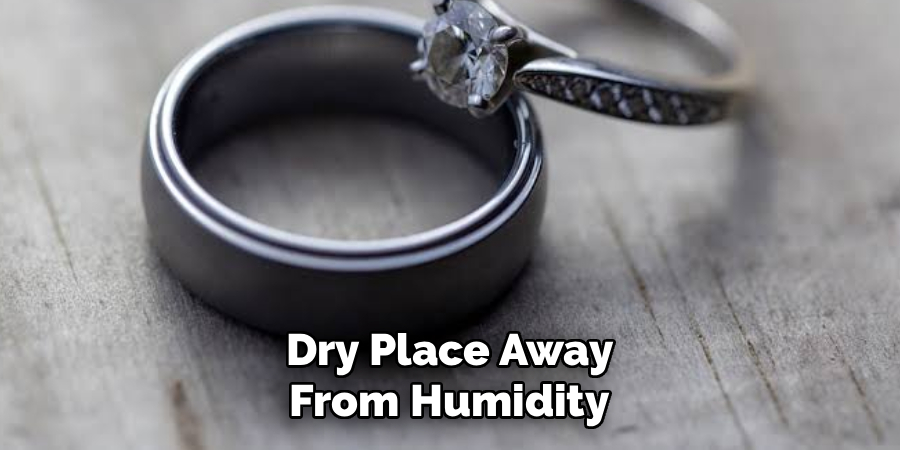
To keep tarnish from returning, store your silver in a cool, dry place away from humidity. Anti-tarnish strips or soft pouches add extra protection, and sealed bags slow future discoloration. Handle pieces with clean hands, since skin oils speed up tarnishing. With this protective routine in place, you’ll spend far less time cleaning and far more time enjoying your beautifully restored silver.
Frequently Asked Questions
What Causes Pink Tarnish On Silver?
Pink tarnish forms when silver reacts with sulfur, moisture, or harsh cleaning chemicals, often exposing copper present in sterling silver alloys. Bleach, certain detergents, and high humidity are common triggers. The rosy tone signals an early chemical change on the surface. Catching it quickly makes cleaning easier and helps prevent deeper, more stubborn staining from developing over time.
Is Pink Tarnish Harmful To Silver Permanently?
Pink tarnish is usually a surface issue and rarely causes permanent harm when treated early. However, if left for long periods, it can darken and potentially lead to pitting or etching on the metal. Acting promptly with gentle cleaning methods almost always restores the original shine. For valuable antiques, consulting a professional ensures the safest possible outcome and protects long-term value.
Can I Use Toothpaste To Clean Silver?
While toothpaste is a popular home remedy, it’s often too abrasive and can leave tiny scratches on soft silver. These scratches dull the surface and attract dirt faster over time. We recommend safer options like mild dish soap, the baking soda and foil method, or a dedicated non-abrasive silver polish. These approaches clean effectively while protecting your piece’s finish and value.
How Often Should I Clean My Silver?
It depends on how you use and store each piece. Jewelry worn regularly may need a gentle wipe every few weeks, while displayed items can go longer between cleanings. The key is consistency. Light, frequent care prevents tarnish from building up and becoming difficult to remove. Proper storage in dry, sealed conditions also stretches the time between deeper cleaning sessions considerably.
Will These Methods Work On Silver-Plated Items?
Yes, but extra caution is essential. Silver-plated items have a thin silver layer over a base metal, so abrasive polishes or aggressive scrubbing can wear it away. Stick to mild soapy water and gentle buffing for these pieces. Avoid the foil method on heavily worn plating, and always test a hidden spot first to confirm the surface responds safely.
Conclusion
Restoring silver to its former glow doesn’t require expensive products or professional skills, just the right approach and a little patience. We’ve covered what causes that telltale rosy stain, why early action protects your treasured pieces, and a clear seven-step routine you can follow with confidence. From a simple soapy wash to the satisfying baking soda and foil trick, each method builds gently toward a brilliant finish.
The real secret to how to remove pink tarnish from silver is consistency paired with gentle, informed care. Start with the mildest method, work up only as needed, and always rinse, dry, and store your pieces properly. Now it’s your turn to put these steps into practice. Grab a tarnished item, gather your supplies, and enjoy watching your silver shine like new again.

About
Stuart Rich is a distinguished figure in the world of metalworking and fabrication, with a decade of expertise creating innovative and sustainable metal projects. His professional focus lies in merging traditional blacksmithing and machining with modern manufacturing techniques, fostering designs that are both practical and durable. As the author of Metalenify, Stuart Rich delves into the art and science of metallurgy and DIY metal creation, inspiring artisans, hobbyists, and industry professionals alike.
Education
RMIT University
(Melbourne, Australia)
Associate Degree in Engineering Technology (Mechanical / Manufacturing)
Focus on metallurgical properties, industry-driven projects, and practical metal craftsmanship. Gained hands-on experience with traditional machining and digital manufacturing tools, such as CAD, CNC software, and precision welding equipment.
Nottingham Trent University
(United Kingdom)
Bachelor’s in Product Design and Materials Engineering (Honors)
Specialized in product design with a heavy focus on blending creativity with metal production and fabrication techniques. Participated in real-world industry projects, collaborating with architectural and hardware manufacturing companies to optimize material efficiency.
Publications and Impact
In Metalenify, Stuart Rich shares his insights on structural metal design processes, material grades, and strategies for efficient shop production. His writing bridges the gap between raw artisan knowledge and modern industrial needs, making it a must-read for both budding DIY metalworkers and seasoned fabrication professionals.





