
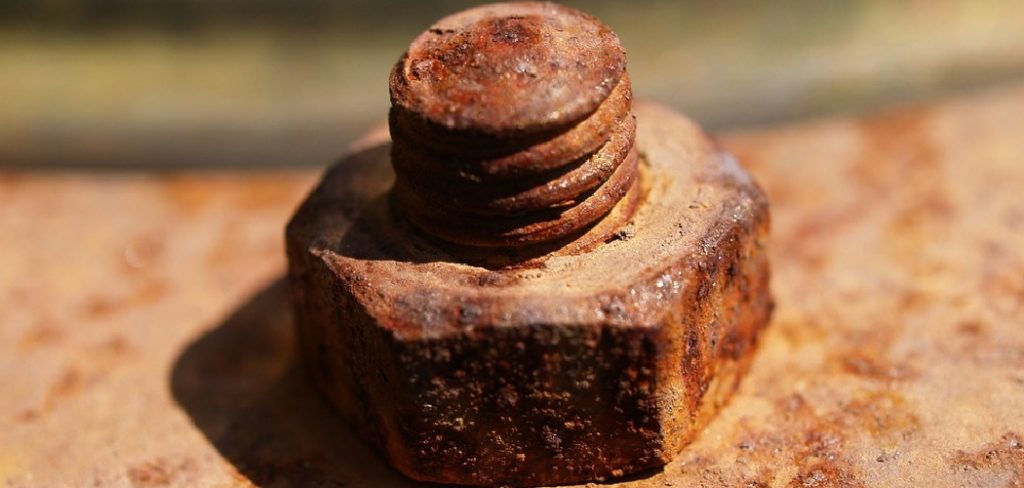
A rusty, stuck nut can stop any project in its tracks, and few things feel more frustrating than a fastener that simply refuses to budge. Whether you’re fixing a bike, repairing a car, or working on outdoor furniture, learning how to remove seized nut from bolt is a skill that saves you time, money, and a whole lot of stress. The good news is that you don’t need to be a professional mechanic to get the job done.
In this beginner-friendly guide, you’ll discover the proven methods experts rely on to free even the most stubborn fasteners. We’ll walk through each step clearly, explain why a nut seizes in the first place, and answer the questions people ask most often. By the end, you’ll feel confident tackling rusted bolts on your own, with the right tools and the right approach. No prior experience is needed, and every step is written so anyone can follow along. Let’s get that stuck nut moving again.
Why Removing A Seized Nut From A Bolt Matters
A seized nut isn’t just an annoyance; it can bring an entire repair to a complete halt. When you can’t loosen a fastener, you risk damaging the surrounding parts, stripping the threads, or even snapping the bolt entirely.
Knowing the correct removal technique protects your equipment and keeps your project on schedule. It also saves money, because forcing the issue often leads to costly replacement parts or a trip to the repair shop. Beyond the practical savings, mastering this skill builds real confidence. You learn to read the situation, choose the right tool, and apply pressure safely instead of guessing. Whether you handle home repairs occasionally or work with machinery often, this knowledge empowers you to solve problems independently and avoid bigger headaches down the road.
Step-by-Step Guide To How to Remove Seized Nut From Bolt
Step 1: Inspect The Nut And Bolt Carefully
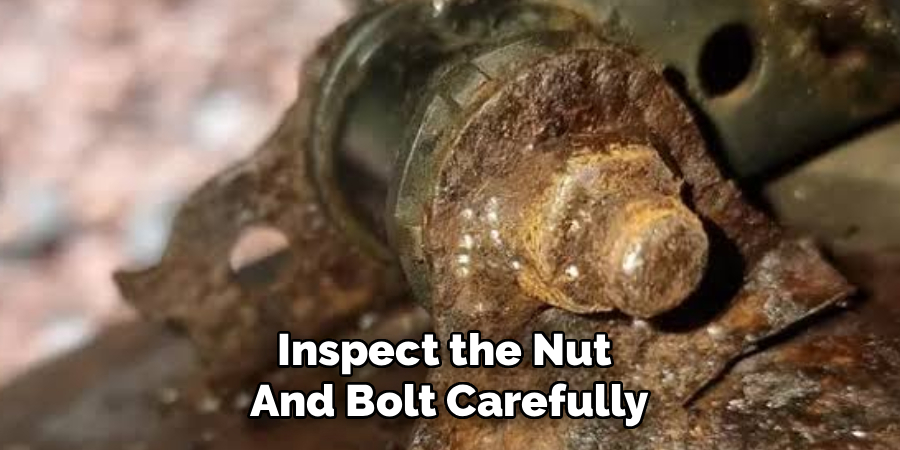
Before you reach for any tool, take a moment to study the fastener. Look closely at how much rust has built up, whether the threads are visible, and if the surrounding metal shows any damage.
This quick inspection tells you what you’re dealing with and helps you choose the safest approach. If you spot heavy corrosion, you’ll likely need a penetrating oil and some patience. Clean away loose dirt and debris with a wire brush so you can see the threads clearly. A clean starting point gives you better grip later and reduces the chance of slipping. Taking ten seconds now prevents bigger mistakes once you start applying real force.
Step 2: Apply A Quality Penetrating Oil
Penetrating oil is your best friend when dealing with rust. Spray a generous amount directly onto the seized nut and the exposed threads, then let it soak. This thin liquid works its way into the tiny gaps between the nut and bolt, breaking down the rust that locks them together.
Patience pays off here. Give the oil at least fifteen minutes to penetrate, and for badly rusted fasteners, leave it for several hours or even overnight. Reapply a second coat halfway through for stubborn cases. Tap the nut gently with a hammer to help the oil travel deeper into the threads. This simple step often makes the difference between an easy removal and a snapped bolt.
Step 3: Choose The Right Wrench Or Socket
Using the correct tool is essential when you want to know how to remove seized nut from bolt without rounding off the corners. Reach for a six-point socket or box-end wrench rather than an adjustable spanner, because these grip all sides of the nut evenly.
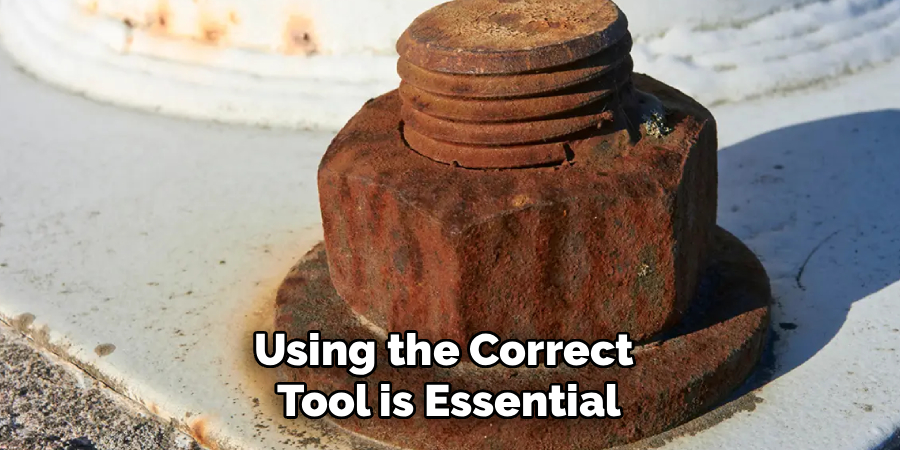
A snug fit spreads the force across the entire fastener, which prevents slipping and protects the edges from getting stripped. If the nut is already slightly rounded, a quality gripping tool or locking pliers can give you the bite you need. Make sure your wrench is the exact size; a tool that’s even slightly too large will damage the nut and make the job far harder than it needs to be.
Step 4: Apply Steady, Controlled Pressure
With the right tool in place, it’s time to apply force, but do it the smart way. Turn the wrench counterclockwise in a slow, steady motion rather than jerking it suddenly. Sudden movements can snap the bolt or cause your tool to slip, leading to scraped knuckles.
If the nut won’t move, don’t simply muscle harder right away. Instead, try rocking it gently back and forth, tightening slightly before loosening. This wiggling action helps break the rust bond and frees the threads. For extra leverage, slide a length of pipe over your wrench handle to create a longer lever, but increase the pressure gradually so you stay in full control.
Step 5: Use Heat To Break The Bond
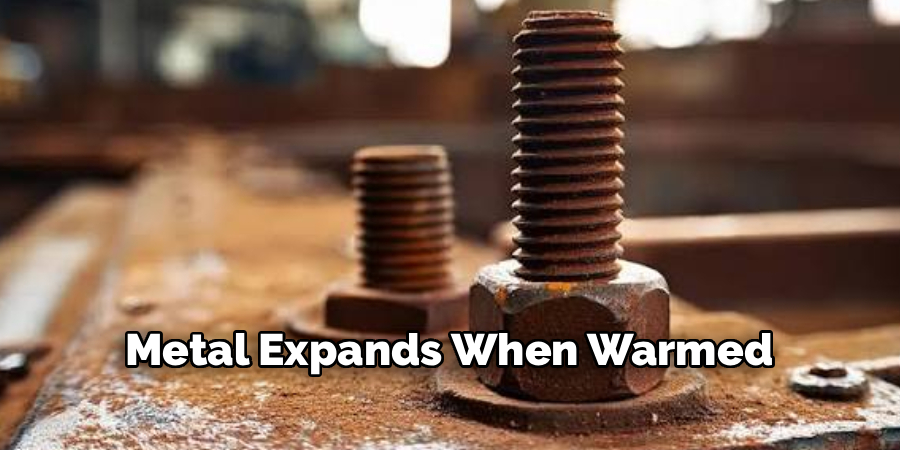
When penetrating oil and leverage aren’t enough, heat becomes a powerful ally. Metal expands when warmed, and that tiny expansion can crack the rust holding the nut in place. Use a small propane torch or a heat gun and apply the heat directly to the nut for thirty to sixty seconds.
Always work safely here. Keep flammable materials well away, wear heat-resistant gloves, and never apply heat near fuel lines or rubber parts. Once the nut is hot, try turning it again with your wrench while the metal is still warm. The combination of heat and the earlier oil treatment often loosens fasteners that seemed completely impossible to move just minutes before.
Step 6: Try A Nut Splitter Or Cutting Tool
If the fastener still refuses to cooperate, it’s time for a more direct method. A nut splitter is a handy tool that clamps around the nut and uses a hardened blade to crack it open without harming the bolt threads underneath. This is the cleanest way to deal with truly stuck hardware.
When you’re learning how to remove seized nut from bolt and nothing else has worked, cutting is a reliable last resort. You can also use a hacksaw or an angle grinder to carefully cut through the nut. Cut slowly and protect the bolt threads if you plan to reuse it. Always wear safety glasses, because metal fragments can fly during cutting.
Step 7: Clean And Protect The Threads
Once the nut is finally off, your job isn’t quite finished. Inspect the bolt threads for any leftover rust or damage, then clean them thoroughly with a wire brush or a thread file. Smooth, clean threads make reassembly easy and prevent the same problem from returning.
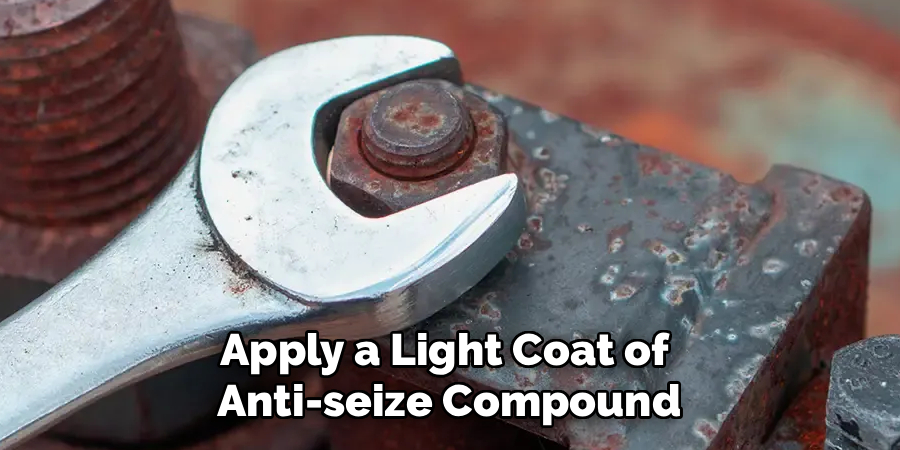
Before you fit a new nut, apply a light coat of anti-seize compound or grease to the threads. This protective layer keeps moisture out and stops rust from forming again, so the next removal will be quick and painless. Taking these final few minutes now protects your hard work and saves you from repeating this entire process the next time you need to make a repair.
Frequently Asked Questions
What Is The Best Penetrating Oil For A Rusted Nut?
Quality penetrating oils like PB Blaster, Kroil, or a homemade mix of acetone and automatic transmission fluid work extremely well. These products are designed to seep into tight, rusted threads and break the bond holding the nut in place. For best results, apply the oil generously, tap the nut lightly, and allow plenty of soaking time before you attempt to loosen the fastener.
Can I Remove A Seized Nut Without Heat?
Yes, you can. Many stuck nuts come loose with penetrating oil, the correct six-point socket, and steady leverage alone. Heat is simply an extra tool for the most stubborn cases. Try soaking the threads, wiggling the nut back and forth, and adding leverage with a pipe first. Reserve heat for situations where these gentler methods don’t deliver results after several patient attempts.
How Do I Avoid Snapping The Bolt?
To prevent a snapped bolt, never rush the process or apply sudden, violent force. Soak the threads in penetrating oil, use a properly fitted tool, and turn slowly with controlled pressure. Rocking the nut gently back and forth helps break rust without overstressing the metal. If it still won’t budge, switch to heat or a nut splitter rather than forcing harder.
What Tools Do I Need For This Job?
A basic toolkit covers most situations. You’ll want penetrating oil, a wire brush, a six-point socket or box-end wrench, and a hammer for gentle tapping. For tougher jobs, add a propane torch or heat gun, a nut splitter, and safety glasses. Anti-seize compound is also handy for protecting threads afterward, helping you avoid the same struggle in the future.
Why Does A Nut Seize To A Bolt In The First Place?
Nuts seize mainly because of rust and corrosion. When moisture reaches the metal threads, it creates a chemical reaction that bonds the nut and bolt tightly together. Over-tightening, dirt buildup, and mixing different metals can also cause seizing. Applying anti-seize compound during assembly and keeping fasteners clean and dry are the best ways to prevent this problem.
Conclusion
Freeing a stuck fastener doesn’t have to feel like an impossible battle. With the right preparation, a little patience, and the proven techniques covered here, you now know how to remove seized nut from bolt safely and confidently. From inspecting the hardware and soaking it in penetrating oil to applying heat or reaching for a nut splitter, each step builds on the last to give you the best chance of success.
Remember that working slowly and choosing the correct tool protects both your equipment and your hands. Don’t be afraid to combine methods when one alone isn’t enough. The next time a rusty nut tries to stop your project, you’ll have a clear, dependable plan to follow. So gather your tools, take your time, and put these steps into action. Your next repair just got a whole lot easier.

About
Stuart Rich is a distinguished figure in the world of metalworking and fabrication, with a decade of expertise creating innovative and sustainable metal projects. His professional focus lies in merging traditional blacksmithing and machining with modern manufacturing techniques, fostering designs that are both practical and durable. As the author of Metalenify, Stuart Rich delves into the art and science of metallurgy and DIY metal creation, inspiring artisans, hobbyists, and industry professionals alike.
Education
RMIT University
(Melbourne, Australia)
Associate Degree in Engineering Technology (Mechanical / Manufacturing)
Focus on metallurgical properties, industry-driven projects, and practical metal craftsmanship. Gained hands-on experience with traditional machining and digital manufacturing tools, such as CAD, CNC software, and precision welding equipment.
Nottingham Trent University
(United Kingdom)
Bachelor’s in Product Design and Materials Engineering (Honors)
Specialized in product design with a heavy focus on blending creativity with metal production and fabrication techniques. Participated in real-world industry projects, collaborating with architectural and hardware manufacturing companies to optimize material efficiency.
Publications and Impact
In Metalenify, Stuart Rich shares his insights on structural metal design processes, material grades, and strategies for efficient shop production. His writing bridges the gap between raw artisan knowledge and modern industrial needs, making it a must-read for both budding DIY metalworkers and seasoned fabrication professionals.





