
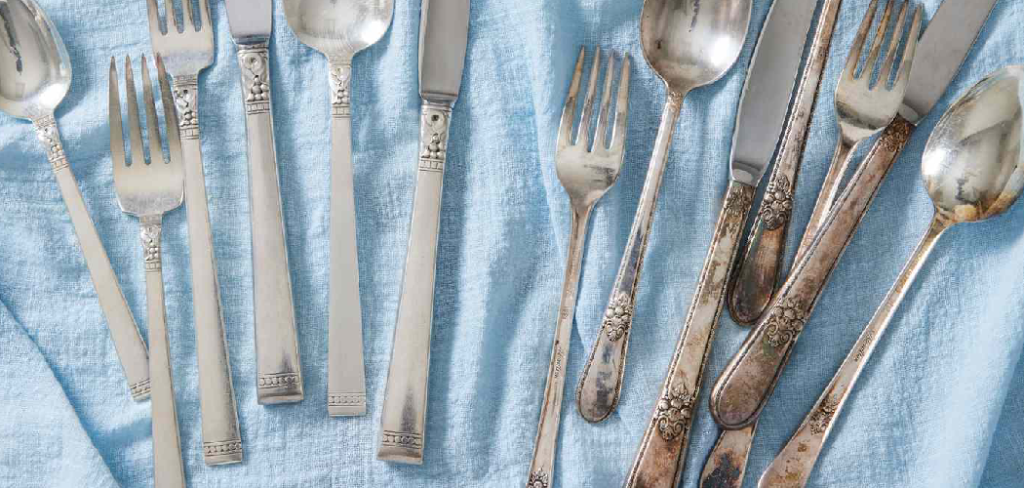
Antique silver plate carries a special kind of charm, from inherited tea sets to vintage trays passed down through generations. Over time, though, that beautiful shine fades into a dull, dark film called tarnish. If you’ve ever opened a drawer to find a once-gleaming heirloom looking grey and tired, you know the disappointment. The good news is that learning how to remove tarnish from antique silver plate is far simpler than most people expect, and you don’t need expensive equipment or professional help to bring back the glow.
Tarnish forms when silver reacts with sulfur in the air, creating a layer that masks the metal’s natural beauty. Because silver plate has only a thin silver coating over a base metal, gentle care matters more than ever. Aggressive scrubbing can wear that delicate layer away for good. In this beginner-friendly guide, we’ll walk you through safe, proven methods step by step. You’ll gain the confidence to clean your treasures properly, protect their value, and enjoy their sparkle for years to come. Let’s get your silver looking its best again.
Why Removing Tarnish From Antique Silver Plate Matters
Tarnish is more than a cosmetic nuisance. Left untreated, it dulls the appearance of cherished pieces and can make them look neglected, which hurts both their charm and their resale value. For collectors and families alike, keeping silver bright honors its history and craftsmanship.
There’s also a practical side. Regular, gentle cleaning prevents heavy buildup that’s harder to reverse later, especially on thin plating. By caring for your pieces early and often, you protect the silver layer from damage and extend the item’s life. Clean silver is also safer and more pleasant to use for serving food or display. Mastering this skill empowers you to maintain treasured objects yourself, saving money on professional restoration while preserving the sentimental and monetary worth of your antiques.
Step-by-Step Guide To How to Remove Tarnish From Antique Silver Plate
Step 1: Gather Your Supplies And Set Up Your Space
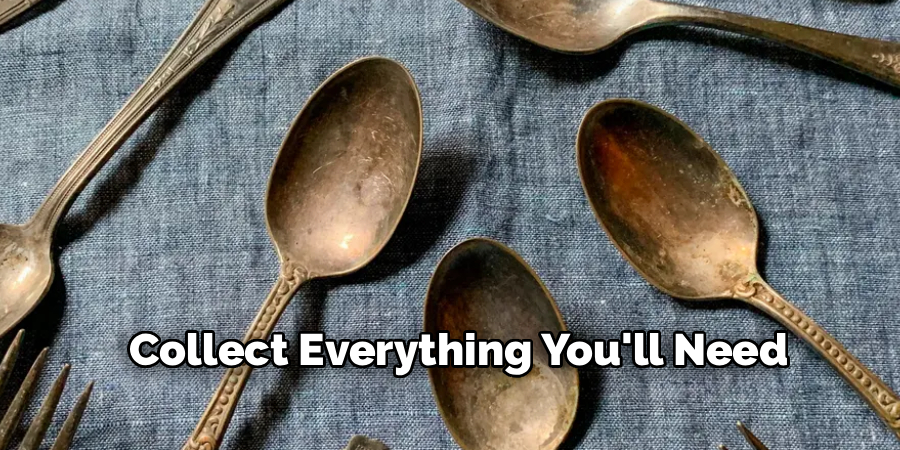
Before you begin, collect everything you’ll need so the process flows smoothly. Grab a few soft microfiber cloths, a mild dish soap, warm water, a small bowl, and a gentle silver polish or a homemade cleaning paste. Cotton gloves help keep fingerprints and oils off the surface as you work. Lay down a clean towel on a flat, well-lit surface to protect your piece and catch any drips. Knowing how to remove tarnish from antique silver plate safely starts with preparation, so take a moment to organize your station. A calm, tidy setup makes the whole job easier and far more enjoyable.
Step 2: Inspect The Piece And Test A Small Area
Take a close look at your silver before diving in. Examine the surface for engravings, soft spots, or areas where the plating may already be thin or worn. These details guide how gently you’ll need to work. Because the silver layer is delicate, always test your cleaning method on a small, hidden spot first, such as the underside or base. Apply a tiny amount of your chosen cleaner, wipe gently, and check the result. If the metal looks good and the plating stays intact, you can confidently move on. This simple test prevents accidental damage and builds your peace of mind.
Step 3: Wash Away Surface Dirt And Grime
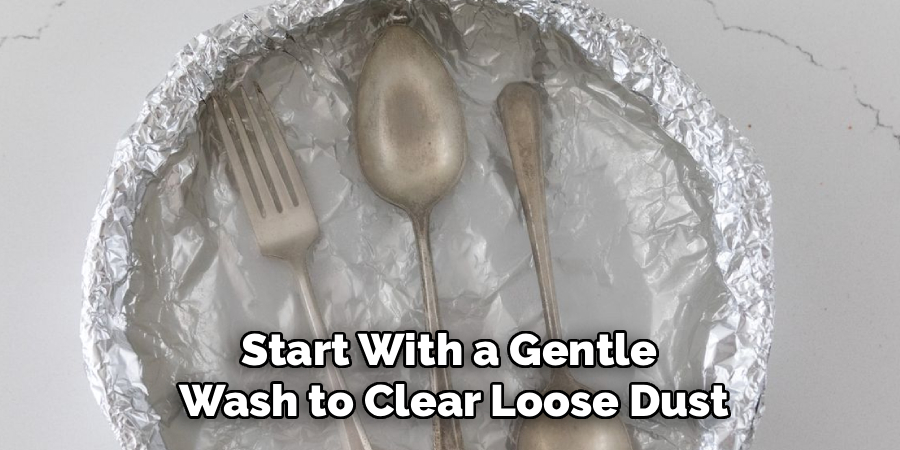
Start with a gentle wash to clear loose dust, oils, and everyday grime before tackling the tarnish itself. Mix a few drops of mild dish soap into a bowl of warm water, then dip a soft cloth and wring it out. Wipe the entire surface carefully, following the natural lines of the piece rather than scrubbing in circles. For detailed crevices, a soft toothbrush works wonders without scratching. Rinse with clean, lukewarm water and pat dry immediately with a fresh microfiber cloth. Removing this top layer first means your actual tarnish treatment will work more effectively and evenly across the whole item.
Step 4: Apply A Gentle Cleaning Method
Now for the heart of the job. Apply a small amount of quality silver polish or a soft homemade paste of baking soda and water to a clean cloth. Work in light, straight strokes, letting the cleaner do the lifting rather than relying on pressure. When you understand how to remove tarnish from antique silver plate without harsh rubbing, you protect that thin, precious coating from wear. Treat one small section at a time, checking your progress as the dark film lifts away. Patience pays off here, so resist the urge to rush. Gentle, repeated passes are far safer than aggressive scrubbing on antique surfaces.
Step 5: Reach Into Detailed Crevices And Patterns
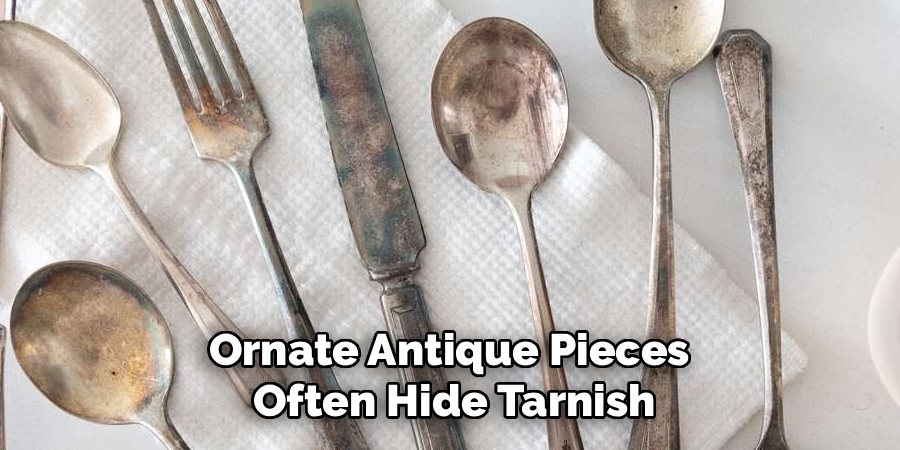
Ornate antique pieces often hide tarnish in decorative grooves, raised patterns, and tight corners. These spots need a softer touch and the right tools. Use a clean, soft-bristled toothbrush or a cotton swab dipped lightly in your cleaning solution to coax tarnish out of intricate areas. Move slowly and follow the contours of the design so you don’t scratch surrounding surfaces. Avoid digging hard into seams, since the plating there can be especially fragile. Take your time working through each detailed section, wiping away loosened residue as you go. This careful attention brings even the most elaborate pieces back to life beautifully.
Step 6: Rinse, Dry, And Buff To A Shine
Once the tarnish has lifted, it’s time to remove every trace of cleaner. Rinse the piece gently under lukewarm running water, or wipe it thoroughly with a clean damp cloth if rinsing isn’t practical. Leftover polish or paste can dry into a chalky film, so be thorough. Dry the item right away using a soft, lint-free towel, paying attention to crevices where water can hide and cause spots. Finish by buffing the surface with a dry microfiber cloth, using light circular motions to coax out that warm, mirror-like glow. Step back and admire how the renewed shine transforms your treasured piece.
Step 7: Protect Your Silver For The Future
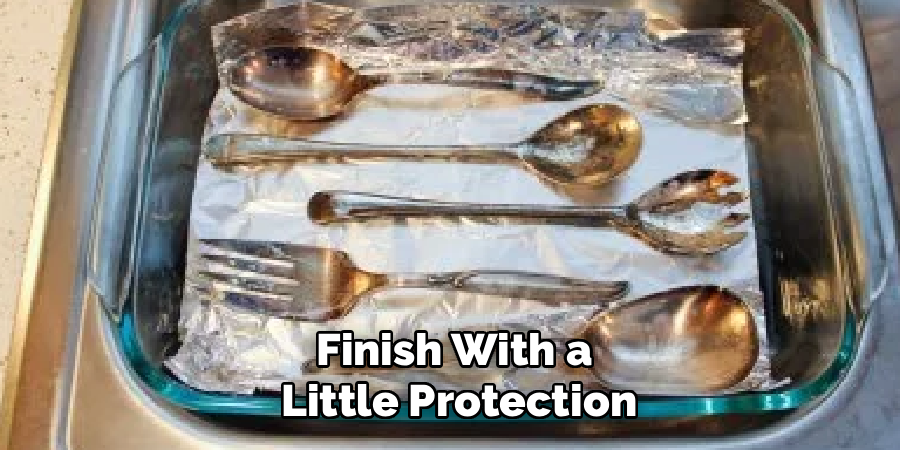
Your hard work deserves to last, so finish with a little protection. Store your clean silver in a cool, dry place away from humidity, which speeds up tarnishing. Wrapping pieces in anti-tarnish cloth or acid-free tissue, then placing them in sealed bags, keeps damaging air and sulfur away. Adding a piece of chalk or a silica gel packet to your storage area helps absorb moisture too. Handle your items with clean hands or cotton gloves, since skin oils encourage new tarnish. With these simple habits, you’ll dramatically slow future buildup and keep your antiques gleaming with far less effort down the road.
Frequently Asked Questions
How Often Should I Clean Antique Silver Plate?
It depends on use and storage. Pieces you display or use regularly may need light cleaning every few months, while well-stored items can go much longer. The key is consistency with gentle care rather than waiting for heavy buildup. Frequent light cleaning is far safer for thin plating than occasional aggressive scrubbing, so aim for small, regular touch-ups to keep your silver looking its best.
Can I Use Toothpaste To Clean Silver Plate?
It’s best to avoid toothpaste on antique silver plate. Although it’s a popular home remedy, many toothpastes contain abrasives that can scratch the delicate silver coating and wear it down over time. On thin plating, that damage is permanent. Instead, stick to a proper silver polish or a very mild baking soda paste applied gently. These options clean effectively while treating your fragile, valuable surface with the care it truly deserves.
Will Cleaning Reduce The Value Of My Antique?
Gentle, proper cleaning generally helps maintain value by keeping a piece bright and well-presented. However, harsh or excessive cleaning can wear away plating and harm collectible appeal. For rare or highly valuable antiques, light maintenance is fine, but consider consulting a professional before any major restoration. When in doubt, less is more. Preserving the original surface with careful, minimal cleaning protects both beauty and worth.
What Causes Silver To Tarnish So Quickly?
Tarnish forms when silver reacts with sulfur compounds in the air, moisture, and even certain foods. Humidity, pollution, and contact with rubber, wool, or skin oils all speed the process. That’s why storage matters so much. Keeping pieces dry, sealed, and away from these triggers slows tarnishing significantly. Understanding these causes helps you protect your silver proactively rather than constantly battling dark buildup after it appears.
Is It Safe To Use The Aluminum Foil And Baking Soda Method?
The foil and baking soda method can work, but use caution on antiques. This chemical reaction lifts tarnish quickly, yet it can be too aggressive for delicate, thin plating and may strip desirable patina from grooves. For everyday silver it’s often fine, but for treasured heirlooms, gentle hand polishing gives you far more control. Test carefully first, and choose the gentlest effective method for irreplaceable pieces.
Conclusion
Bringing dull, darkened heirlooms back to life is genuinely satisfying, and now you have a clear, beginner-friendly roadmap to do it well. The secret lies in gentle care: gathering the right supplies, testing first, washing away grime, and using soft, patient strokes that protect the delicate plating. By working through detailed crevices carefully and finishing with proper rinsing, drying, and storage, you preserve both the beauty and the value of your cherished pieces. Knowing how to remove tarnish from antique silver plate empowers you to maintain treasured objects confidently, without relying on costly professional services.
Your silver is waiting to shine again, so why not start today? Pick one piece, set up your space, and follow these steps at your own pace. With a little practice, you’ll handle even the most ornate antiques with ease and pride. Treat your treasures gently, store them smartly, and enjoy their renewed sparkle for many years to come. Go ahead and reveal the beauty that’s been hiding beneath the tarnish all along.

About
Stuart Rich is a distinguished figure in the world of metalworking and fabrication, with a decade of expertise creating innovative and sustainable metal projects. His professional focus lies in merging traditional blacksmithing and machining with modern manufacturing techniques, fostering designs that are both practical and durable. As the author of Metalenify, Stuart Rich delves into the art and science of metallurgy and DIY metal creation, inspiring artisans, hobbyists, and industry professionals alike.
Education
RMIT University
(Melbourne, Australia)
Associate Degree in Engineering Technology (Mechanical / Manufacturing)
Focus on metallurgical properties, industry-driven projects, and practical metal craftsmanship. Gained hands-on experience with traditional machining and digital manufacturing tools, such as CAD, CNC software, and precision welding equipment.
Nottingham Trent University
(United Kingdom)
Bachelor’s in Product Design and Materials Engineering (Honors)
Specialized in product design with a heavy focus on blending creativity with metal production and fabrication techniques. Participated in real-world industry projects, collaborating with architectural and hardware manufacturing companies to optimize material efficiency.
Publications and Impact
In Metalenify, Stuart Rich shares his insights on structural metal design processes, material grades, and strategies for efficient shop production. His writing bridges the gap between raw artisan knowledge and modern industrial needs, making it a must-read for both budding DIY metalworkers and seasoned fabrication professionals.





