
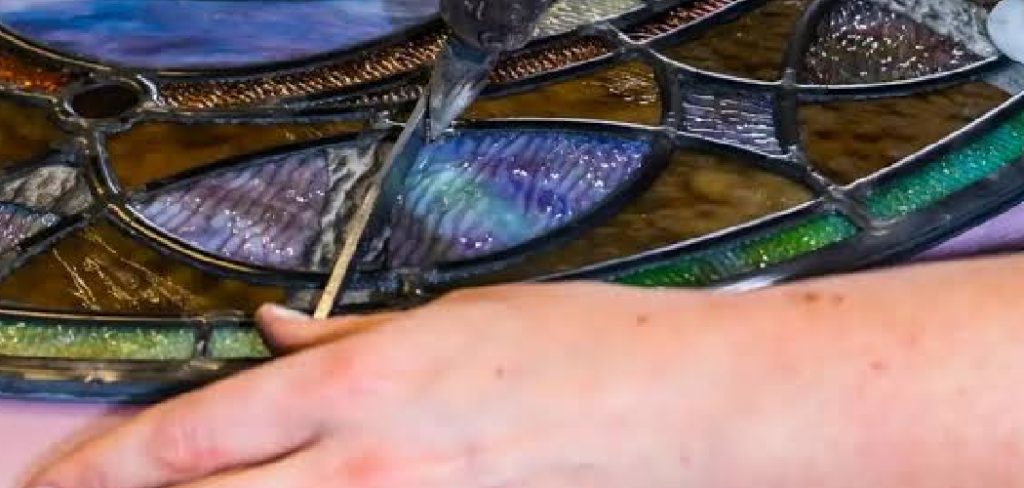
A bent corner, a wobbly joint, or a snapped piece of metal can make a favorite picture frame look sad and neglected. The good news? You don’t need to toss it out or spend money on a replacement. Learning how to repair broken metal picture frames is a simple, satisfying skill that almost anyone can pick up, regardless of experience.
Metal frames hold up well over time, but they aren’t immune to damage. Drops, knocks, and years of wear can loosen corners, dent edges, or crack the backing. Whether you’re dealing with an aluminum photo frame or a heavier steel piece, most issues are fixable with a few common tools and a little patience.
In this guide, we’ll walk you through each step in plain, friendly language. You’ll learn how to assess the damage, gather the right supplies, and bring your frame back to life. By the end, you’ll feel confident tackling repairs on your own, saving money and keeping your treasured memories beautifully displayed.
Why Repairing Metal Picture Frames Matters
Fixing a damaged frame is about more than saving a few dollars. Many metal frames carry sentimental value, holding photos of family, milestones, or places you love. Replacing them often means losing that personal connection, while repairing keeps the original piece intact.
There’s also a practical side. Repairing rather than replacing cuts down on waste, which is better for the environment and your wallet. A well-maintained frame can last for decades, protecting the artwork or photo inside from dust, sunlight, and moisture.
Beyond that, learning this skill empowers you. Once you understand the basics, you can confidently handle other small home repairs too. It’s an intuitive, accessible project that delivers a real sense of accomplishment, and the results often look as good as new.
Step-by-Step Guide to How to Repair Broken Metal Picture Frames
Step 1: Assess the Damage
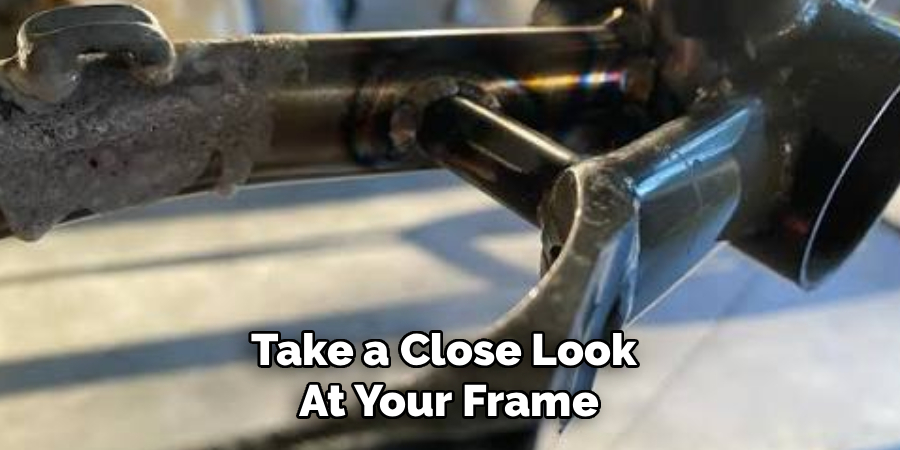
Before grabbing any tools, take a close look at your frame to understand exactly what’s wrong. Lay it flat on a clean surface and inspect each corner, edge, and joint. Common problems include loose corner brackets, bent rails, cracked backing, or scratched finishes.
Gently press on the joints to see if they shift or separate. Note whether the damage is structural, meaning it affects how the frame holds together, or cosmetic, like surface scratches. Knowing the difference helps you choose the right repair method. Take a quick photo or jot down notes so you remember what needs fixing once you start working.
Step 2: Gather Your Tools and Materials
Having everything ready before you begin makes the process smoother and far less frustrating. Most repairs call for basic supplies you may already own, so check your toolbox first.
You’ll typically want a small screwdriver set, needle-nose pliers, metal epoxy or strong adhesive, fine-grit sandpaper, and a soft cloth. For bent frames, a rubber mallet helps reshape metal without leaving marks. If corners are loose, replacement corner brackets or new screws may be needed. Knowing how to repair broken metal picture frames starts with the right kit, so set up a clean, well-lit workspace where small parts won’t roll away or get lost.
Step 3: Disassemble the Frame Carefully
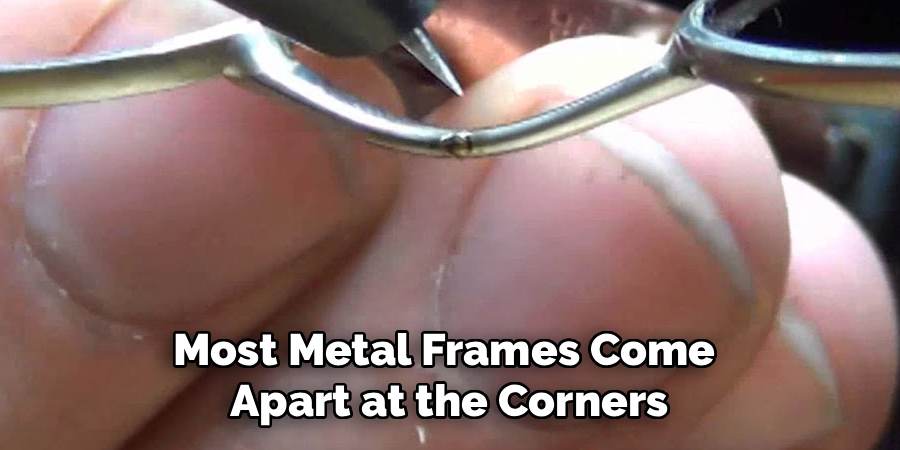
Most metal frames come apart at the corners, held together by small screws, clips, or tension springs. Removing the backing and glass first protects them from accidental scratches or breaks.
Work slowly and keep track of every screw and bracket by placing them in a small bowl or labeled bag. If your frame uses corner connectors, loosen the screws just enough to slide the rails apart. Avoid forcing anything, since metal can bend or snap under pressure. Lay each piece out in order as you remove it. This simple habit makes reassembly much easier and prevents that frustrating “where does this go?” moment later.
Step 4: Straighten Bent or Warped Metal
Bent rails are one of the most common issues, and thankfully they’re often the easiest to fix. Place the bent section on a flat, firm surface like a wooden board.
Using your fingers or a rubber mallet, apply gentle, even pressure to coax the metal back into shape. Tap lightly and check your progress frequently rather than forcing it all at once. For stubborn bends, slip a cloth between the mallet and metal to protect the finish. Patience is key here, since aluminum and thin steel can crack if pushed too hard. Continue until the rail sits straight and lines up cleanly with the other sides.
Step 5: Repair Loose or Broken Corners
Corners take the most stress, so they’re frequently the weak point. If a corner bracket has come loose, tighten the existing screws first to see if that solves the wobble.
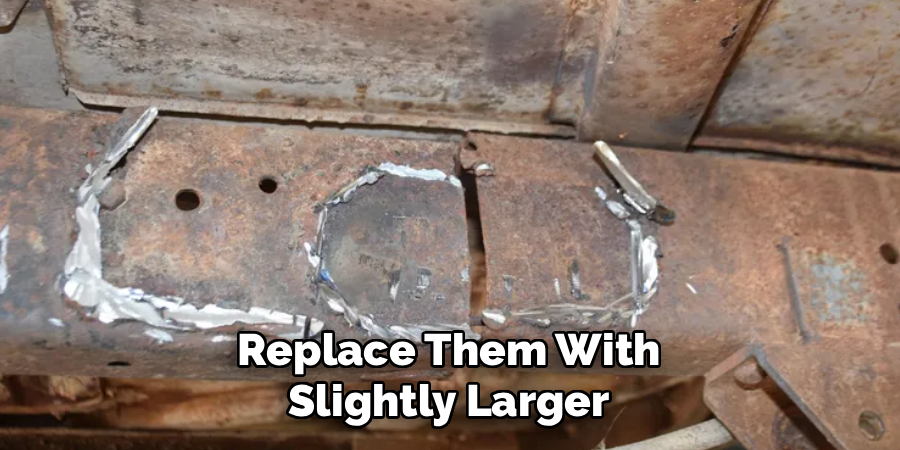
When screws are stripped or missing, replace them with slightly larger ones or add a new corner bracket for support. For cracked joints, metal epoxy works wonders. Apply a thin layer to both surfaces, press them together firmly, and hold for the recommended time. Knowing how to repair broken metal picture frames at the corners often makes the biggest difference in restoring strength. Wipe away any excess adhesive before it dries for a clean finish.
Step 6: Restore the Finish
Once the structure is solid, turn your attention to how the frame looks. Scratches and scuffs are common, but they’re simple to minimize with a little care.
Lightly sand any rough spots using fine-grit sandpaper, working in the direction of the metal’s grain. Wipe away dust with a soft cloth. For colored or coated frames, a matching metal paint or touch-up pen blends scratches beautifully. Apply thin coats and let each one dry fully before adding another. If your frame has a brushed or polished finish, a metal polish can bring back its shine. Take your time here, as the finish is what people notice most.
Step 7: Reassemble and Test
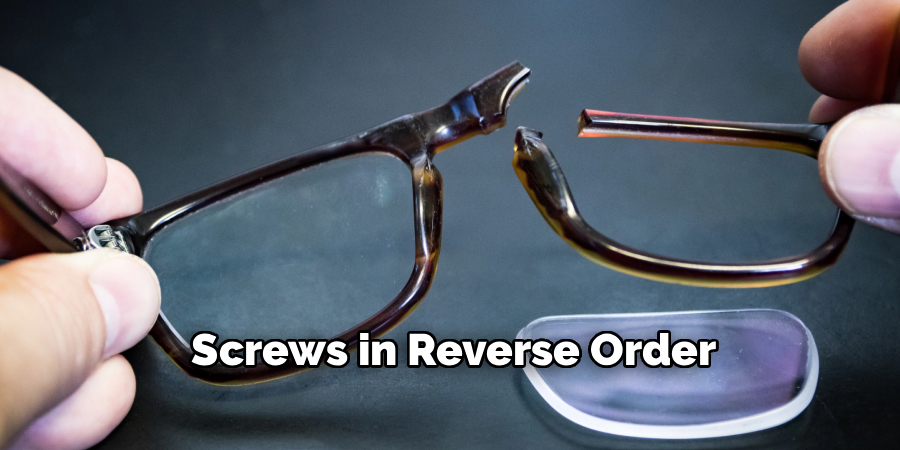
With repairs complete and the finish refreshed, it’s time to put everything back together. Follow your earlier notes or photos, reattaching rails, brackets, and screws in reverse order.
Slide the glass and backing into place carefully, making sure nothing shifts or scratches. Tighten all screws snugly, but avoid overtightening, which can strip threads or warp the metal. Once assembled, gently shake the frame to check for any wobble or loose parts. Hold it up to confirm the corners are square and the photo sits straight. Hang or stand your frame and admire your work. You’ve just given a damaged piece a second life.
Frequently Asked Questions
What Glue Works Best For Metal Picture Frames?
Metal epoxy is the top choice because it bonds strongly and dries hard, creating a lasting hold. Two-part epoxies are especially reliable for cracked joints or corners under stress. For lighter repairs, a strong cyanoacrylate (super glue) designed for metal can work. Always clean both surfaces first, since dust or oil weakens adhesion. Apply thin layers and allow full curing time for the best results.
Can I Fix A Frame Without Special Tools?
Yes, many repairs need only basic household items. A small screwdriver, pliers, and a bit of glue can handle most loose corners or wobbly joints. For bent metal, you can often use your hands or a padded surface instead of a mallet. While specialized tools make the job easier, beginners can absolutely achieve solid results with everyday supplies and a little patience.
How Do I Hide Scratches On Metal Frames?
Start by lightly sanding the scratch with fine-grit sandpaper, following the metal’s grain. Wipe it clean, then use a matching metal touch-up pen or paint to blend the area. Apply thin coats and let each dry fully. For polished or brushed finishes, a quality metal polish can buff out minor marks and restore shine. Patience and thin layers give the most natural, seamless result.
Is It Worth Repairing An Old Metal Frame?
Often, yes. Repairing saves money, reduces waste, and preserves frames with sentimental or decorative value. Metal frames are durable, so a small fix can extend their life by years. Unless the metal is severely corroded or shattered beyond repair, most damage is fixable at home. The effort usually costs far less than buying a quality replacement, and the satisfaction of restoring it yourself is a nice bonus.
How Long Does A Frame Repair Take?
Most repairs take between thirty minutes and an hour, depending on the damage. Simple fixes like tightening corners are quick, while gluing joints or repainting finishes require extra drying time. Epoxy, for example, may need several hours to cure fully before reassembly. Plan ahead and don’t rush the drying stages, since patience here ensures a strong, long-lasting result you’ll be happy with.
Conclusion
Bringing a damaged frame back to life is far easier than most people expect. By assessing the damage, gathering the right tools, and working through each step with care, you can restore strength, shape, and shine without spending much at all. From straightening bent rails to touching up scratches, every fix adds to your confidence and skills.
Now that you know how to repair broken metal picture frames, there’s no reason to let a cracked corner or wobbly joint send a treasured piece to the trash. Grab your tools, set up a clean workspace, and give it a try. You’ll be amazed at how rewarding it feels to revive something you love, and your favorite memories will stay beautifully displayed for years to come.

About
Stuart Rich is a distinguished figure in the world of metalworking and fabrication, with a decade of expertise creating innovative and sustainable metal projects. His professional focus lies in merging traditional blacksmithing and machining with modern manufacturing techniques, fostering designs that are both practical and durable. As the author of Metalenify, Stuart Rich delves into the art and science of metallurgy and DIY metal creation, inspiring artisans, hobbyists, and industry professionals alike.
Education
RMIT University
(Melbourne, Australia)
Associate Degree in Engineering Technology (Mechanical / Manufacturing)
Focus on metallurgical properties, industry-driven projects, and practical metal craftsmanship. Gained hands-on experience with traditional machining and digital manufacturing tools, such as CAD, CNC software, and precision welding equipment.
Nottingham Trent University
(United Kingdom)
Bachelor’s in Product Design and Materials Engineering (Honors)
Specialized in product design with a heavy focus on blending creativity with metal production and fabrication techniques. Participated in real-world industry projects, collaborating with architectural and hardware manufacturing companies to optimize material efficiency.
Publications and Impact
In Metalenify, Stuart Rich shares his insights on structural metal design processes, material grades, and strategies for efficient shop production. His writing bridges the gap between raw artisan knowledge and modern industrial needs, making it a must-read for both budding DIY metalworkers and seasoned fabrication professionals.





