
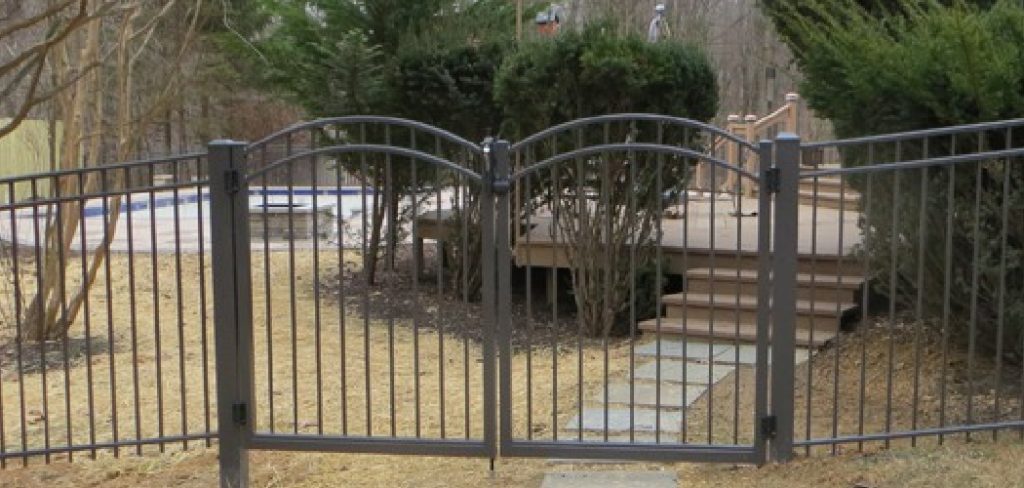
restoring an old metal gate might feel like a big project, but it’s far more manageable than most people expect. if you’ve inherited a weathered gate or rescued one from a salvage yard, learning how to restore antique wrought iron gates can bring that beautiful piece back to life. these gates carry real history in their scrolls, twists, and hand-forged details, and they deserve careful attention rather than a quick coat of paint.
the process involves cleaning away rust, repairing weak spots, treating the metal, and sealing it for protection. each step builds on the last, so patience matters more than speed. the good news is that you don’t need to be a blacksmith or a professional restorer to get great results. with basic tools, the right materials, and a clear plan, anyone at any skill level can tackle this work. this guide breaks everything down into simple, friendly steps so you feel confident from start to finish. by the end, you’ll know exactly what to do and why each stage protects your investment.
Why Restoring Antique Wrought Iron Gates Matters
an antique gate is more than just a barrier at your entrance. it’s a statement of craftsmanship that newer, mass-produced gates simply can’t match. restoring one preserves that artistry while protecting the metal from further damage. rust spreads quickly when left alone, and ignoring it can turn a repairable gate into scrap within a few seasons.
beyond protection, a careful restoration boosts both curb appeal and property value. a gleaming, well-maintained gate makes a strong first impression and shows pride in your home. it also saves money over time, since maintenance costs far less than full replacement. you keep the original character, avoid landfill waste, and enjoy a piece that lasts for generations. in short, the effort you invest now rewards you with beauty, durability, and a story worth telling.
Step-by-Step Guide to How to Restore Antique Wrought Iron Gates
Step 1: Assess the Gate and Gather Your Tools
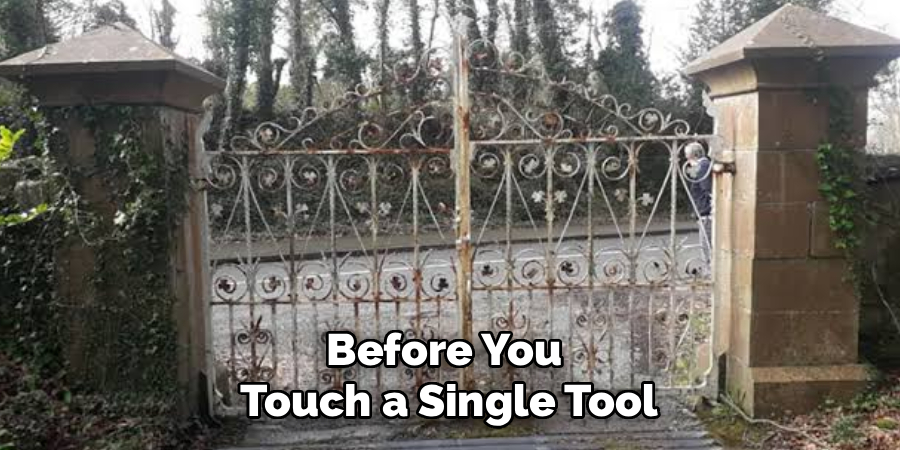
before you touch a single tool, take time to study the gate closely. look for rust patches, cracks, loose joints, flaking paint, and any bent sections. note the spots that need extra care so you can plan your work. once you understand the condition, gather your supplies.
you’ll want a wire brush, sandpaper in a few grits, a paint scraper, rust remover, a rust-converting primer, a quality metal paint, clean rags, and protective gear like gloves and goggles. setting everything out in advance keeps your momentum steady. good preparation here saves frustration later and helps the whole job flow smoothly from beginning to end.
Step 2: Remove Old Paint and Surface Grime
start by clearing away years of built-up paint, dirt, and grime. use a paint scraper to lift the loose, flaking layers, then switch to a wire brush for tougher areas. work patiently across every scroll and joint, since these decorative spots collect the most debris.
for stubborn paint, a chemical paint stripper can speed things up, but always follow the safety instructions and work in a well-ventilated space. wipe the surface with a clean rag as you go to check your progress. your goal is bare or near-bare metal, which gives later treatments a solid foundation. don’t rush this stage, because a clean surface makes everything that follows far easier.
Step 3: Tackle the Rust Thoroughly
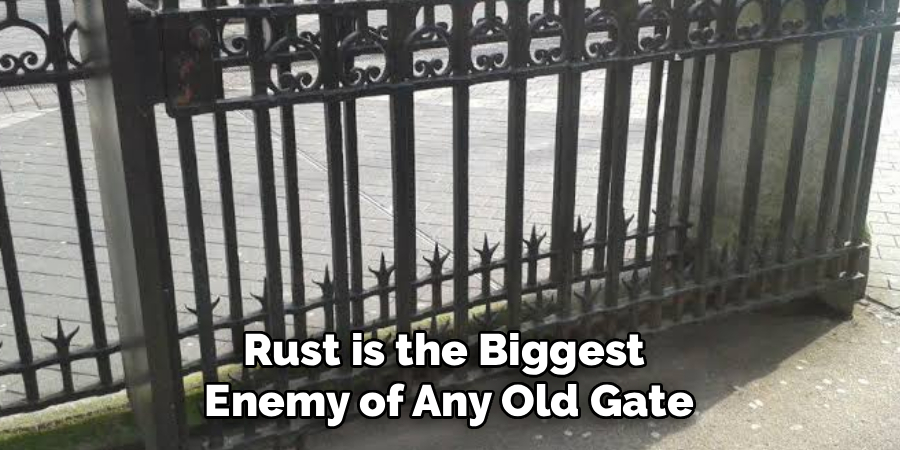
rust is the biggest enemy of any old gate, so this step deserves your full attention. begin by brushing away loose, crumbly rust with your wire brush, working in different directions to lift it from grooves and corners. for heavier corrosion, a power tool with a wire wheel attachment makes quick work of the job.
once the loose material is gone, apply a rust remover or converter to neutralize what remains. these products chemically stop rust from spreading and prepare the surface for primer. knowing how to restore antique wrought iron gates really comes down to handling rust properly, since untreated spots will bubble up beneath fresh paint and undo all your hard work.
Step 4: Repair Damaged or Weak Sections
with the metal clean, inspect the gate again for structural problems. look for cracks, broken welds, missing decorative pieces, or joints that wobble when you move them. small repairs can often be handled at home, while serious welding may need a professional with the right equipment.
for minor gaps or pitting, a metal epoxy filler works well and sands down smoothly once cured. tighten any loose fasteners and reinforce shaky connections so the gate feels solid. take your time here, because a sturdy frame is essential before you add primer and paint. addressing damage now prevents bigger headaches and ensures your finished gate stands strong for many years.
Step 5: Prime the Metal for Lasting Protection
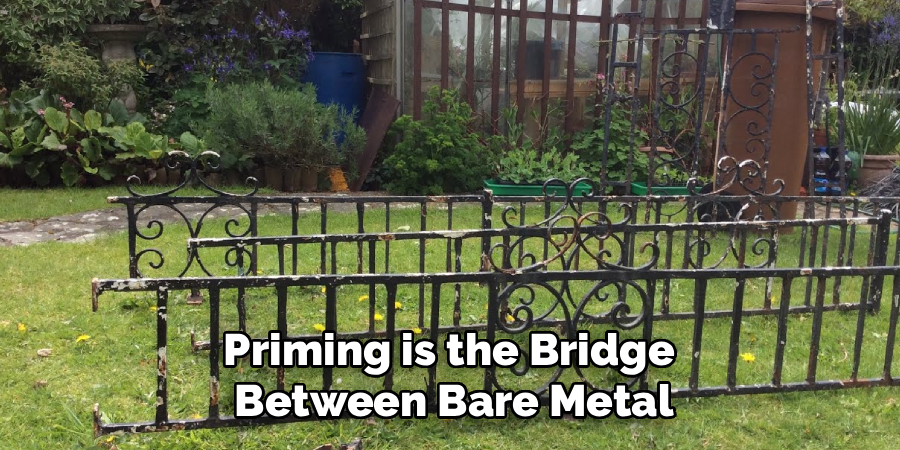
priming is the bridge between bare metal and a durable finish, so never skip it. before you begin, wipe the entire gate with a clean, dry cloth to remove dust and any leftover residue. then stir your rust-inhibiting primer thoroughly and apply a thin, even coat using a brush or spray.
work into every curve, seam, and detailed scroll, since these areas need the most protection. thin layers bond better and dry faster than one thick, gloopy coat. a big part of how to restore antique wrought iron gates successfully lies in this priming stage, because a well-primed surface seals out moisture and gives your topcoat something solid to grip onto.
Step 6: Apply the Topcoat Paint
now comes the rewarding part, where your gate truly transforms. choose a high-quality metal paint, ideally one rated for outdoor use and rust resistance. matte black is a classic choice for antique gates, but you can pick any shade that suits your home and personal style.
apply the paint in thin, even coats, following the same careful approach you used with the primer. cover every detail, and let each layer dry fully before adding the next. two or three light coats give richer color and stronger protection than one heavy application. take your time around intricate scrollwork, and step back occasionally to spot any missed areas before the paint sets.
Step 7: Seal, Inspect, and Maintain
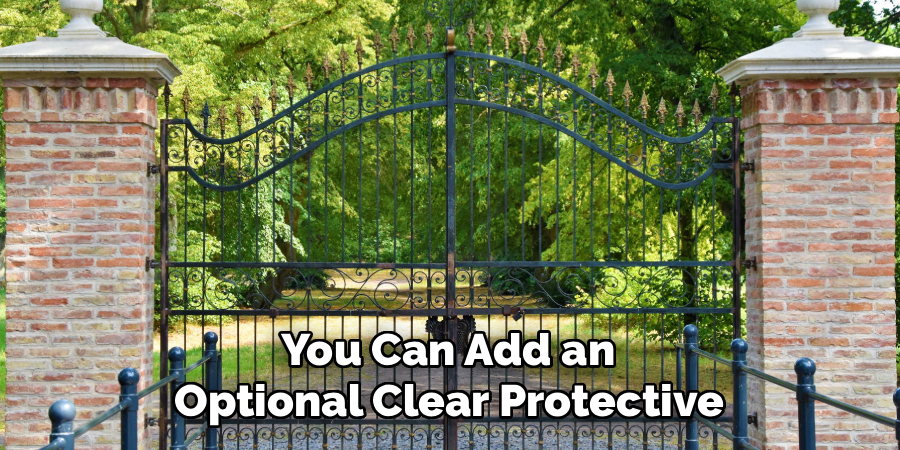
once your final coat dries, you can add an optional clear protective sealant for extra durability, especially in harsh climates. this layer shields the paint from sun, rain, and temperature swings. apply it lightly and evenly, then allow it to cure completely before handling the gate.
afterward, inspect your work in good lighting to catch any drips or thin spots, touching up as needed. going forward, a quick wash and a yearly check for chips will keep the gate looking its best. regular maintenance is far easier than another full restoration, and it protects all the effort you’ve just invested in this beautiful piece.
Frequently Asked Questions
How Long Does It Take to Restore an Antique Gate?
the timeline depends on the gate’s size and condition, but most projects take a weekend or two. heavy rust, structural repairs, and multiple paint coats add time, since each layer must dry fully before the next. plan for several short sessions rather than rushing. working patiently across a few days delivers far better, longer-lasting results than trying to finish everything at once.
Can I Restore a Rusty Gate Myself, or Do I Need a Professional?
most cleaning, rust treatment, priming, and painting can be done confidently at home with basic tools. these tasks suit all skill levels, even complete beginners. however, serious structural damage, broken welds, or missing forged details may require a professional welder. assess the gate honestly first. when the frame is sound and only surface issues remain, a careful do-it-yourself approach works beautifully and saves money.
What Paint Works Best on Wrought Iron Gates?
a high-quality, oil-based metal paint rated for outdoor use offers the best durability and rust resistance. these paints bond well over primer and stand up to weather, sun, and moisture. matte or satin black is the traditional favorite for antique gates, though any metal-rated color works. always pair your paint with a rust-inhibiting primer for the strongest, longest-lasting finish possible.
Do I Need to Remove Every Trace of Rust?
no, you don’t need to chase down every speck. focus on removing loose, flaky, and crumbling rust that won’t hold paint. modern rust converters chemically neutralize light surface rust and turn it into a stable, paintable layer. as long as the metal is solid, treated, and free of crumbly patches, your primer and paint will adhere well and protect the gate properly.
How Often Should I Maintain a Restored Gate?
check your restored gate at least once a year, ideally in spring. look for chips, scratches, or early rust spots, especially at joints and along the bottom edge where moisture collects. a gentle wash with mild soapy water keeps it clean, and quick touch-ups handle minor damage before it spreads. this simple routine protects your work and keeps the gate looking stunning for decades.
Conclusion
bringing an old gate back to life is one of the most satisfying home projects you can take on. once you understand how to restore antique wrought iron gates the right way, the process becomes a clear sequence rather than an overwhelming task. the key takeaways are simple: assess the condition, strip away old paint, treat the rust thoroughly, repair weak spots, then prime, paint, and seal with care. each step protects the one before it, and patience truly pays off.
you don’t need professional skills to achieve a stunning result, just the right tools, quality materials, and a willingness to work steadily. so go ahead and get started. set up your space, gather your supplies, and give that beautiful gate the attention it deserves. with a little effort now, you’ll enjoy a striking, durable centerpiece that honors its history and welcomes visitors for years to come.

About
Stuart Rich is a distinguished figure in the world of metalworking and fabrication, with a decade of expertise creating innovative and sustainable metal projects. His professional focus lies in merging traditional blacksmithing and machining with modern manufacturing techniques, fostering designs that are both practical and durable. As the author of Metalenify, Stuart Rich delves into the art and science of metallurgy and DIY metal creation, inspiring artisans, hobbyists, and industry professionals alike.
Education
RMIT University
(Melbourne, Australia)
Associate Degree in Engineering Technology (Mechanical / Manufacturing)
Focus on metallurgical properties, industry-driven projects, and practical metal craftsmanship. Gained hands-on experience with traditional machining and digital manufacturing tools, such as CAD, CNC software, and precision welding equipment.
Nottingham Trent University
(United Kingdom)
Bachelor’s in Product Design and Materials Engineering (Honors)
Specialized in product design with a heavy focus on blending creativity with metal production and fabrication techniques. Participated in real-world industry projects, collaborating with architectural and hardware manufacturing companies to optimize material efficiency.
Publications and Impact
In Metalenify, Stuart Rich shares his insights on structural metal design processes, material grades, and strategies for efficient shop production. His writing bridges the gap between raw artisan knowledge and modern industrial needs, making it a must-read for both budding DIY metalworkers and seasoned fabrication professionals.





