
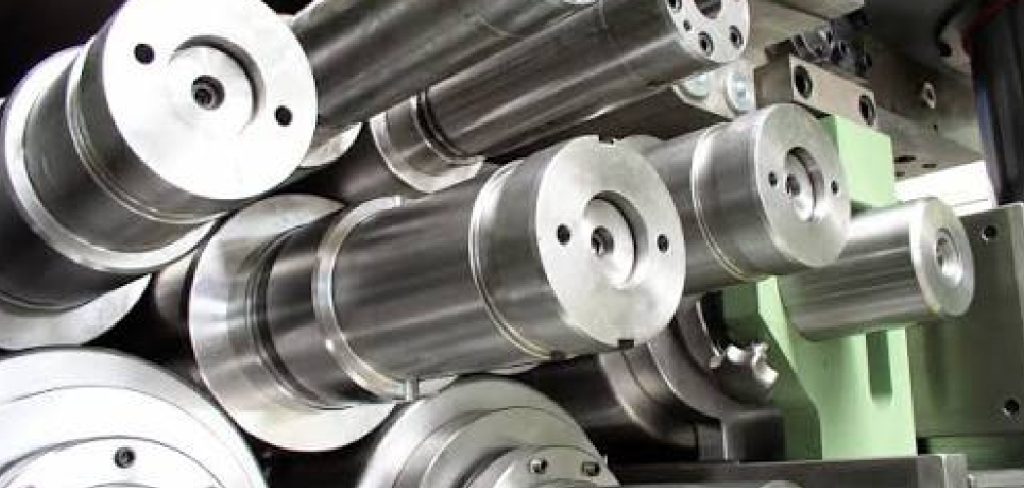
Shaping a flat piece of metal into a smooth, round tube might look like magic, but it’s a skill anyone can learn with the right guidance. Whether you’re building a custom exhaust pipe, a decorative planter, or a structural support, knowing how to roll sheet metal into cylinders opens up a world of fabrication possibilities. This process turns raw, rigid material into something functional and elegant.
If you’ve ever wondered how workshops produce those perfectly curved metal forms, you’re in the right place. We’ll break everything down into clear, beginner-friendly steps so you feel confident from the very first bend. You don’t need years of experience to get started, just a willingness to learn and a bit of patience.
Rolling metal is part craft and part science. With the proper tools, a steady technique, and a little practice, you’ll soon produce clean cylinders that hold their shape and look professional. Let’s explore why this technique matters and walk through each stage together, one simple step at a time.
Why Rolling Sheet Metal Into Cylinders Matters
Curved metal shapes are everywhere, from water tanks and ductwork to furniture frames and artistic sculptures. Learning this skill gives you control over your own projects rather than relying on expensive pre-made parts or outside suppliers. You save money, reduce waiting times, and gain the freedom to create custom sizes that fit your exact needs.
There’s also a strength benefit. A rolled cylinder distributes pressure evenly around its surface, making it far stronger than a flat or folded sheet. That’s why pipes and tanks rely on this form. On top of the practical advantages, mastering this technique builds your confidence as a fabricator. Each successful cylinder reinforces your skills and prepares you for more advanced work, empowering you to tackle bigger challenges with ease.
Step-by-Step Guide to Rolling Sheet Metal Into Cylinders
Step 1: Gather Your Tools and Materials
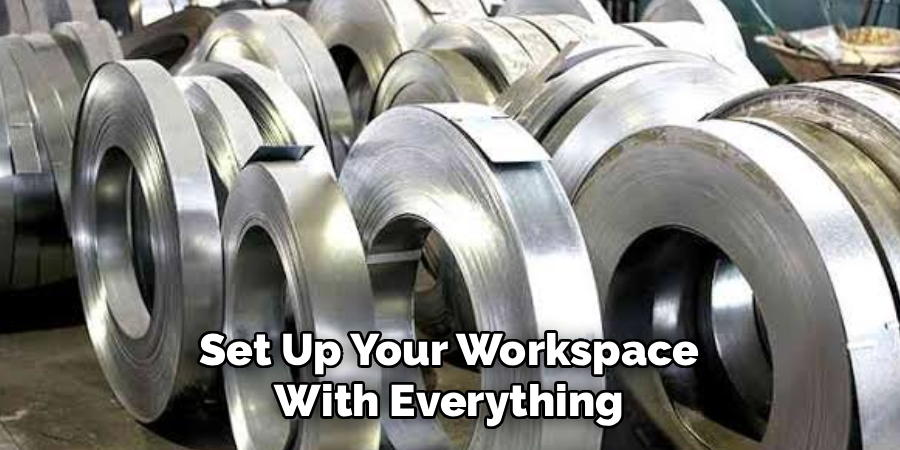
before you begin, set up your workspace with everything you’ll need. the star of the show is a slip roll machine, which has three adjustable rollers that gradually curve the metal. you’ll also want a measuring tape, a marker, safety gloves, protective eyewear, and a deburring tool to smooth sharp edges.
choose a sheet metal gauge that matches your project and your machine’s capacity. thinner sheets bend easily, while thicker ones demand more force. having the right tools ready from the start prevents frustration later. a clean, organized space also keeps you safe and helps the work flow smoothly from one stage to the next.
Step 2: Measure and Mark Your Metal
accurate measurements make all the difference between a tidy cylinder and a sloppy one. start by deciding the diameter you want, then calculate the length of metal needed using the formula: circumference equals pi (3.14) multiplied by the diameter. add a little extra for overlap if you plan to weld or join the seam.
mark your cutting lines clearly with a marker and a straightedge. double-check every measurement before you cut, because metal is unforgiving once trimmed. taking a few extra minutes here saves wasted material and avoids rework. precise marking sets a strong foundation for the entire forming process that follows.
Step 3: Cut the Sheet to Size
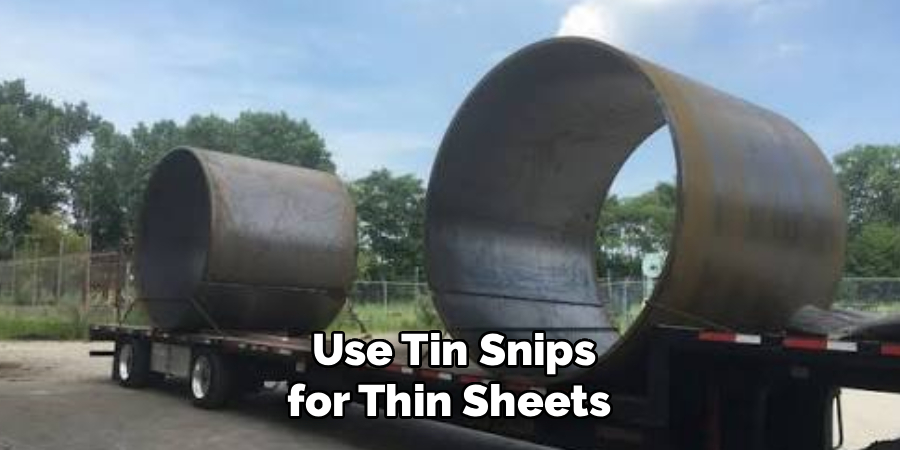
with your lines marked, it’s time to cut. use tin snips for thin sheets or a powered shear for thicker material. keep your cuts straight and steady, following your guidelines closely. a clean, even edge helps the metal feed smoothly through the rollers later.
after cutting, run a deburring tool along the edges to remove sharp burrs and rough spots. this protects your hands and ensures a neat finish. when learning how to roll sheet metal into cylinders, this preparation stage is often overlooked, yet it directly affects the quality of your final shape. take your time and aim for accuracy over speed.
Step 4: Set Up the Slip Roll Machine
now adjust your slip roll to match the thickness of your metal and the curve you want. the back roller controls how tight the bend will be, so position it carefully. a tighter setting produces a smaller diameter, while a looser one creates a wider, gentler curve.
feed a scrap piece through first to test your settings before committing to your real workpiece. this trial run lets you fine-tune the rollers without risking your prepared material. proper setup is the heart of clean results, giving you real-time feedback on whether your adjustments are on target. patience at this stage pays off in smoother, more consistent shapes.
Step 5: Feed the Metal Through the Rollers
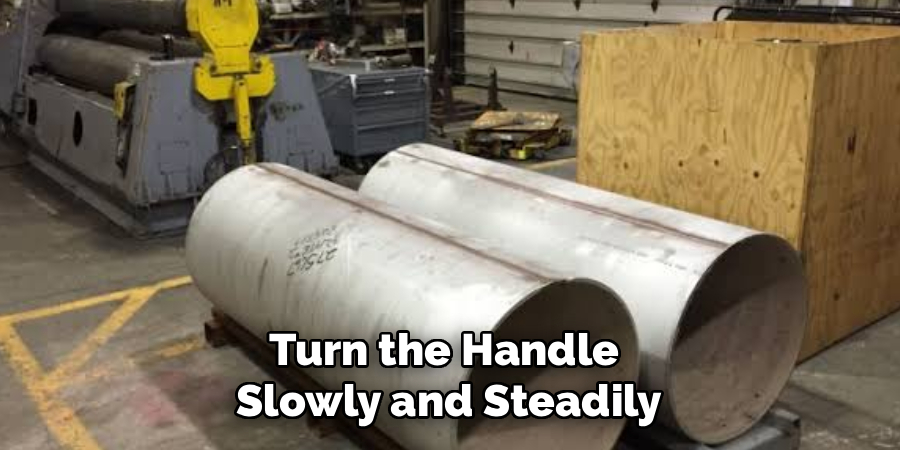
position your sheet against the rollers, keeping it square and aligned. turn the handle slowly and steadily, guiding the metal as it passes through. the rollers will begin to introduce a gentle curve. don’t rush this part, as uneven pressure can create kinks or wavy spots.
run the sheet through several times, tightening the back roller slightly with each pass. this gradual approach is the safest way to roll sheet metal into cylinders without overstressing the material. let the machine do the work while you focus on keeping the feed straight. each pass brings your flat sheet closer to a smooth, rounded form.
Step 6: Check and Adjust the Curve
after a few passes, pause and inspect your progress. bring the two edges together to see how close they are to forming a complete circle. if the curve is too loose, tighten the rollers and run it through again. if it’s too tight, ease the setting slightly and re-roll.
hold the metal up and look down its length to spot any flat sections or uneven bends. these usually need an extra pass through the trouble area. this back-and-forth checking is normal and expected, even for experts. continuous adjustment ensures your cylinder ends up round and uniform rather than oval or lopsided.
Step 7: Join and Finish the Seam
once your cylinder holds its shape, it’s time to secure the seam. depending on your project, you can weld, rivet, or bond the edges together. align them carefully so the cylinder stays round and the join sits flush. clamp the piece in place to hold it steady while you fasten it.
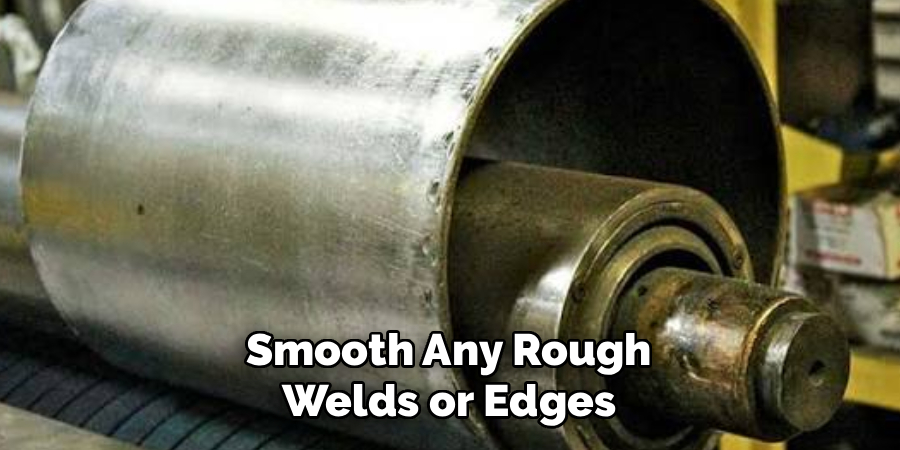
after joining, smooth any rough welds or edges with a grinder or file for a polished look. inspect the finished cylinder for gaps or weak spots. give it a final clean to remove debris and marks. congratulations, you’ve created a sturdy, professional-looking metal cylinder from a flat sheet.
Frequently Asked Questions
What Type of Sheet Metal Is Easiest to Roll?
aluminum and mild steel in thinner gauges are the most beginner-friendly choices. they bend smoothly without requiring excessive force, which makes them forgiving while you build your skills. thicker steel or stainless can be rolled too, but they demand a more powerful machine and extra effort. starting with softer, thinner material helps you learn the technique with confidence before moving on to tougher metals.
Can I Roll Sheet Metal Without a Slip Roll Machine?
yes, though it’s harder to achieve a perfect curve. for small projects, you can bend metal around a sturdy pipe, cylinder, or rounded form, applying steady pressure by hand. this manual method works for light gauges but struggles with consistency. for clean, repeatable results, a slip roll machine remains the best tool. it gives you control and precision that hand-bending simply can’t match.
How Do I Prevent Kinks or Flat Spots?
kinks and flat spots usually come from rushing or applying uneven pressure. feed the metal slowly and keep it square against the rollers throughout each pass. make several gradual passes rather than forcing a tight curve in one go. checking your progress frequently lets you catch problem areas early and re-roll them. patience and steady, even movement are your best defense against these common issues.
What Diameter Cylinder Can I Make?
your diameter range depends on your machine and material thickness. most slip rolls can produce cylinders from a few inches wide up to larger sizes, limited by the roller capacity. thinner metal allows tighter curves and smaller diameters, while thicker sheets favor wider ones. always check your machine’s specifications first. testing with a scrap piece helps you confirm the achievable size before committing to your actual project.
Do I Need to Weld the Seam?
not always. welding creates the strongest, most permanent join, ideal for structural or pressure-bearing parts. however, riveting or using adhesives works well for lighter, decorative projects where extreme strength isn’t required. your choice depends on the cylinder’s purpose and the material you’re using. whichever method you pick, align the edges carefully so the cylinder keeps its round shape and clean appearance.
Conclusion
Turning a flat sheet into a flawless tube is a genuinely rewarding skill, and now you have a complete roadmap to follow. From gathering your tools and measuring precisely to feeding the metal through the rollers and finishing the seam, each step builds toward a clean, professional result. The secret is patience, steady technique, and a willingness to test and adjust as you go.
Remember that even seasoned fabricators rely on gradual passes and frequent checks, so don’t be discouraged if your first attempt isn’t perfect. Every cylinder you produce sharpens your abilities and expands what you can build. Now that you understand how to roll sheet metal into cylinders, it’s time to put this knowledge into action. Grab your materials, set up your workspace, and start shaping your first project today. Your next great build is just a few rolls away.

About
Stuart Rich is a distinguished figure in the world of metalworking and fabrication, with a decade of expertise creating innovative and sustainable metal projects. His professional focus lies in merging traditional blacksmithing and machining with modern manufacturing techniques, fostering designs that are both practical and durable. As the author of Metalenify, Stuart Rich delves into the art and science of metallurgy and DIY metal creation, inspiring artisans, hobbyists, and industry professionals alike.
Education
RMIT University
(Melbourne, Australia)
Associate Degree in Engineering Technology (Mechanical / Manufacturing)
Focus on metallurgical properties, industry-driven projects, and practical metal craftsmanship. Gained hands-on experience with traditional machining and digital manufacturing tools, such as CAD, CNC software, and precision welding equipment.
Nottingham Trent University
(United Kingdom)
Bachelor’s in Product Design and Materials Engineering (Honors)
Specialized in product design with a heavy focus on blending creativity with metal production and fabrication techniques. Participated in real-world industry projects, collaborating with architectural and hardware manufacturing companies to optimize material efficiency.
Publications and Impact
In Metalenify, Stuart Rich shares his insights on structural metal design processes, material grades, and strategies for efficient shop production. His writing bridges the gap between raw artisan knowledge and modern industrial needs, making it a must-read for both budding DIY metalworkers and seasoned fabrication professionals.





