
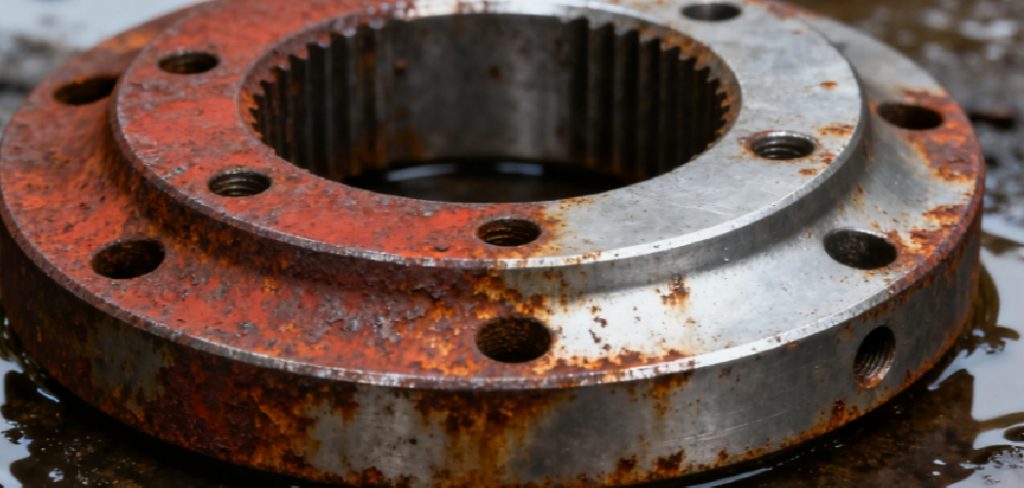
Sometimes shiny metal is exactly wrong for the job. A bright, factory-fresh bracket looks out of place on a farmhouse table, and a clean steel sign undercuts the worn, lived-in feel a prop is supposed to carry. Artists, prop makers, furniture restorers, and weekend decorators often want the opposite of new, that orange-brown patina that whispers of age and neglect.
Waiting months for nature to deliver it isn’t practical, though. The good news is that learning how to rust metal fast is a controlled, repeatable process once you grasp the simple chemistry behind it.
This guide covers why metal rusts in the first place, the quickest safe methods to speed things along, the supplies you’ll want, a clear step-by-step process, and the finishing touches that lock the look in place. It reads like a kitchen-table chemistry trick at first. In practice, it’s closer to a craft you can repeat with confidence.
Why Metal Rusts and How to Speed It Up
Before encouraging rust, it helps to know what you’re actually triggering. Rust isn’t random decay so much as a predictable reaction, and once you understand it, you can nudge it along on demand.
The Science of Oxidation
Rust forms when iron reacts with oxygen in the presence of moisture. The iron gives up electrons, oxygen takes them, and the result is iron oxide, that flaky orange-brown layer we recognize on old gates and tools.
Left alone, this happens slowly. Speeding it up is mostly a matter of flooding the metal with the three things the reaction craves: oxygen, water, and a little chemical encouragement.
What Accelerates the Rusting Process
A few common ingredients turn a months-long process into a same-afternoon one. Salt makes water more conductive, which moves the reaction along quickly.
Acid, like the vinegar in your cupboard, etches the surface and strips away resistance. Hydrogen peroxide pushes oxidation hard, supplying oxygen in a form the iron grabs onto eagerly. Combine them and you accelerate what nature would otherwise take its time with.
Which Metals Rust and Which Do Not
Not every metal cooperates. Iron and plain steel rust readily, which makes them the obvious candidates for this kind of project.
Others resist or behave differently. Aluminum oxidizes but doesn’t form classic red rust, brass develops its own patina entirely, and stainless steel is built specifically to fight corrosion. If your piece won’t rust no matter what you throw at it, the metal itself is likely the reason.
Choosing Your Rusting Method
No single approach is best for every project. Your timeline, the finish you’re chasing, and how comfortable you are around chemicals all factor into the choice.
Vinegar, Salt, and Peroxide Method
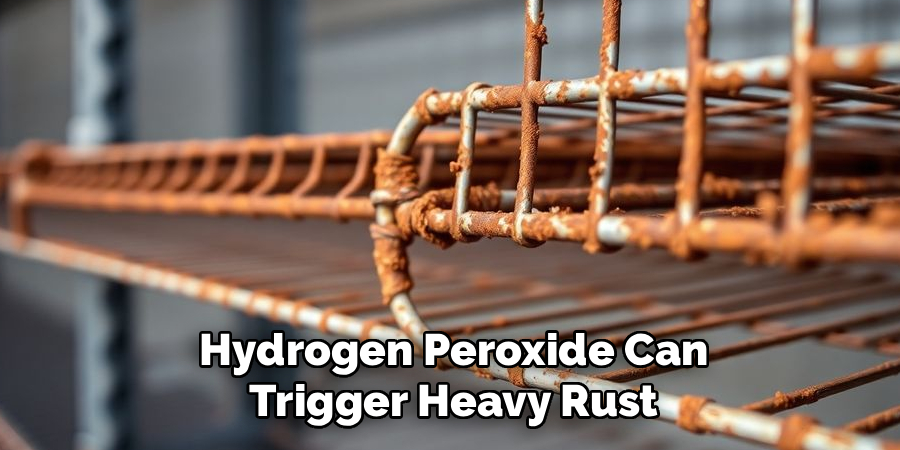
This is the fast favorite, and the one most of this guide centers on. A mix of white vinegar, salt, and hydrogen peroxide can trigger heavy rust in under an hour.
It’s cheap, reasonably safe, and uses things you probably already own. For most people wanting quick results, it’s the sensible starting point.
Saltwater Spray Method
If you’d rather a gentler, more natural-looking patina, repeated saltwater spraying builds rust evenly over a day or two. You mist the piece, let it dry, then mist again.
It’s slower and demands patience. The payoff can be a more authentic, weathered finish that doesn’t look quite as forced as the rapid chemical route sometimes does.
Bleach and Vinegar Method
For an aggressive, deeply pitted look, a bleach and vinegar approach eats into the surface more harshly. It produces dramatic results quickly.
The catch is risk. These chemicals demand more caution and careful handling, so this method suits someone ready to take ventilation and safety seriously rather than a casual first try.
Comparing Speed, Color, and Safety
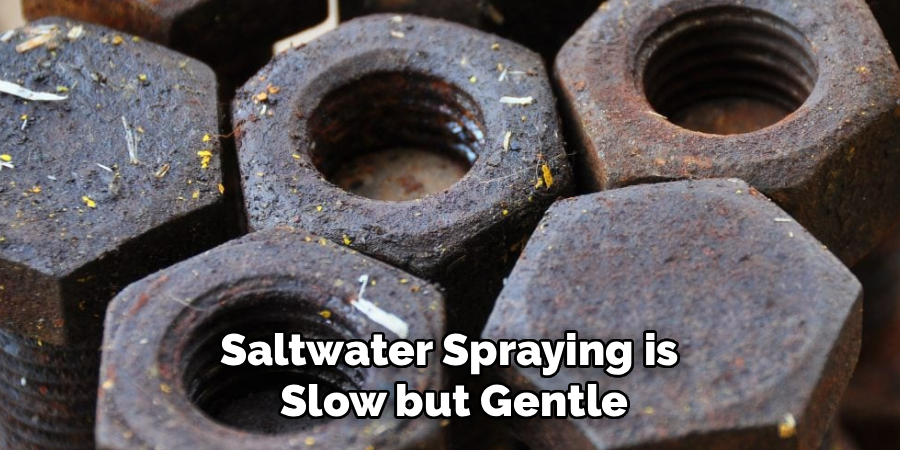
Roughly speaking, the vinegar, salt, and peroxide mix is fast, fairly safe, and produces a vivid orange rust. Saltwater spraying is slow but gentle and natural-looking. The bleach route is fastest and most aggressive, yet carries the highest risk.
If you’re unsure, start with the peroxide method. It balances speed and control well, and you can experiment with the others once you’ve got a feel for the basics.
Tools and Materials You Will Need
Most of what you need is inexpensive, and a fair amount is probably already in your home. Gathering everything first keeps you from scrambling mid-reaction.
Common Household Chemicals
The core agents are white vinegar, table salt, and hydrogen peroxide. Together they drive the fastest household rusting methods.
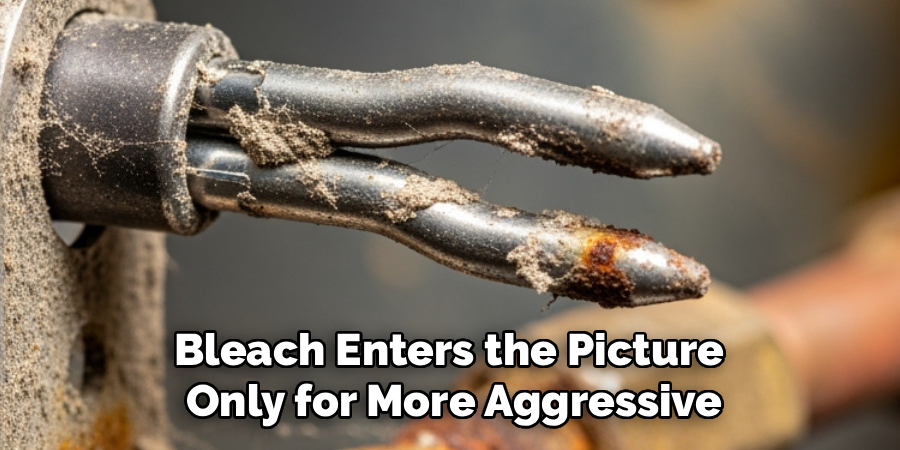
Bleach enters the picture only for the more aggressive approach, and it calls for extra care. For most projects, the vinegar, salt, and peroxide trio handles the heavy lifting on its own.
Application and Spray Supplies
How you apply the solution depends on the piece. Spray bottles work beautifully for large or oddly shaped items, letting you mist evenly.
A plastic tub suits smaller pieces you’d rather soak. Keep a few brushes and rags around too, since they’re handy for working solution into recesses a spray might miss.
Surface Prep Items
Preparation tools matter as much as the chemicals. Sandpaper and steel wool let you scuff the metal and strip away coatings that would otherwise block the reaction.
A degreaser earns its place here as well. Many metal items carry a protective film or oil from the factory, and that has to go before rust can take hold.
Safety and Cleanup Gear
Don’t treat this part as optional. Gloves and eye protection are basic essentials whenever these solutions are in play.
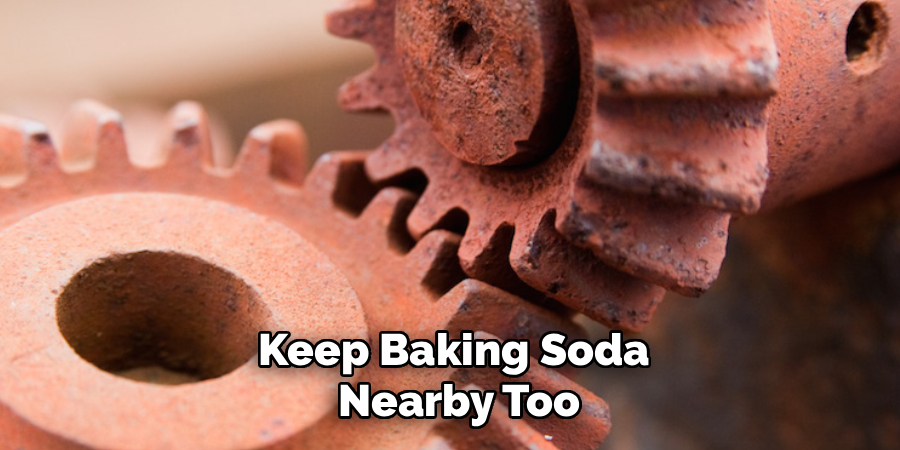
Keep baking soda nearby too. It neutralizes the acidic reaction, which makes both cleanup and disposal safer, and a ventilated workspace rounds out the setup.
Preparing Your Metal Before Rusting
Good prep is where an even finish is actually won. Skip it, and the rust tends to come out blotchy, advertising every spot you missed.
Cleaning Off Oils and Grease
Start by washing the metal with soap and water, then wipe it down with a degreaser. Oils and grease create resist spots where the solution simply can’t react.
A genuinely clean surface rusts uniformly. It’s a dull step, admittedly, but it sets up everything that follows.
Stripping Paint and Clear Coats
Many metal items come coated with paint or a clear protective layer designed to prevent exactly the reaction you want. Those finishes have to come off.
Sanding or a chemical stripper removes them. If your solution beads up or simply won’t take hold, an unseen coating is usually the culprit.
Roughing the Surface for Faster Results
Scuffing the bare metal with sandpaper or steel wool opens up the surface. This gives the solution more to grip and speeds the reaction noticeably.
You’re not trying to gouge deep scratches, just break the smooth, sealed finish. A few firm passes usually do it.
How to Rust Metal Fast: Step-by-Step Guide
This walkthrough uses the vinegar, salt, and peroxide method, since it balances speed with control. The main thing to keep in mind is that working in stages gives the fastest, most even results. Layering beats dumping everything on at once.
Step 1: Clean and Degrease the Metal
Scrub the surface thoroughly, then wipe it with alcohol or degreaser and let it dry. Nothing should remain that could block the reaction or leave a bare, unrusted patch.
This echoes the prep stage on purpose. A clean start genuinely matters that much.
Step 2: Scuff the Surface
Run steel wool or coarse sandpaper over the metal to open it up. The roughened surface reacts faster and more evenly than a smooth, sealed one.
Keep the pressure firm but not destructive. You want texture, not deep grooves that might show through the finished rust.
Step 3: Apply Vinegar to Kickstart Oxidation
Spray or brush white vinegar across the whole surface and let it sit for a few minutes. The acid begins etching the metal and primes it for what comes next.
Don’t rush this. Giving the vinegar a brief head start helps the heavier solution take hold more evenly.
Step 4: Mix and Apply the Rusting Solution
In a non-metal container, combine hydrogen peroxide, vinegar, and a generous amount of salt. Stir until the salt dissolves, then spray or brush the mix evenly across the piece.
Aim for full, even coverage. Patchy application leads to patchy rust, so make sure the solution reaches everywhere you want aged.
Step 5: Watch the Rust Develop
Now watch the surface change. Within minutes, the metal often begins turning orange as the reaction works, sometimes bubbling slightly as it goes.
It’s oddly satisfying to observe. Resist the urge to touch it while it’s actively reacting, and let the color build on its own.
Step 6: Reapply to Build Deeper Rust
For a richer, more textured finish, layer on more solution once the first pass starts to dry. Sprinkling extra salt over the wet surface intensifies both color and texture.
This is where staging pays off. Several light applications give you far more control over depth than one heavy soak.
Step 7: Let It Dry Fully
When you’re happy with the coverage, let the piece air dry completely. As the moisture leaves, the rust sets and tends to darken into a deeper, more convincing tone.
Be patient here. Drying fully matters, since handling a damp piece can smear the finish you just built.
Step 8: Brush Off Loose Flakes
Once dry, lightly brush away the powdery excess with a dry brush or cloth. This reveals the stable rust layer underneath and removes the loose bits that would otherwise rub off later.
What’s left should look and feel like genuine, settled rust. This is the moment the project comes together.
Alternative Fast Rusting Methods
The peroxide mix isn’t the only route. Depending on your supplies or the finish you’re after, one of these may suit you better.
The Saltwater Soak and Air Cycle
For a more natural patina, alternate saltwater exposure with air. Soak or spray the piece with heavily salted water, let it dry in the open air, then repeat.
Each cycle builds a little more rust. Over a day or so, this produces an even, weathered look that can feel more authentic than the rapid chemical method.
The Bleach and Hydrogen Peroxide Combo
When you want aggressive, deep rust quickly, a bleach and hydrogen peroxide mix delivers. It bites into the surface fast and creates heavy texture.
Treat this one with respect, though. The fumes are stronger and the reaction harsher, so good ventilation and proper protection aren’t optional here.
Using a Commercial Rusting Solution
Sometimes a store-bought aging product makes sense, particularly when you need consistent, repeatable results across several pieces. These solutions are formulated for predictable outcomes.
If you go this route, follow the label closely. The convenience can be worth it for larger projects where uniformity matters more than experimenting.
Sealing and Protecting the Rusted Finish
Rust, by nature, wants to keep going. Without protection, your finish may continue spreading, flake off, or rub orange onto everything it touches. Sealing stabilizes the look.
Choosing a Clear Sealant
Several options work, depending on the piece and the effect you want. A matte sealer keeps the rust looking raw and natural, wax gives a soft sheen, and a clear coat offers a harder, more durable shell.
Match the sealant to how the item will be used. Something handled often or kept outdoors benefits from a tougher coating than a decorative shelf piece does.
Applying an Even Protective Layer
Whatever you choose, thin and consistent coats work best. Spray or brush them on evenly so they lock in the rust without hiding the texture you worked to create.
Build the protection gradually if needed. A couple of light layers tend to outperform one thick coat that may pool or obscure the finish.
Maintaining the Look Long Term
Even sealed, a rusted piece appreciates a little care. Gentle cleaning, avoiding harsh scrubbing, keeps the surface intact.
Reapply the sealant periodically, especially on items that see regular handling or weather. A quick maintenance habit helps the finish hold up for years rather than months.
Common Mistakes to Avoid
Most disappointing results trace back to a handful of predictable errors. Knowing them ahead of time saves a lot of redone work.
Skipping the Cleaning and Scuffing Steps
It comes up again because it causes so many problems. Oils, grease, and leftover coatings create resist spots, leaving the rust patchy and uneven.
A few minutes of cleaning and scuffing prevents hours of frustration. Don’t talk yourself out of it.
Using Too Little Salt or Solution
Going light on the salt or skimping on the solution tends to produce thin, faint rust that barely reads as aged. Salt is doing real work in this reaction.
Be generous, and don’t be shy about reapplying. Weak coverage is one of the most common reasons a piece fails to develop convincing color.
Forgetting to Seal the Finish
This one quietly undoes good work. Unsealed rust keeps spreading, flaking, and transferring onto hands and surfaces.
A sealant stops the reaction and stabilizes the look. Treat it as a required final step rather than an afterthought.
Safety Tips for Rusting Metal at Home
None of this is especially dangerous when handled sensibly. A careless attitude, though, can cause real trouble, so a few habits are worth keeping.
Working in a Ventilated Space
Vinegar, peroxide, and especially bleach can give off fumes. Open a window, run a fan, or work outside so you’re not breathing concentrated vapor.
Good airflow costs nothing. It’s among the easiest precautions to get right.
Never Mixing Bleach With Vinegar Carelessly
This deserves emphasis. Combining bleach and vinegar can release chlorine gas, which is genuinely harmful, so never mix them on a whim.
Stick to known recipes and keep these chemicals separate unless a trusted method calls for a specific, careful combination. Improvising with chemistry you don’t fully understand is where accidents happen.
Disposing of Solutions Responsibly
Used solution isn’t something to tip carelessly down the drain. Neutralize it with baking soda first, then follow your local disposal guidelines.
This protects both your plumbing and the wider environment. A small amount of care here goes a long way.
Frequently Asked Questions
A few questions come up regularly. Here are short, honest answers.
How Long Does It Take to Rust Metal Fast?
Visible rust can appear within minutes using the vinegar, salt, and peroxide method. The surface often starts turning orange almost as soon as the solution goes on.
Full results, including drying and a deeper color, usually take a few hours. Building heavier texture through repeated layers can stretch that out a bit.
Can You Rust Stainless Steel or Aluminum?
Not easily, and that’s by design. Stainless steel resists corrosion, while aluminum oxidizes without forming the classic red rust you’re probably after.
These metals need different treatment to mimic an aged look. If genuine rust is the goal, plain steel or iron will serve you far better.
Will the Rust Keep Spreading After Sealing?
A proper sealant stops the reaction and stabilizes the finish. Once the rust is dry and sealed, it shouldn’t keep eating into the metal or rubbing off.
Skipping the seal, though, leaves the rust active. That’s exactly why the final protective layer matters so much.
Conclusion
For all the patience that natural weathering demands, learning how to rust metal fast turns out to be quick and genuinely rewarding once you understand the chemistry and pick the right method. Clean and scuff the surface, apply your vinegar, salt, and peroxide solution, let the rust develop and deepen, then dry and seal the finish to protect it.
Patience and basic safety produce the most even, authentic-looking results. Rushing tends to show, and skipping the seal tends to come back to haunt you.
So start small. A scrap piece or an unimportant bracket lets you test your mix and timing without much risk. From there, experiment with different solutions for new tones and textures, and when you land on a finish you love, share it with a friend or post it online. Your first convincingly aged piece is closer than you’d think.

About
Stuart Rich is a distinguished figure in the world of metalworking and fabrication, with a decade of expertise creating innovative and sustainable metal projects. His professional focus lies in merging traditional blacksmithing and machining with modern manufacturing techniques, fostering designs that are both practical and durable. As the author of Metalenify, Stuart Rich delves into the art and science of metallurgy and DIY metal creation, inspiring artisans, hobbyists, and industry professionals alike.
Education
RMIT University
(Melbourne, Australia)
Associate Degree in Engineering Technology (Mechanical / Manufacturing)
Focus on metallurgical properties, industry-driven projects, and practical metal craftsmanship. Gained hands-on experience with traditional machining and digital manufacturing tools, such as CAD, CNC software, and precision welding equipment.
Nottingham Trent University
(United Kingdom)
Bachelor’s in Product Design and Materials Engineering (Honors)
Specialized in product design with a heavy focus on blending creativity with metal production and fabrication techniques. Participated in real-world industry projects, collaborating with architectural and hardware manufacturing companies to optimize material efficiency.
Publications and Impact
In Metalenify, Stuart Rich shares his insights on structural metal design processes, material grades, and strategies for efficient shop production. His writing bridges the gap between raw artisan knowledge and modern industrial needs, making it a must-read for both budding DIY metalworkers and seasoned fabrication professionals.





