To rust-proof metal effectively, clean the surface completely, remove any existing rust, apply a chemical rust converter, coat with a quality primer, and finish with a durable topcoat or sealant. Regular maintenance — and limiting the metal’s exposure to persistent moisture and oxygen — will further slow oxidation and extend the life of your metal items.
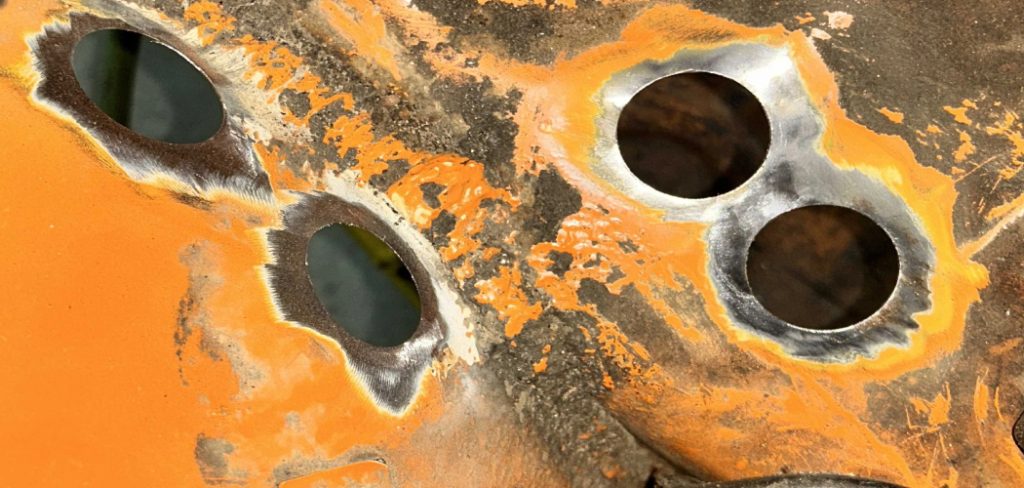
Rust is, in many ways, a slow disaster. It starts as a faint discoloration, something easy to ignore, and then quietly compromises the structural integrity of tools, furniture, and vehicles before most people notice anything is wrong. The underlying chemistry is straightforward: when iron-containing metal meets oxygen and moisture, an electrochemical reaction begins that steadily converts solid metal into brittle, flaking oxide. Left unchecked, that process does not pause or reverse on its own.
The good news is that protecting metal from corrosion does not require professional equipment or industrial facilities. With the right materials, a clear sequence of steps, and a modest time investment upfront, you can establish a protective system that holds up under genuinely harsh conditions. This guide on how to rust proof metal walks through each stage — from surface inspection to long-term maintenance — along with common mistakes and material-specific considerations worth knowing before you start.
Understand the Causes of Rust
Rust — technically iron oxide — forms when iron or iron-containing alloys are exposed to both oxygen and moisture simultaneously. The process is electrochemical rather than purely mechanical, which is why a sealed, painted surface can still develop rust if the coating develops even a small breach. High humidity accelerates the reaction considerably, and environments with salt exposure or frequent temperature swings tend to push that acceleration further.
Water functions as a kind of enabler here: it allows oxygen to bond with metal at the molecular level, gradually weakening the material and causing it to shed in layers. This is why surface prep matters more than the quality of the topcoat alone. A paint applied over even lightly compromised metal is, effectively, a delay rather than a solution.
Tools and Materials You’ll Need
Before starting, it helps to have everything assembled in one place. Stopping mid-process to locate a missing item often means leaving a partially treated, moisture-vulnerable surface exposed longer than intended.
You will need:
- A stiff wire brush or medium-grit sandpaper (for mechanical rust removal)
- An industrial degreaser or mineral spirits (for surface cleaning)
- A chemical rust converter containing tannins or phosphoric acid
- An oil-based rust-inhibiting metal primer
- A durable topcoat paint formulated for metal — enamel or epoxy-based
- A clear protective sealant or metal wax
- Safety goggles, heavy-duty gloves, and a respirator mask
The protective equipment is not optional. Rust dust contains fine metal particulates, and many chemical converters and primers produce fumes that are harmful with repeated exposure.
7 Simple Step-By-Step Guidelines on How to Rust Proof Metal
Step 1: Inspect and Prepare the Work Area
Start with a thorough visual inspection of the entire metal surface. Look specifically for deep pitting, structural cracks, and areas where paint is already lifting — these spots tend to harbor moisture even after surface cleaning, and they will need more attention during the converter and primer stages.
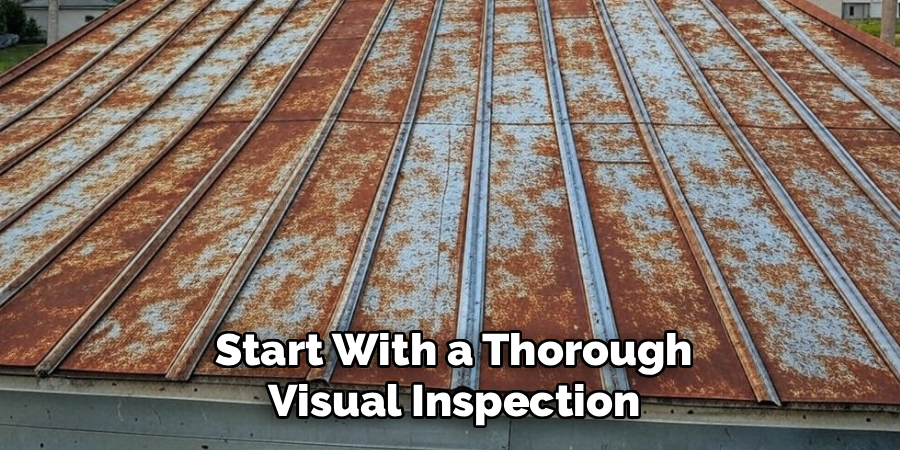
Choose a workspace that is well-ventilated. An open garage or outdoor area works well, provided conditions are dry; applying chemical treatments in high humidity can interfere with curing times and adhesion. Lay down a thick plastic tarp or drop cloth to catch rust dust and chemical runoff, and arrange your materials within easy reach. Once you begin applying converters or primers, you want to maintain momentum.
Step 2: Remove Loose Rust and Old Paint
This step tends to be where people underestimate how much work is actually involved, and where shortcuts come back to cause problems later. New coatings will not bond to flaking, unstable surfaces — the paint may appear intact for a few weeks, but the rust beneath will continue spreading and eventually push it off.
Use a wire brush to scrub joints, corners, and pitted areas first, since these are typically the worst affected. For larger flat sections, an orbital sander fitted with medium-grit sandpaper moves faster and produces a more even surface. You do not need to achieve a polished finish; what matters is eliminating any loose material that could trap moisture beneath the new coating. For stubborn spots that resist medium-grit paper, step down to a lower grit or use a metal scraper. The extra time spent here tends to pay off noticeably in how long the finished job holds up.
Step 3: Clean and Degrease the Metal Surface
After mechanical removal, the surface will carry a fine coating of dust, embedded grime, and residual oils — including oils transferred from your hands during handling. These contaminate primer adhesion in ways that are not always visible until the paint begins peeling weeks later.
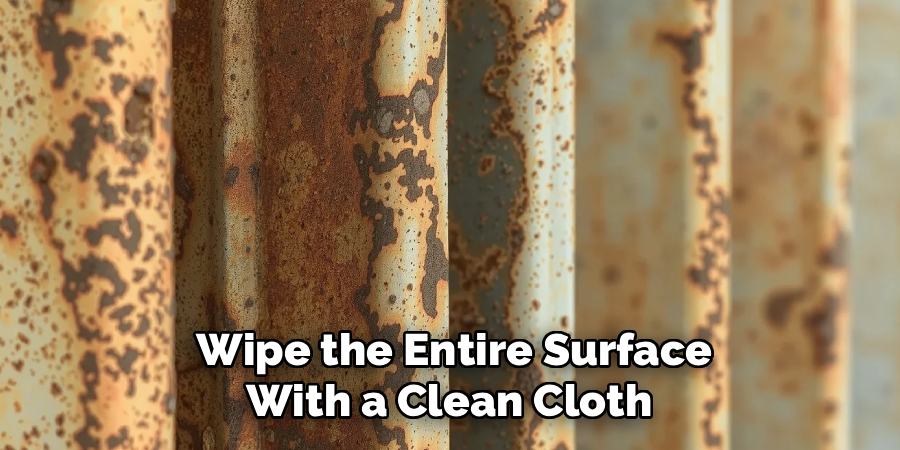
Wipe the entire surface with a clean cloth soaked in mineral spirits or an industrial degreaser. Scrub until no more residue transfers to a clean part of the rag. If the degreaser instructions call for a water rinse, follow them — then dry the metal immediately and thoroughly with a lint-free towel. Even brief exposure to standing water on bare, freshly abraded metal can produce what is called flash rust: a microscopic oxidation layer that forms within minutes and undermines subsequent treatments. Speed and thoroughness during drying are not overcautious; they are functionally necessary.
Step 4: Apply a High-Quality Rust Converter
A chemical rust converter serves as a kind of intermediary treatment for any residual oxidation that mechanical removal could not fully reach. Products in this category typically use tannins or phosphoric acid — both of which react with iron oxide to produce a stable, dark polymeric compound that effectively seals the remaining rust in place and provides a bondable surface for primer.
Apply the converter with a disposable brush, working it into any pits or crevices rather than just coating the surface. Follow the manufacturer’s drying instructions carefully — conversion typically takes between 24 and 48 hours, and rushing this stage means the chemical reaction may not complete fully. You should see the reddish-brown rust shift to a hard, dark crust during this window. That visual change indicates the conversion has occurred. Once cured, this layer functions as a base that both stabilizes old oxidation and accepts primer more readily than bare metal.
Step 5: Coat the Metal with an Oil-Based Primer
The primer stage is where the long-term performance of a rust-proofing job is largely determined. An oil-based rust-inhibiting primer creates a moisture barrier that topcoat paint alone cannot replicate, partly because oil-based formulations penetrate slightly into the metal surface rather than sitting entirely on top of it.
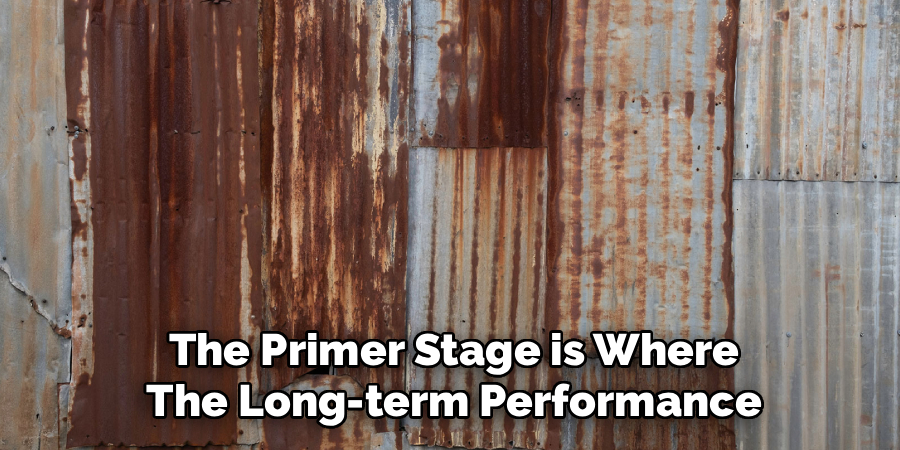
Stir the primer thoroughly before applying — the rust-inhibiting compounds tend to settle. Apply an even first coat with a quality bristle brush or spray gun, taking care to cover edges, seams, and any geometry that might catch and hold water. Once the first coat dries, lightly scuff it with fine-grit sandpaper to give the second coat something to grip, then apply a second full coat. Two coats of primer provide meaningful insurance against the microscopic pinholes that a single coat can leave behind — and those pinholes, however small, are entry points for moisture.
Step 6: Apply a Durable Topcoat or Paint
The primer establishes the corrosion barrier; the topcoat protects the primer itself from UV degradation, physical impact, and weathering. For most outdoor metal applications, an enamel or epoxy-based paint formulated for exterior metal use offers the best balance of durability and flexibility over time.
Apply the paint in thin, even layers rather than attempting full coverage in a single pass — thick coats are more prone to running, slow to cure properly, and can crack as they age. At least two coats are worth the time investment for any item that will see regular weather exposure. For metal subjected to more aggressive conditions — car undercarriages, for instance — a rubberized undercoating may be more appropriate than standard enamel, given that it better absorbs the physical impact of road debris and remains flexible across temperature ranges.
Step 7: Seal the Surface and Maintain Regularly
Even a well-applied paint system develops minor scratches and chips over time. A clear protective sealant or dedicated metal wax applied over the fully cured topcoat adds a sacrificial outer layer — one that weathers first, protecting the paint beneath from taking the initial damage from moisture and abrasion.
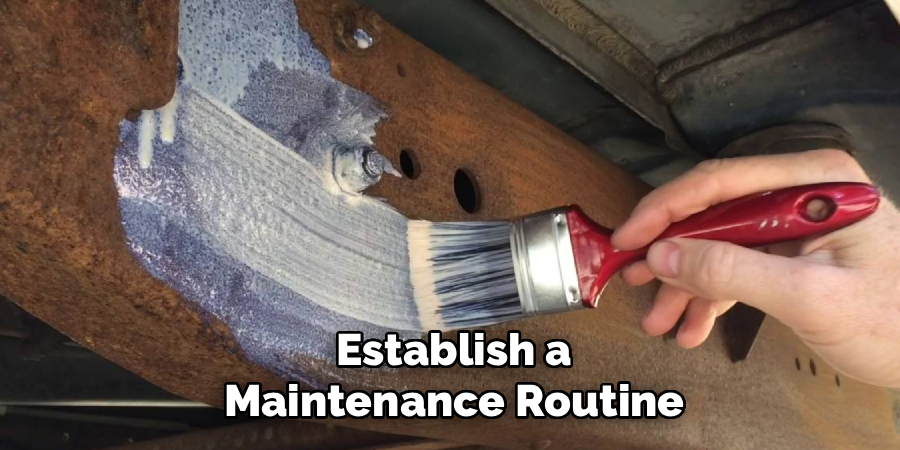
Establish a maintenance routine. Visually inspect the metal every six months for chips, bubbling, or areas where the paint appears to be lifting. When you find exposed metal — regardless of how small the area — address it quickly with a spot application of primer and matching paint. Catching damage early is genuinely the most cost-effective approach; a small touch-up takes minutes, while stripping and recoating an entire piece takes most of a day.
Following these steps on how to rust proof metal will not only keep your metal items looking great, but also prolong their lifespan.
Rust-Proofing Different Types of Metal Items
Not all metal items benefit from the same approach, and the application environment shapes those differences considerably. Cast iron outdoor furniture, for example, responds well to baked enamel finishes supplemented by periodic waxing — the wax layer helps it survive extended rain and sun exposure without constant repainting.
Automotive undercarriages face a different challenge: constant bombardment from road salt and gravel means that thick rubberized undercoatings or lanolin-based fluid film treatments generally outperform standard paint in that context. Hand tools present a simpler situation — regular wiping with a light machine oil or silicone spray is usually sufficient to prevent surface oxidation in workshop environments where heavy paint would just wear off during use.
Frequently Asked Questions
Q1: What Is The Best Primer To Use For Rust Prevention?
The best choice for most applications is a heavy-duty oil-based metal primer that contains zinc-based rust-inhibiting compounds. Zinc-rich primers offer what is called galvanic protection — the zinc corrodes preferentially before the underlying steel or iron does, acting as a sacrificial barrier. Water-based or standard latex primers should generally be avoided here; they may introduce moisture to the surface and tend not to provide the level of long-term adhesion that oil-based formulations can.
Q2: Can I Paint Directly Over Existing Rust?
Painting over loose, flaking rust is not a viable approach — the paint will not adhere to the unstable surface and will lift relatively quickly. For light surface rust that cannot be fully sanded away, applying a chemical rust converter first is the correct sequence. Once the converter cures to a hard, darkened surface, it is stable enough to accept primer and topcoat without the underlying oxidation continuing to expand.
Q3: How Often Should I Reapply Rust Protection To Outdoor Items?
For most outdoor metal, a visual inspection every six months is a reasonable baseline. In coastal areas where salt exposure is a factor, an annual application of protective wax or clear sealant may be worth building into the routine. For standard painted metal in lower-exposure environments, touching up chips and scratches promptly as they appear — rather than waiting for widespread damage — can extend years between full recoating cycles.
Securing the Lifespan of Your Metal Assets
Protecting metal from corrosion is less a single event than an ongoing practice. The initial preparation and coating work establish the foundation, but the longevity of that foundation depends on consistent monitoring and prompt response when the surface is compromised.
By working through each stage methodically — removing existing oxidation, applying a converter where necessary, building up quality primer coats, and finishing with a protective topcoat and sealant — you can substantially slow or interrupt the electrochemical processes that degrade metal over time. The investment of time and materials at the outset tends to be considerably smaller than the cost, in both money and effort, of addressing advanced corrosion after the fact. Thanks for reading this guide on how to rust proof metal.
About
Stuart Rich is a distinguished figure in the world of metalworking and fabrication, with a decade of expertise creating innovative and sustainable metal projects. His professional focus lies in merging traditional blacksmithing and machining with modern manufacturing techniques, fostering designs that are both practical and durable. As the author of Metalenify, Stuart Rich delves into the art and science of metallurgy and DIY metal creation, inspiring artisans, hobbyists, and industry professionals alike.
Education
RMIT University
(Melbourne, Australia)
Associate Degree in Engineering Technology (Mechanical / Manufacturing)
Focus on metallurgical properties, industry-driven projects, and practical metal craftsmanship. Gained hands-on experience with traditional machining and digital manufacturing tools, such as CAD, CNC software, and precision welding equipment.
Nottingham Trent University
(United Kingdom)
Bachelor’s in Product Design and Materials Engineering (Honors)
Specialized in product design with a heavy focus on blending creativity with metal production and fabrication techniques. Participated in real-world industry projects, collaborating with architectural and hardware manufacturing companies to optimize material efficiency.
Publications and Impact
In Metalenify, Stuart Rich shares his insights on structural metal design processes, material grades, and strategies for efficient shop production. His writing bridges the gap between raw artisan knowledge and modern industrial needs, making it a must-read for both budding DIY metalworkers and seasoned fabrication professionals.


