
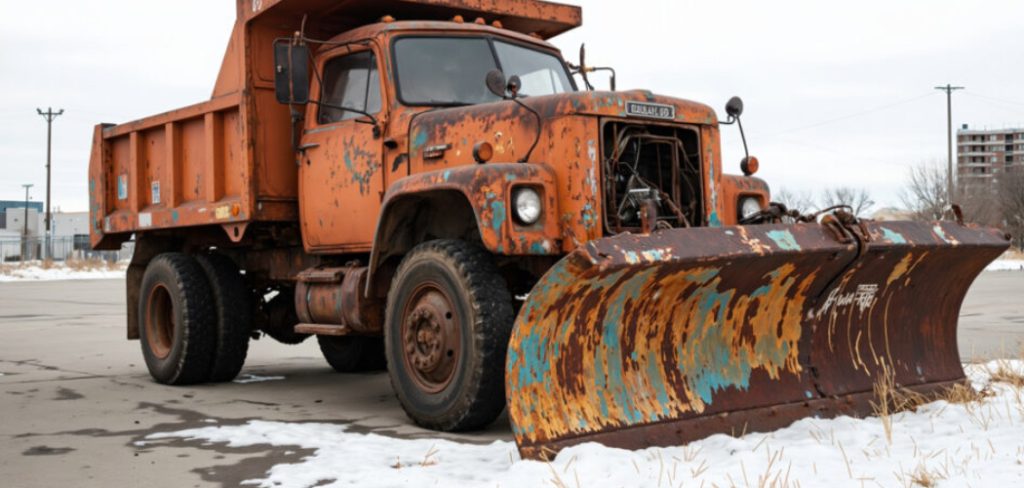
Rust has a sneaky way of creeping onto your favorite tools, garden furniture, and car parts. One day the metal looks fine, and the next it’s covered in orange flakes. The good news? You can fix it yourself with a little patience and some sandpaper. Sanding rust off metal is one of the most reliable DIY repairs you can learn, and you don’t need fancy gear to do it well.
In this guide on how to sand rust off metal, you’ll learn exactly how to remove rust by hand, what supplies to grab, and the steps that make the job easier.
We’ll also cover common mistakes so you can avoid frustration and protect your metal for the long haul.
What Are the Benefits?
Removing rust isn’t just about looks. It actually saves you money and keeps your belongings working the way they should.
Here’s what you gain when you take the time to sand rust off metal:
- Longer-lasting items. Rust eats through metal over time. Stopping it early keeps your tools, furniture, and equipment in service for years.
- Better appearance. A smooth, clean surface looks far more appealing than a flaky, orange-stained one.
- Stronger paint and finish. Paint and primer stick much better to clean metal. Skip the sanding, and your fresh coat will peel within months.
- Improved safety. Rusty edges can be sharp, and weakened metal can fail when you least expect it.
- Saved money. Restoring an item costs far less than buying a replacement.
The bottom line is simple: a small effort now prevents a bigger problem later. Now let’s gather what you’ll need before getting started.
What Will You Need?
You probably have most of these items in your garage already. Here’s a quick checklist to get organized before you begin:
- Sandpaper in a few grits (coarse 60–80, medium 120–180, and fine 220+)
- A sanding block or sponge for even pressure
- A wire brush for loose, flaky rust
- Safety gear: goggles, dust mask, and work gloves
- Clean rags or microfiber cloths
- Mineral spirits or soapy water for cleaning
- A bucket of water if you plan to wet-sand
- Rust-inhibiting primer or paint to protect the metal afterward
- Optional: an electric sander or drill with a sanding attachment for large jobs
Once you have these ready, you can move through the project without stopping to hunt for supplies. Let’s get into the steps.
10 Easy Steps on How to Sand Rust Off Metal
This is the heart of the guide. Follow these steps in order, and you’ll go from a rusty mess to a clean, protected surface. Take your time with each one.
Step 1: Set Up a Safe Work Area
Before you touch any sandpaper, choose a good spot to work. Pick an area with plenty of fresh air, like an open garage or a shaded outdoor space. Sanding rust creates fine dust, and you don’t want to breathe it in or scatter it across your living room.
Lay down a drop cloth or old newspaper to catch the debris. This makes cleanup much faster. Make sure you have decent lighting too, since you’ll need to see the rust clearly to know when it’s gone. A well-prepared space sets the tone for the whole project.
Step 2: Put On Your Safety Gear
Rust dust is sharp and irritating, so protect yourself first. Slip on a pair of work gloves to guard your hands from rough metal and abrasive paper. Sharp rust edges can cut skin quickly.
Next, wear safety goggles to keep particles out of your eyes. A dust mask or respirator is just as important, especially for bigger jobs that throw a lot of dust into the air. Long sleeves help too. Five minutes of prep here saves you from cuts, eye injuries, and a sore throat later.
Step 3: Clean the Metal Surface
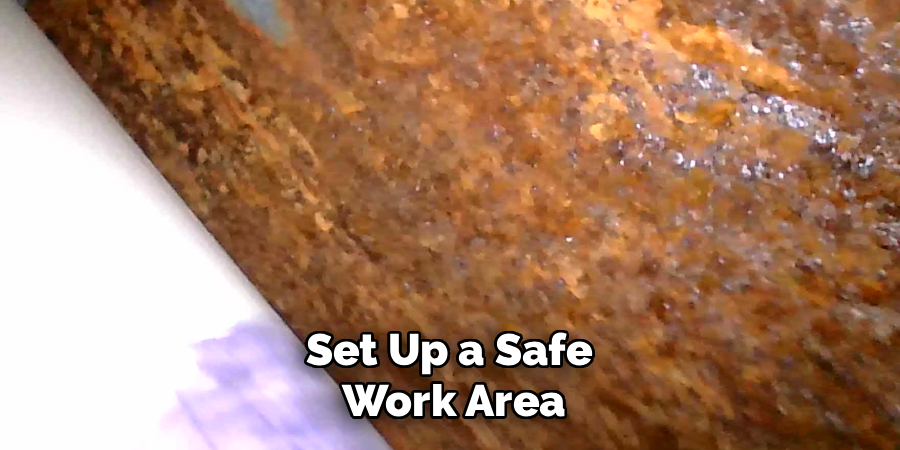
Don’t sand over dirt, grease, or grime. Wipe the metal down with soapy water or mineral spirits to remove oil and surface dust. Dirt mixed with rust just clogs your sandpaper and slows you down.
Let the surface dry completely before moving on. If you skip this step, you’ll grind grit into the metal and create a messier job. A clean starting point means your sandpaper works on the rust itself, not on a layer of muck. Once dry, you’re ready to attack the loose rust.
Step 4: Remove Loose Rust With a Wire Brush
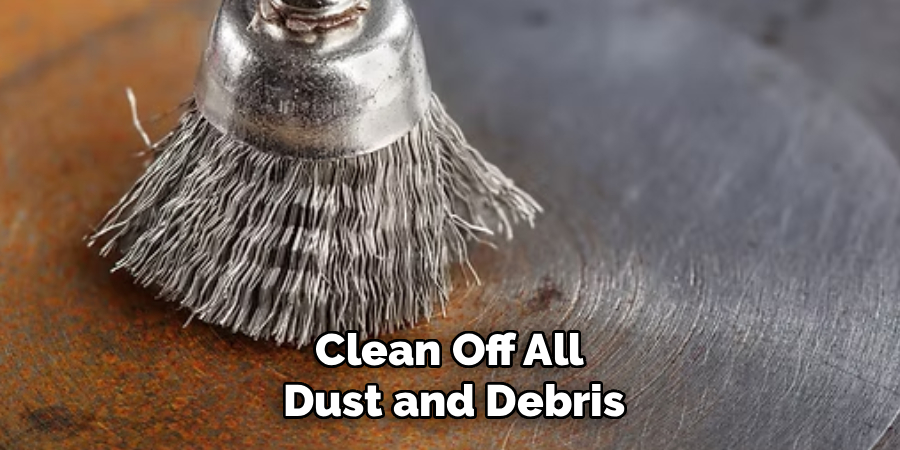
Before you reach for sandpaper, knock off the easy stuff. Use a stiff wire brush to scrub away flaky, loose rust. Work in firm, short strokes and follow the grain or shape of the metal.
This step does the heavy lifting and saves your sandpaper for the tougher, embedded rust. You’ll see chunks of orange flake fall away quickly. Don’t worry about getting it perfect here; you just want to clear the worst of it so the sanding goes smoother and faster.
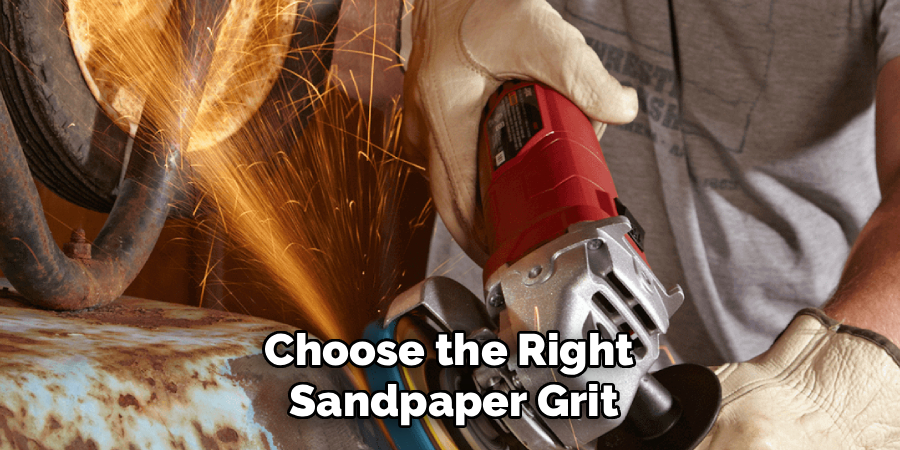
Step 5: Choose the Right Sandpaper Grit
Grit numbers can confuse beginners, so here’s the simple rule: lower numbers are coarse, higher numbers are fine. Start with a coarse grit (around 60–80) to tackle heavy rust. Coarse paper removes material fast.
For lighter rust or smoother surfaces, jump to a medium grit (120–180). You’ll switch to finer grits later for finishing. Starting too fine wastes time, while starting too coarse on light rust can scratch the metal. Match your grit to the rust, and the job gets much easier.
Step 6: Start Sanding in One Direction
Wrap your sandpaper around a sanding block for even pressure, then begin. Sand in one steady direction rather than scrubbing back and forth randomly. Following a single direction keeps your scratches uniform and prevents swirl marks.
Use firm but controlled pressure. Let the sandpaper do the work; pressing too hard just tires you out and can gouge the metal. Keep your strokes long and consistent. As the rust lifts, you’ll see fresh, gray metal start to appear. That’s your sign things are working.
Step 7: Check Your Progress Often
Stop every minute or two and wipe the dust away with a rag. This lets you see how much rust is left. It’s easy to keep sanding a clean spot while ignoring a rusty patch nearby.
Run your fingers over the surface to feel for rough areas. Smooth, bare metal feels even, while leftover rust feels gritty or pitted. Checking often saves effort and helps you sand evenly. When the coarse grit has done its job, you’re ready to refine the finish.
Step 8: Switch to a Finer Grit for Smoothing
Now move to a finer grit, like 220 or higher, to smooth the surface. The coarse paper removed the rust, but it also left small scratches behind. Fine grit erases those marks and leaves a clean, polished feel.
Sand in the same direction as before, using lighter pressure this time. You’re not removing material now; you’re refining it. Wipe and check as you go. The metal should start to look smooth and even. This step makes a big difference if you plan to paint afterward.
Step 9: Clean Off All Dust and Debris
Once the metal looks clean and smooth, get rid of every speck of dust. Wipe the surface with a dry cloth first, then go over it with a rag dampened in mineral spirits. Any leftover dust will ruin your primer or paint.
Make sure the surface is completely dry before the next step. A clean, dry surface is the secret to a finish that actually lasts. Don’t rush this part. Skipping it is one of the most common reasons DIY paint jobs peel and fail too soon.
Step 10: Protect the Metal Right Away
Bare metal starts rusting again almost immediately, so don’t leave it exposed. As soon as the surface is clean and dry, apply a rust-inhibiting primer. This seals the metal and blocks moisture.
Once the primer dries, add a coat of paint or protective finish for extra defense. Follow the product’s drying instructions for the best result. This final step is what makes all your hard work pay off. Protect it now, and you won’t be sanding the same spot again in a few months.
5 Things You Should Avoid
Even simple projects have pitfalls. Steer clear of these common mistakes to get better results:
- Skipping safety gear. Rust dust and metal edges cause real injuries. Always wear gloves, goggles, and a mask.
- Starting with fine grit on heavy rust. It wastes time and wears out your sandpaper. Match the grit to the job.
- Sanding over a dirty surface. Grease and grime clog your paper and ruin the finish. Clean first, always.
- Pressing too hard. Heavy pressure gouges the metal and tires you out. Let the sandpaper do the work.
- Leaving bare metal exposed. Unprotected metal rusts again fast. Prime and paint as soon as you finish sanding.
Avoid these slip-ups, and your project will go smoother from start to finish.
Conclusion
How to sand rust off metal is a skill any beginner can master with the right approach. You start by setting up a safe space and protecting yourself, then clear loose rust, sand from coarse to fine grit, and finish with primer and paint. Each step builds on the last, and none of them require expensive equipment.
The payoff is worth it. You’ll extend the life of your tools and furniture, save money on replacements, and end up with a clean surface that looks great. Remember the key habits: clean before you sand, match your grit to the rust, check your progress often, and always protect the bare metal right away.
Ready to get started? Grab your sandpaper, pick one rusty item to tackle first, and put these steps to work. Once you see the results, you’ll feel confident taking on bigger projects with ease.

About
Stuart Rich is a distinguished figure in the world of metalworking and fabrication, with a decade of expertise creating innovative and sustainable metal projects. His professional focus lies in merging traditional blacksmithing and machining with modern manufacturing techniques, fostering designs that are both practical and durable. As the author of Metalenify, Stuart Rich delves into the art and science of metallurgy and DIY metal creation, inspiring artisans, hobbyists, and industry professionals alike.
Education
RMIT University
(Melbourne, Australia)
Associate Degree in Engineering Technology (Mechanical / Manufacturing)
Focus on metallurgical properties, industry-driven projects, and practical metal craftsmanship. Gained hands-on experience with traditional machining and digital manufacturing tools, such as CAD, CNC software, and precision welding equipment.
Nottingham Trent University
(United Kingdom)
Bachelor’s in Product Design and Materials Engineering (Honors)
Specialized in product design with a heavy focus on blending creativity with metal production and fabrication techniques. Participated in real-world industry projects, collaborating with architectural and hardware manufacturing companies to optimize material efficiency.
Publications and Impact
In Metalenify, Stuart Rich shares his insights on structural metal design processes, material grades, and strategies for efficient shop production. His writing bridges the gap between raw artisan knowledge and modern industrial needs, making it a must-read for both budding DIY metalworkers and seasoned fabrication professionals.





