
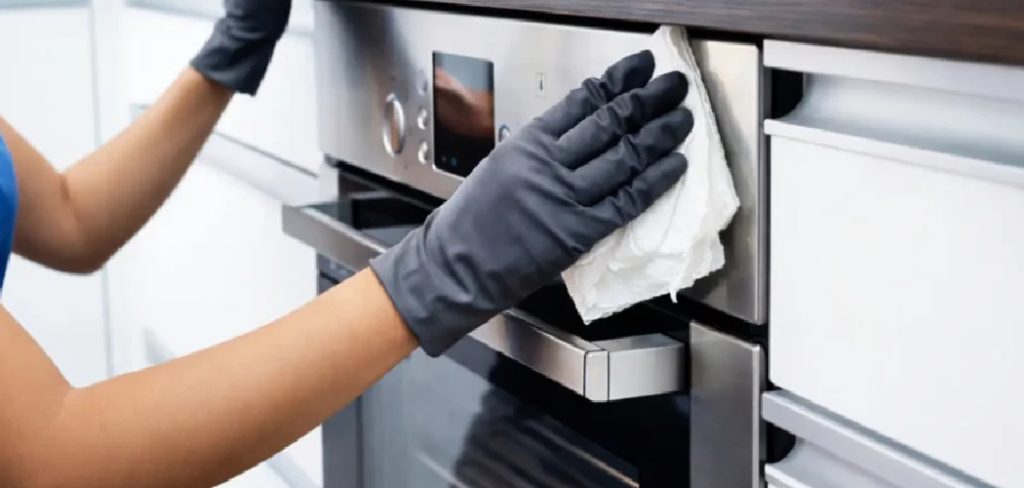
Stainless steel shows up everywhere in your home, from kitchen sinks and countertops to appliances, cookware, and food prep surfaces. It looks clean even when it isn’t. That shiny finish can hide germs, grease, and bacteria that build up over time. Cleaning and sanitizing are two different things, and knowing the difference matters for your health.
Cleaning removes visible dirt and grime. Sanitizing goes a step further by killing the bacteria and microbes that you can’t see. If you handle raw food, prep meals daily, or simply want a healthier kitchen, learning to sanitize stainless steel properly is a skill worth having.
This guide on how to sanitize stainless steel walks you through the whole process.
What Are the Benefits?
Sanitizing stainless steel does more than make it sparkle. The payoff touches your health, your wallet, and the lifespan of your surfaces and tools.
- A healthier home. Bacteria like Salmonella and E. coli can linger on kitchen surfaces. Regular sanitizing kills these germs and lowers your risk of foodborne illness. This matters most in spaces where you handle raw meat, eggs, or unwashed produce.
- Longer-lasting surfaces. Stainless steel resists rust and corrosion, but neglect can still cause damage. Trapped food, moisture, and harsh residue lead to pitting and stains over time. Proper care keeps your surfaces strong for years.
- A better-looking finish. Fingerprints, water spots, and grease dull the look of stainless steel fast. Sanitizing with the right method restores that bright, streak-free shine you love.
- Fewer odors. Bacteria cause bad smells. When you remove the germs, you remove the source of lingering kitchen odors too.
- Peace of mind. Knowing your surfaces are truly clean lets you cook and serve food with confidence. That comfort is worth the small effort it takes.
What Will You Need?
Gather your supplies before you begin. Having everything within reach makes the job faster and smoother. Here’s what works best for sanitizing stainless steel safely:
- Mild dish soap for the initial cleaning
- Warm water in a bowl or directly from the tap
- White vinegar for cutting grease and adding shine
- Food-safe sanitizing solution such as diluted bleach (one tablespoon per gallon of water) or a commercial food-contact sanitizer
- Two clean microfiber cloths, one for cleaning and one for drying
- A soft sponge with no abrasive scrubbing pad
- A spray bottle for easy application
- Rubber gloves to protect your hands
- Olive oil or mineral oil (optional) for polishing afterward
- Baking soda for tackling stubborn stains
Avoid steel wool, scouring pads, or anything rough. These scratch the surface and create grooves where bacteria can hide. Soft materials are always the safer choice.
10 Easy Steps on How to Sanitize Stainless Steel
Follow these steps in order. Skipping ahead can leave residue or germs behind, so take your time and work through each one carefully.
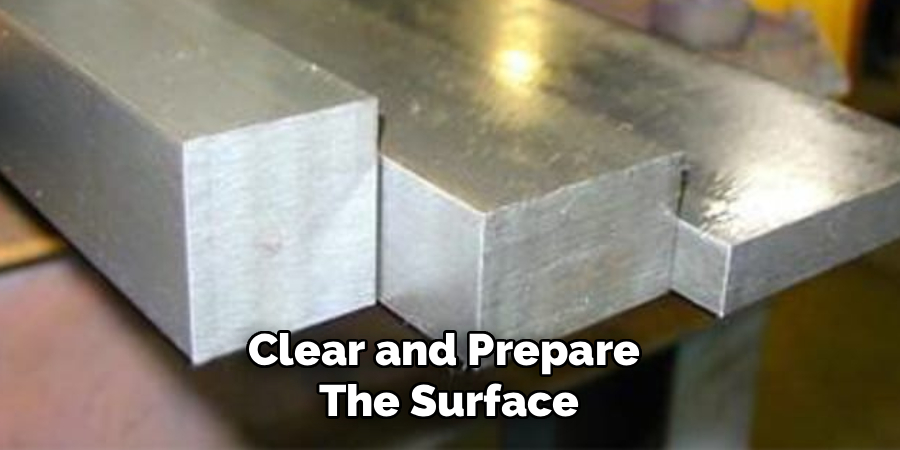
Step 1: Clear and Prepare the Surface
Start by removing everything from the area. Take away dishes, utensils, small appliances, and any clutter from the stainless steel surface. A clear workspace lets you reach every spot without obstacles. If you’re cleaning an appliance like a refrigerator, unplug it first for safety. Wipe away loose crumbs and debris with a dry cloth before you introduce any liquid. This first pass keeps you from pushing food particles around later.
Step 2: Rinse Off Loose Debris
Use warm water to rinse away any remaining loose dirt. For sinks and removable items, run them under the tap. For larger surfaces, dampen a microfiber cloth and wipe the whole area down. This step gets rid of surface grime so your soap can work directly on the grease and grime that’s stuck on. Warm water loosens residue better than cold, so don’t skip the temperature.
Step 3: Apply Mild Dish Soap
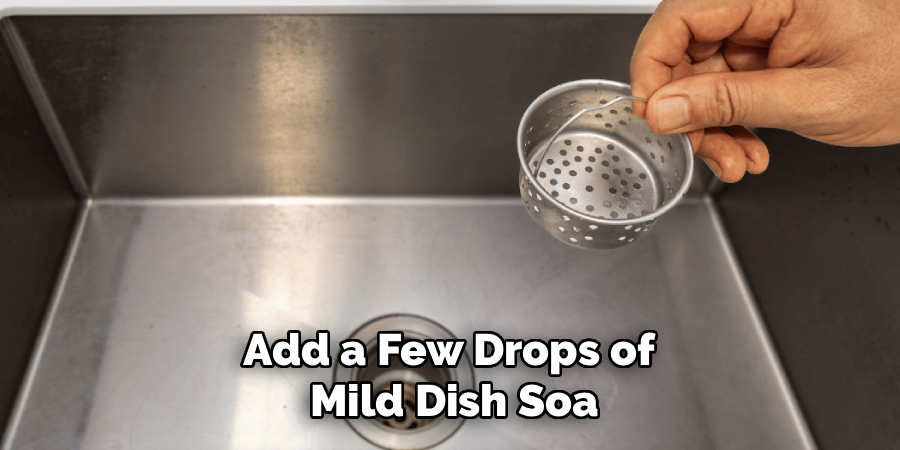
Add a few drops of mild dish soap to a bowl of warm water. Dip your soft sponge into the solution and wipe down the surface. Always move in the direction of the grain. Stainless steel has tiny lines running one way, and following them prevents streaks and scratches. Work in sections so you don’t miss spots. The soap breaks down grease and lifts away the grime that water alone can’t handle.
Step 4: Tackle Stubborn Stains
Some marks won’t budge with soap alone. For dried food, sticky residue, or tough stains, make a paste with baking soda and a little water. Apply it to the spot and gently rub with your sponge, again following the grain. Baking soda is mildly abrasive but won’t scratch the steel when used softly. Let the paste sit for a few minutes on really stubborn areas before wiping it away.
Step 5: Rinse Thoroughly
Once the surface is clean, rinse away all soap and baking soda. Leftover residue can leave a film or attract more dirt. Use a fresh cloth dampened with clean warm water and wipe every section. For sinks and small items, rinse them directly under running water. Make sure no soapy streaks remain, since these can dull the finish and interfere with the next step.
Step 6: Wipe Down with Vinegar
White vinegar is a natural degreaser and helps prep the surface for sanitizing. Pour some into a spray bottle and mist the stainless steel lightly. Let it sit for a minute, then wipe along the grain with a clean cloth. Vinegar cuts through any leftover grease and removes water spots. It also leaves the surface clear and ready for your sanitizing solution. The smell fades quickly as it dries.
Step 7: Apply Your Sanitizing Solution
Now comes the most important part. Spray or wipe your food-safe sanitizing solution evenly across the surface. If you’re using a bleach solution, mix one tablespoon of bleach per gallon of water. For commercial sanitizers, follow the label directions exactly. Cover the entire surface so no spot is missed. This is what actually kills the bacteria and germs that cleaning leaves behind.
Step 8: Let It Sit (Dwell Time)
Sanitizers need time to work. This waiting period is called dwell time. Let the solution sit on the surface for the time the product recommends, usually one to two minutes. Don’t wipe it off too soon, or you won’t kill all the germs. Use this time to put away your cleaning supplies or move on to another section. Patience here makes all the difference for a true sanitize.
Step 9: Rinse and Wipe Clean
After the dwell time passes, rinse the surface with clean water if you used bleach or any solution meant for rinsing. This is essential for food-contact surfaces like cutting areas and sinks. Wipe down with a fresh, damp microfiber cloth to remove any chemical residue. Some no-rinse sanitizers don’t need this step, so always check the product instructions before deciding.
Step 10: Dry Completely
Drying is just as important as sanitizing. Water left on stainless steel causes spots, streaks, and even rust over time. Take a clean, dry microfiber cloth and buff the entire surface, following the grain. Make sure no moisture remains in corners or seams. For extra shine, you can add a tiny drop of olive oil or mineral oil to a cloth and polish gently. This protects the finish and gives that showroom glow.
5 Things You Should Avoid
Even with good intentions, a few common habits can harm your stainless steel or leave it unsafe. Steer clear of these mistakes.
1. Using abrasive scrubbers. Steel wool and rough scouring pads scratch the surface. Those scratches trap bacteria and ruin the smooth finish. Stick to soft sponges and microfiber cloths.
2. Scrubbing against the grain. Always follow the direction of the lines in the steel. Going against the grain leaves visible marks and dulls the surface.
3. Mixing cleaning chemicals. Never combine bleach with vinegar or ammonia. These mixtures create toxic fumes that are dangerous to breathe. Use one product at a time and rinse between them.
4. Skipping the dwell time. Wiping off your sanitizer too quickly means the germs survive. Give the solution the full time it needs to do its job.
5. Leaving surfaces wet. Air-drying invites water spots and rust. Always dry your stainless steel by hand for a clean, spotless result.
Frequently Asked Questions
How Often Should I Sanitize Stainless Steel Surfaces?
Sanitize food-contact surfaces like sinks and prep areas daily, especially after handling raw meat or eggs. Appliances and less-used surfaces can be sanitized once or twice a week. The key is consistency and paying attention to high-touch zones. If you notice spills or food contact, sanitize right away rather than waiting. Regular care keeps germs from building up.
- Can I Use Bleach to Sanitize Stainless Steel Safely?
Yes, but only when diluted properly. Mix one tablespoon of bleach per gallon of water for a safe solution. Never use bleach at full strength, as it can damage the finish and cause corrosion. Always rinse the surface with clean water afterward and dry it completely. Avoid leaving bleach on stainless steel for long periods to protect the metal. - Is Vinegar Safe to Use on Stainless Steel?
White vinegar is safe and effective for stainless steel when used correctly. It cuts grease, removes water spots, and adds shine. Always dilute it or use it briefly, then rinse and dry. Don’t let vinegar sit for hours, since its acidity can affect the finish over time. Never mix vinegar with bleach, as the combination releases harmful fumes.
Conclusion
How to sanitize stainless steel isn’t complicated once you know the right steps. The process comes down to cleaning first, then sanitizing, and always drying completely afterward.
Each step builds on the last, so working in order gives you the best results. From clearing the surface to that final buff with a dry cloth, every action plays a part in keeping your stainless steel safe and beautiful.
The benefits are worth the effort. You get a healthier home, longer-lasting surfaces, and that bright, streak-free finish that makes any kitchen feel fresh. Avoiding common mistakes, like abrasive pads and mixing chemicals, protects both your surfaces and your safety.

About
Stuart Rich is a distinguished figure in the world of metalworking and fabrication, with a decade of expertise creating innovative and sustainable metal projects. His professional focus lies in merging traditional blacksmithing and machining with modern manufacturing techniques, fostering designs that are both practical and durable. As the author of Metalenify, Stuart Rich delves into the art and science of metallurgy and DIY metal creation, inspiring artisans, hobbyists, and industry professionals alike.
Education
RMIT University
(Melbourne, Australia)
Associate Degree in Engineering Technology (Mechanical / Manufacturing)
Focus on metallurgical properties, industry-driven projects, and practical metal craftsmanship. Gained hands-on experience with traditional machining and digital manufacturing tools, such as CAD, CNC software, and precision welding equipment.
Nottingham Trent University
(United Kingdom)
Bachelor’s in Product Design and Materials Engineering (Honors)
Specialized in product design with a heavy focus on blending creativity with metal production and fabrication techniques. Participated in real-world industry projects, collaborating with architectural and hardware manufacturing companies to optimize material efficiency.
Publications and Impact
In Metalenify, Stuart Rich shares his insights on structural metal design processes, material grades, and strategies for efficient shop production. His writing bridges the gap between raw artisan knowledge and modern industrial needs, making it a must-read for both budding DIY metalworkers and seasoned fabrication professionals.





