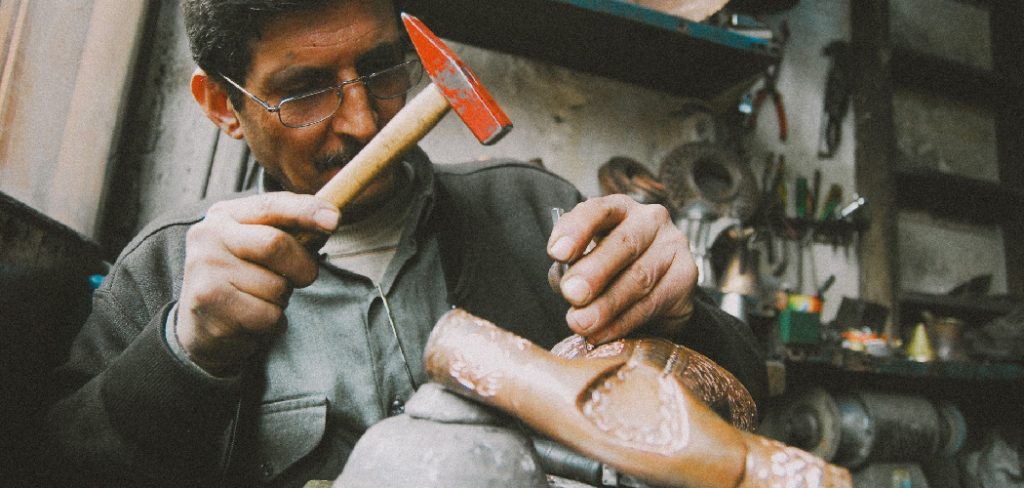
To start sculpting with metal, select a material suited to your skill level — mild steel, aluminum, and copper are all reasonable starting points. The process typically involves drafting a design, cutting the metal to the right dimensions, shaping the pieces using heat or mechanical force, joining them through welding or brazing, and applying a protective finish to guard against corrosion.
Metal sculpting is one of the more demanding artistic mediums to enter, but that difficulty is part of what makes it compelling. You are working with materials that resist you — and learning to redirect that resistance into something deliberate and three-dimensional is the real skill. Many beginners hesitate at the sight of heavy machinery and the thought of working at high temperatures, which is understandable. But the barrier tends to drop quickly once you understand what each tool actually does and why.
Starting with foundational techniques and forgiving metals, you can safely explore this art form and build real confidence in the workshop. This guide on how to sculpt with metal covers what a beginner genuinely needs to get started: the right tools, the core techniques, and the safety habits that will protect you throughout the process.
What is Metal Sculpture and Why Should You Learn It?
Metal sculpture involves shaping and joining metal materials to create three-dimensional forms. Artists work with raw stock — sheets, rods, wire — and transform them through cutting, bending, and welding into finished pieces. One reason the medium draws so many people is durability.
Metal can withstand outdoor conditions in ways that clay or wood simply cannot, which makes it well-suited for garden art, public installations, and architectural centerpieces. The structural strength of metal also opens up possibilities that softer materials cannot support — cantilevered forms, large-scale spans, fine filigree work.
How Do You Choose the Right Metal for Your Sculpture?
The material you choose will shape the entire process, from how you cut and bend it to the final surface texture of the finished piece. Mild steel tends to be the default choice for beginners: it is relatively inexpensive, widely available at most metal suppliers, and responds predictably to standard MIG welding. Aluminum is lighter and naturally resistant to rust, but it demands more from your equipment and requires a sharper technique — not impossible for a beginner, but worth knowing before you commit.
Copper occupies a different niche entirely. Its color is distinctive, it bends easily by hand for thinner gauges, and it lends itself to smaller, more intricate work where brazing or soldering is used in place of heavier welding.
What Tools and Materials Do You Need for Metal Sculpting?
There is a wide range of tools and materials that you can use for metal sculpting, depending on the specific techniques and styles that you want to achieve. Some common tools and materials include:
- Welder
- Grinder
- Saws
- Hammers
- Chisels
- Anvils
- Tongs
- Welding gloves
- Metal files
- Liners and pencils for marking
- Safety equipment such as goggles and earplugs
6 Simple Step-by-step Guidelines on How to Sculpt With Metal
Step 1: Draft Your Design And Gather Materials
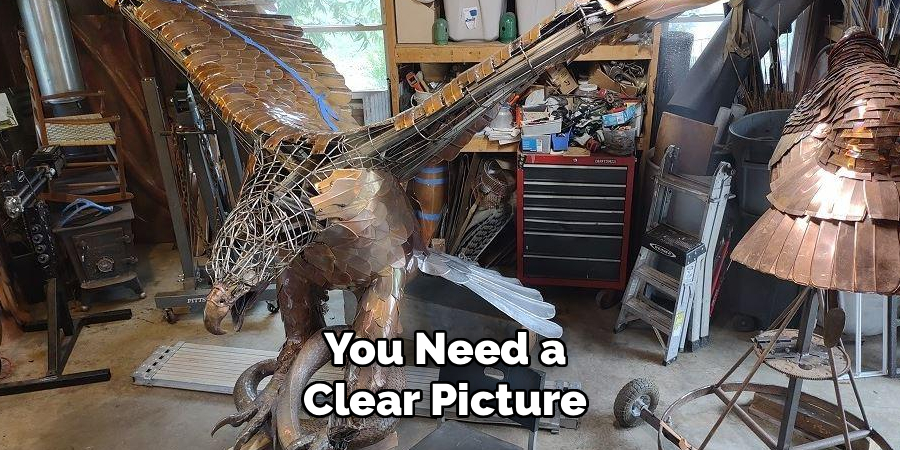
Before cutting anything, you need a clear picture of what you are making. Sketching your ideas on paper — even roughly — forces you to think through structural balance and gives you a reference for dimensions. It sounds like an obvious step, but skipping it tends to produce material waste and backtracking that costs more time than the drawing would have.
Once the design is settled, gather everything you need before you start. Check that you have the right gauge of metal, enough welding wire, and grinding discs in good condition. An organized workspace before you begin means your attention stays on the work rather than on supply runs mid-session.
Step 2: Measure And Cut The Metal Pieces
With your design in hand, use a soapstone marker to trace the required dimensions directly onto the metal surface. Precision here pays off later — components that are cut accurately fit together cleanly, and alignment problems are much easier to prevent than to fix. Measure twice, and account for the kerf (the width of material removed by your cutting tool) so pieces do not come out slightly short.
Once marked, cut the pieces with your angle grinder, plasma cutter, or metal shears, working steadily along the traced lines. After cutting, run a grinding disc or metal file along every edge to remove burrs. Sharp burrs are a consistent source of small injuries during assembly, so deburring is a habit worth forming early.
Step 3: Shape And Form The Metal Components
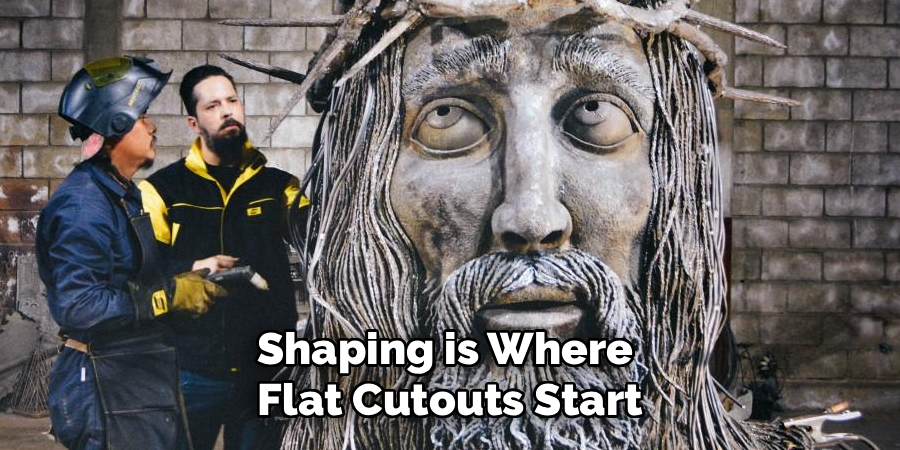
Shaping is where flat cutouts start to become something. For thinner stock, cold forging — striking the metal over an anvil or a vice with a hammer — can produce smooth curves and defined angles without heat. The key is controlled, consistent strikes rather than forceful, irregular ones.
Thicker pieces may resist cold working enough that heat becomes necessary. Heating the metal with an oxy-acetylene torch until it glows cherry red temporarily softens its internal structure, which lets you move it with tongs and hammers with considerably less effort. After shaping, let the metal cool in open air. Quenching hot steel in water can introduce brittleness, which may not be visible immediately but can compromise the piece later.
Step 4: Arrange And Clamp The Pieces Together
A dry fit — assembling the components without permanently joining them — is one of the more useful habits in metal fabrication. It reveals alignment issues and proportion problems while they are still easy to correct. Once metal is welded, adjustments become far more involved.
When the arrangement looks right, secure the pieces using C-clamps and magnetic welding squares. Tight clamping serves two purposes: it keeps the assembly from shifting during welding, and it ensures flush joints that produce cleaner, stronger welds with less grinding required afterward.
Step 5: Join The Metal Through Welding Or Brazing
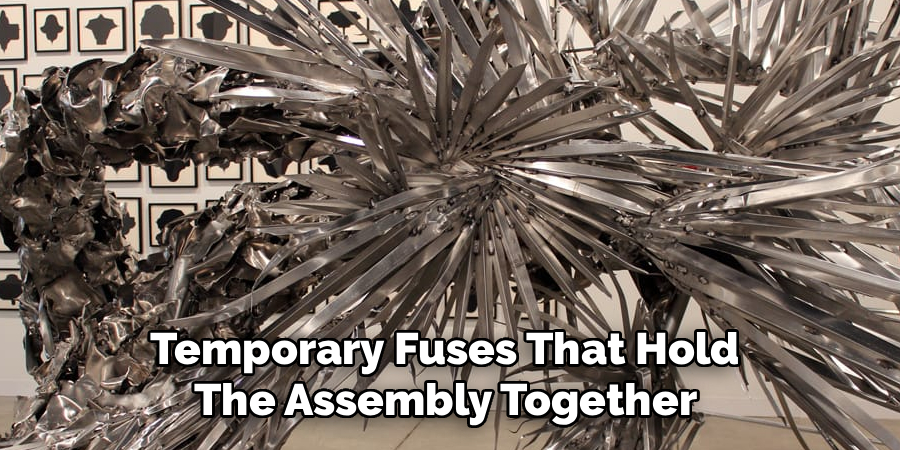
Put on your full protective gear before starting — helmet, gloves, jacket. Begin with tack welds at the key connection points. These are short, temporary fuses that hold the assembly together while still allowing you to remove clamps and make small positional adjustments. It is worth spending time on this stage because committing to full weld lines on a slightly misaligned joint is frustrating to fix.
Once alignment is confirmed, lay down continuous weld beads along each joint, keeping a steady pace and consistent travel speed. Uneven speed tends to produce inconsistent penetration and a rough bead profile. If you are working with copper or thin-gauge steel, brazing — using a filler rod and torch rather than melting the base metal — may produce better results without the risk of burning through.
Step 6: Grind, Clean, And Finish The Sculpture
Finishing work shapes the character of the final piece as much as anything in the earlier steps. Use a flap disc on your angle grinder to smooth weld beads, blend joints into the surrounding metal, and remove sharp edges. The surface texture left by grinding can be left intentionally visible — those marks become part of the piece’s visual identity — or worked further toward a smoother finish, depending on the effect you want.
After grinding, clean the entire surface with a wire brush and a degreasing solvent to remove oils, dirt, and welding slag. Then apply a protective finish: clear coat enamel, metal wax, or an acid patina, each produces different results and offers varying levels of protection against oxidation. The finish is what stands between your work and the atmosphere, so it deserves as much attention as any earlier step.
Following these steps on how to sculpt with metal will ensure that your final piece is a work of art, withstands the test of time, and is a true reflection of your creativity and skill.
What Are the Best Safety Practices for Metal Sculpting?
Working around high-speed abrasives, intense heat, and ultraviolet arc light requires consistent safety habits rather than occasional caution. An auto-darkening welding helmet protects your eyes from radiation during welding; standard sunglasses are not a substitute. Heavy leather gloves and a fire-resistant jacket reduce the risk of burns from sparks and spatter.
Ventilation may be the most commonly overlooked consideration — melting metal and burning abrasives both produce fumes that are genuinely harmful over time, and good airflow is not negotiable. Keep a fully charged fire extinguisher in the studio and clear flammable materials from the area before striking an arc or lighting a torch.
Creative Metal Sculpture Ideas for Beginners
Abstract geometric forms built from recycled steel rods and tube stock are a practical starting point — they prioritize clean cuts and solid joints over complex shaping. Scrap yards can be genuinely useful here, supplying gears, bolts, spark plugs, and castings that can be assembled into animal figures or loosely industrial compositions.
Sheet metal work opens up a different set of exercises: a stylized flower or a simple yard trellis gives you practice with cutting curves and cold-bending without requiring welding from the outset. Functional pieces — a bookend, a candle holder — are also worth considering early on, since they impose constraints that tend to sharpen decision-making.
Maintaining Metal Sculptures
Properly maintained, a metal sculpture can hold up for decades. Indoor pieces need relatively little attention: occasional dusting with a microfiber cloth and a light annual application of microcrystalline wax tends to keep moisture from building up on the surface.
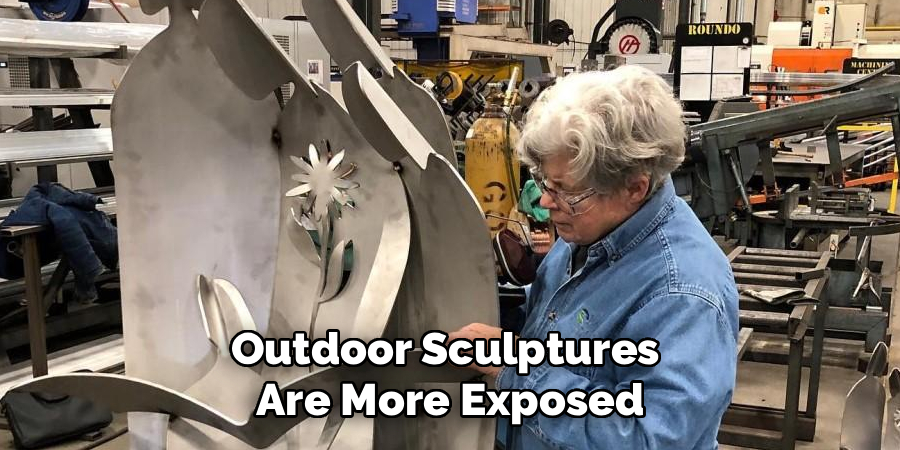
Outdoor sculptures are more exposed and need more deliberate care. Inspecting them twice a year for early signs of rust or finish degradation gives you the chance to address problems before they spread. Where oxidation appears, remove it gently with a fine wire brush, clean the area, and reapply a UV-resistant outdoor sealant to stop further corrosion.
Frequently Asked Questions
Q1: What Is The Easiest Metal For Beginners To Sculpt With?
Mild steel is widely considered the most forgiving starting material for new sculptors. It is affordable, cuts well with standard abrasive discs, and responds consistently to basic MIG welding. Unlike aluminum or stainless steel, it does not require specialized shielding gases or more advanced equipment to work with effectively.
Q2: Do I Need To Take A Class To Learn Metal Sculpting?
Online tutorials can introduce you to the principles, but a formal class offers something that video cannot easily replicate: real-time feedback. An experienced instructor can correct your posture, help you dial in your machine settings on the spot, and catch habits before they become ingrained. Classes also typically provide access to equipment that most beginners are not yet ready to purchase — which makes them practical as well as educational.
Q3: How Can I Prevent My Steel Sculptures From Rusting?
Rust requires moisture and oxygen to develop, so the goal is to seal the steel surface from the atmosphere. After cleaning the bare metal with a degreaser, apply multiple coats of a high-quality clear enamel or a purpose-made metal sealant. For outdoor work, check the finish periodically and touch up any scratched or worn areas — small gaps in the coating can allow rust to start beneath the surface and spread outward.
Conclusion
Metal sculpting sits at an unusual intersection of industrial process and artistic intent, and that tension is part of its appeal. Understanding how different metals behave, equipping yourself with the right tools, and working with consistent safety habits puts you in a position to produce pieces that are both structurally sound and visually distinctive. Starting with simple projects and scrap materials is not a compromise — it is the most reliable way to build the technical foundation that more complex work will eventually require.
The learning curve is real, but so is the satisfaction of shaping raw metal into something that holds its form long after you step back from the workbench. Thanks for reading this guide on how to sculpt with metal.
About
Stuart Rich is a distinguished figure in the world of metalworking and fabrication, with a decade of expertise creating innovative and sustainable metal projects. His professional focus lies in merging traditional blacksmithing and machining with modern manufacturing techniques, fostering designs that are both practical and durable. As the author of Metalenify, Stuart Rich delves into the art and science of metallurgy and DIY metal creation, inspiring artisans, hobbyists, and industry professionals alike.
Education
RMIT University
(Melbourne, Australia)
Associate Degree in Engineering Technology (Mechanical / Manufacturing)
Focus on metallurgical properties, industry-driven projects, and practical metal craftsmanship. Gained hands-on experience with traditional machining and digital manufacturing tools, such as CAD, CNC software, and precision welding equipment.
Nottingham Trent University
(United Kingdom)
Bachelor’s in Product Design and Materials Engineering (Honors)
Specialized in product design with a heavy focus on blending creativity with metal production and fabrication techniques. Participated in real-world industry projects, collaborating with architectural and hardware manufacturing companies to optimize material efficiency.
Publications and Impact
In Metalenify, Stuart Rich shares his insights on structural metal design processes, material grades, and strategies for efficient shop production. His writing bridges the gap between raw artisan knowledge and modern industrial needs, making it a must-read for both budding DIY metalworkers and seasoned fabrication professionals.


