
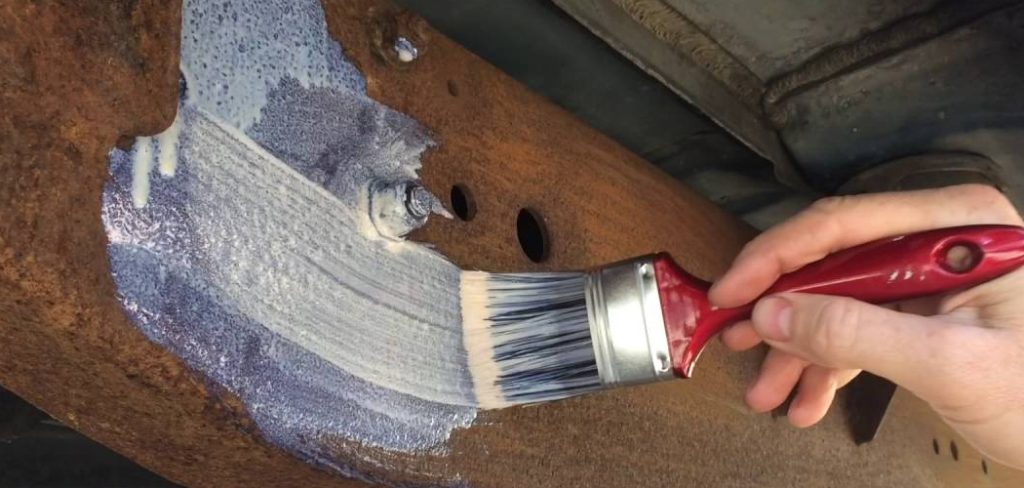
Rust has a way of sneaking up on you. One day your metal gate, garden furniture, or tool box looks fine, and the next it’s covered in those telltale orange-brown patches. Left alone, rust eats through metal until it weakens, flakes, and eventually falls apart. The good news? You don’t always have to replace rusted metal.
Sealing rusted metal is one of those satisfying weekend projects almost anyone can tackle. You don’t need to be a professional or own a workshop full of fancy gear. You just need a little patience, a few common supplies, and a clear plan to follow.
In this guide on how to seal rusted metal, we’ll walk through everything step by step. You’ll learn why sealing rusted metal matters, what tools and products to gather, and exactly how to do the job right.
What Are the Benefits?
Sealing rusted metal isn’t just about making things look better, though it certainly does that. Some real, practical payoffs make the effort worthwhile.
- You extend the life of your metal. Rust is corrosion, and corrosion never stops on its own. Once it starts, it keeps spreading until the metal is gone. Sealing creates a protective barrier that locks out moisture and oxygen, the two things rust needs to grow. That means your gate, railing, or fence can last years longer.
- You save money. Replacing metal items can be expensive. A new wrought iron fence or a fresh set of patio chairs costs far more than a can of primer and sealer. Treating rust early is one of the cheapest ways to protect your investment.
- You improve appearance. A freshly sealed surface looks clean, smooth, and cared for. Whether it’s a mailbox or a vintage car part, sealing restores a tidy finish that boosts curb appeal.
- You stay safe. Rusted metal can become sharp, brittle, or structurally weak. A rusty railing might give way, or a corroded tool could snap. Sealing keeps surfaces sturdy and reduces the risk of injury.
- You protect nearby surfaces. Rust stains. Water running off a rusty object can leave ugly orange streaks on concrete, brick, or siding. Sealing the metal stops those stains before they start.
Put simply, a few hours of work delivers long-term protection, savings, and peace of mind.
What Will You Need?
Before you begin, gather your supplies. Having everything ready makes the job smoother and faster. Here’s what you’ll want on hand:
- Wire brush – for scrubbing away loose rust and flakes.
- Sandpaper or sanding block – medium and fine grit work best.
- Power drill with wire wheel attachment (optional) – speeds up rust removal on big jobs.
- Rust converter – a product that turns rust into a stable, paintable surface.
- Rust-inhibiting primer – seals and prepares the metal for top coats.
- Metal sealer or enamel paint – the final protective layer.
- Clean rags or cloths – for wiping down surfaces.
- Degreaser or soapy water – to remove dirt, oil, and grime.
- Paintbrushes or foam rollers – for applying primer and sealer.
- Painter’s tape and drop cloth – to protect surrounding areas.
- Safety gear – gloves, goggles, and a dust mask.
- A well-ventilated work area – fumes and dust are no fun.
You can find most of these items at any hardware store. Buying quality products here pays off, since cheap sealers tend to peel or fail sooner.
10 Easy Steps on How to Seal Rusted Metal
Now for the main event. Follow these ten steps in order, and take your time with each one. Good prep work is the secret to a finish that lasts.
Step 1: Inspect the Metal Surface
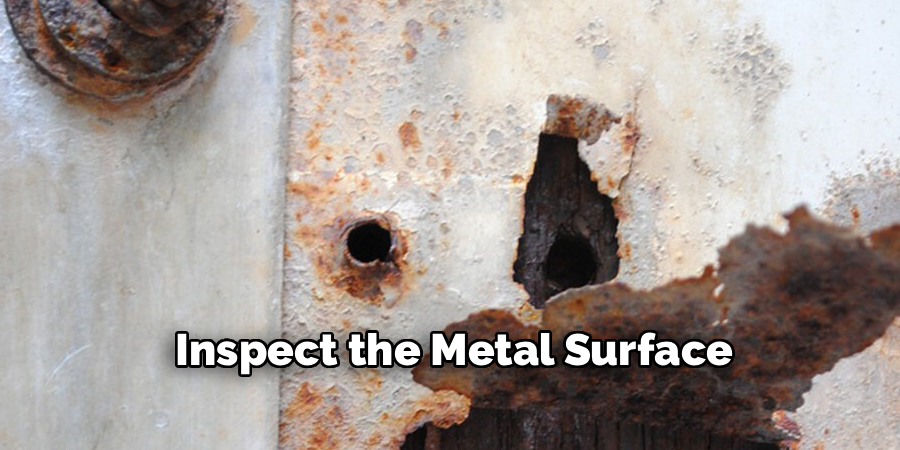
Start by looking closely at the metal. Is the rust just surface staining, or has it eaten deep into the material? Light surface rust is easy to treat. Deep rust that has caused holes or crumbling may need patching or, in serious cases, replacing the part. Run your fingers (with gloves on) over the area to feel for soft spots or thin sections. Knowing what you’re dealing with helps you plan the rest of the job.
Step 2: Remove Loose Rust
Grab your wire brush and scrub off all the loose, flaky rust. Work in firm strokes until the crumbly bits come away. For larger or stubborn areas, a wire wheel attached to a power drill makes quick work of it. Your goal is to get rid of everything that isn’t firmly attached. Don’t worry about removing every speck of rust right now. You just want a solid, stable base to build on.
Step 3: Sand the Surface
Once the loose material is gone, switch to sandpaper. Use a medium grit first to smooth rough patches, then follow with a finer grit. Sanding does two things: it knocks down the remaining rust and roughens the surface slightly so primer can grip better. Sand until the metal feels even to the touch. Wipe away the dust as you go so you can see your progress clearly.
Step 4: Clean and Degrease
Dirt, oil, and grease will ruin your finish if you leave them behind. Wash the surface with soapy water or a dedicated degreaser. Pay attention to corners and crevices where grime hides. Rinse if needed, then dry the metal completely. Any leftover moisture or oil stops primer from sticking, so this step really matters.
Step 5: Let the Metal Dry Fully
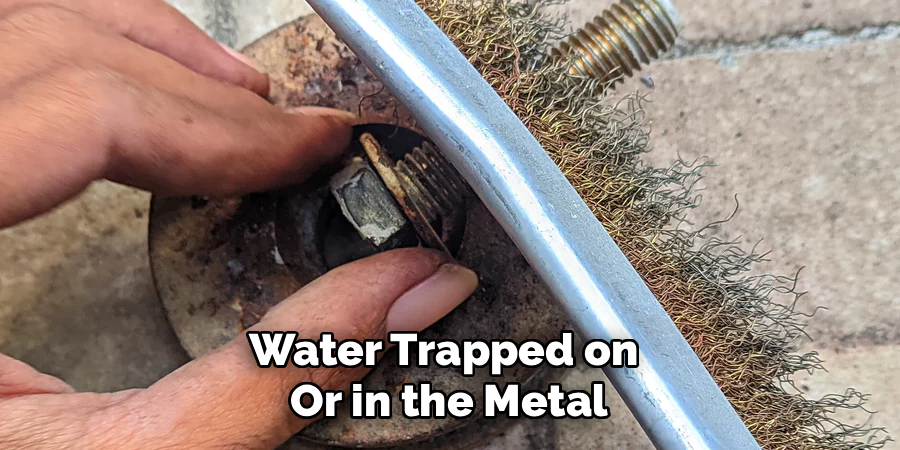
Patience pays off here. Water trapped on or in the metal will feed new rust the moment you seal it. Give the surface plenty of time to dry, ideally in a warm, breezy spot. If you’re working outdoors, pick a dry day with low humidity. Don’t rush to the next step until the metal feels bone dry.
Step 6: Apply Rust Converter
If any rust remains, a rust converter is your friend. This handy product reacts with rust and transforms it into a stable, black, paintable surface. Brush it on according to the label directions, covering all the affected spots. The chemical reaction usually takes a few hours. Once it’s done, you’ll have a tough base that’s ready for primer instead of more corrosion.
Step 7: Prime the Surface
Now apply a rust-inhibiting primer. This layer seals the metal and gives your top coat something to bond with. Use smooth, even strokes with a brush or roller, and avoid thick globs that drip. Cover every bit of bare or treated metal. Primer is your main defense against future rust, so don’t skimp on coverage.
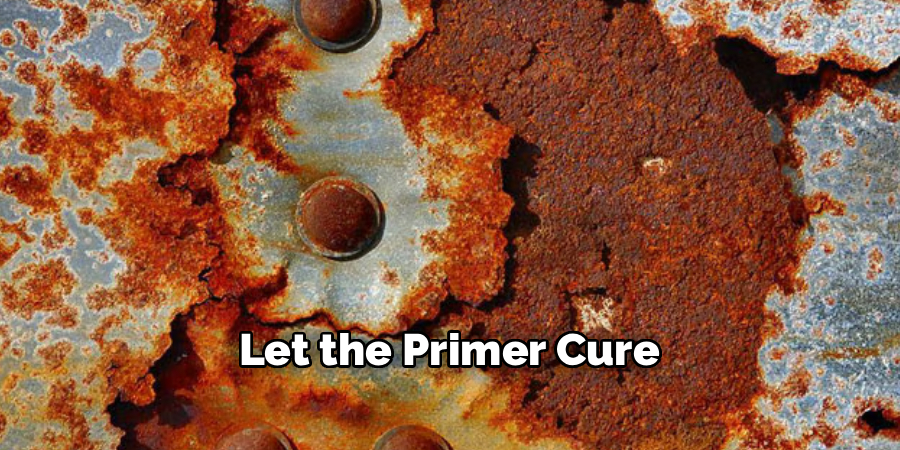
Step 8: Let the Primer Cure
Read the primer label and respect the drying time. Most primers need several hours, and some need overnight. Rushing this step leads to a soft, weak finish. While you wait, keep dust and debris off the surface. A clean, fully cured primer coat sets you up for a flawless final result.
Step 9: Apply the Sealer or Top Coat
Time for the protective finish. Apply your metal sealer or enamel paint in thin, even layers. Two thin coats beat one thick coat every time, since thick layers tend to run and peel. Let the first coat dry, then add the second for full protection. This top layer locks everything in and gives your metal a clean, durable surface.
Step 10: Inspect and Maintain
Once the sealer has cured, give the whole piece a final look. Check for thin spots, missed corners, or runs, and touch them up if needed. Going forward, keep an eye on the metal. Wipe it down now and then, and reseal any small chips before they spread. A little upkeep keeps your hard work looking great for years.
5 Things You Should Avoid
Even a simple project can go sideways if you make these common mistakes. Steer clear of them, and you’ll get far better results.
- Skipping the prep work. It’s tempting to slap paint right over rust, but sealer won’t bond to flaky, dirty metal. Always clean, sand, and treat the surface first. Prep is half the battle.
- Sealing damp metal. Trapping moisture under your sealer is a recipe for hidden rust. Always let the metal dry completely before priming or painting.
- Using the wrong products. Regular wall paint won’t protect metal. Stick to rust converters, rust-inhibiting primers, and metal-specific sealers made for the job.
- Applying coats too thick. Heavy layers look fine going on but dry unevenly, drip, and peel. Thin, even coats cure better and last longer.
- Ignoring small spots later. Once a chip or scratch appears, rust can creep back in. Touch up damage quickly instead of waiting until the problem grows.
Conclusion
How to seal rusted metal is one of the most rewarding DIY projects you can take on. It saves money, extends the life of your belongings, and leaves surfaces looking clean and well cared for. Best of all, it doesn’t require special skills, just a little time and attention to detail.
The key takeaways are simple. Inspect your metal honestly, prep the surface thoroughly, and never seal over rust, dirt, or moisture. Use the right products for each stage, apply thin even coats, and give everything plenty of time to cure. Once you’re finished, a few quick checks now and then will keep your work looking sharp for years.
So grab your wire brush, gather your supplies, and tackle that rusty gate, railing, or piece of furniture with confidence. With this guide in hand, you’ve got everything you need to stop rust in its tracks and protect your metal for the long haul.

About
Stuart Rich is a distinguished figure in the world of metalworking and fabrication, with a decade of expertise creating innovative and sustainable metal projects. His professional focus lies in merging traditional blacksmithing and machining with modern manufacturing techniques, fostering designs that are both practical and durable. As the author of Metalenify, Stuart Rich delves into the art and science of metallurgy and DIY metal creation, inspiring artisans, hobbyists, and industry professionals alike.
Education
RMIT University
(Melbourne, Australia)
Associate Degree in Engineering Technology (Mechanical / Manufacturing)
Focus on metallurgical properties, industry-driven projects, and practical metal craftsmanship. Gained hands-on experience with traditional machining and digital manufacturing tools, such as CAD, CNC software, and precision welding equipment.
Nottingham Trent University
(United Kingdom)
Bachelor’s in Product Design and Materials Engineering (Honors)
Specialized in product design with a heavy focus on blending creativity with metal production and fabrication techniques. Participated in real-world industry projects, collaborating with architectural and hardware manufacturing companies to optimize material efficiency.
Publications and Impact
In Metalenify, Stuart Rich shares his insights on structural metal design processes, material grades, and strategies for efficient shop production. His writing bridges the gap between raw artisan knowledge and modern industrial needs, making it a must-read for both budding DIY metalworkers and seasoned fabrication professionals.





