
Eggs glued to the pan. A piece of fish that tears apart the moment you try to flip it. Then the scrubbing, the soaking, the quiet suspicion that stainless steel is just a sticky lost cause. Plenty of cooks reach that conclusion and never look back.
Here’s the thing, though. A simple seasoning routine changes the whole story, and learning how to season stainless steel cookware is quick, cheap, and easy to repeat whenever you need it.
This guide covers why seasoning works on stainless steel in the first place, the oils and tools that perform best, a clear step-by-step process, the little water test that tells you it worked, and the habits that keep that slick surface going. None of it is complicated. It’s mostly oil, heat, and a bit of patience.
What Seasoning Stainless Steel Actually Does
Before you fire up the stove, it helps to understand the goal. Seasoning isn’t magic, and it isn’t quite the same thing people mean when they talk about cast iron.
How a Slick Layer Forms
When you heat oil in a clean stainless pan, it spreads into the surface and forms a thin, smooth film. That film settles into the microscopic pores and ridges in the metal, which look invisible but are very much there.
The result is a surface that’s slicker than bare steel. Food sits on top of the oil layer rather than gripping the raw metal beneath it.
Seasoning Versus Cast Iron Patina
It’s worth being honest about the difference. Cast iron builds a thick, durable patina over time, one that bonds hard and lasts for years with care.
Stainless steel seasoning is lighter and more temporary. It doesn’t polymerize into the same tough coating, so it tends to wear off faster and needs refreshing more often. That’s not a flaw, just the nature of the metal.
Why It Reduces Sticking
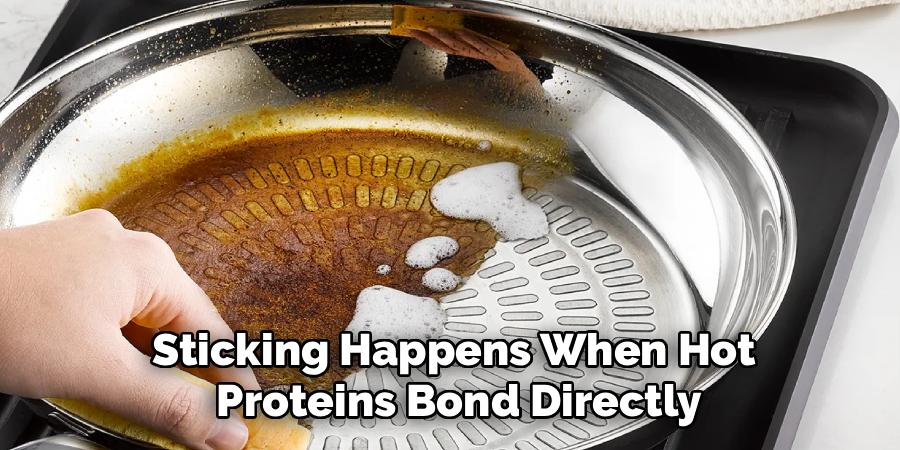
Sticking happens when hot proteins bond directly to bare metal. The oil layer puts a barrier between the food and the surface, which gives food a chance to release cleanly.
Preheating does half the work here, too. A properly warmed, seasoned pan combines a slick film with the right temperature, and together they keep food from grabbing on in the first place.
Why Season Stainless Steel Cookware at All
If it wears off and needs redoing, why bother? Because the payoff during cooking is real, and most people notice it the very first time.
Better Searing and Browning
A seasoned, preheated pan releases food when it’s ready to be released. That matters most with proteins, where a good crust forms only if the food stays put and doesn’t tear away.
Try searing a steak or a chicken thigh on a properly prepped pan. The crust develops, the food lifts cleanly, and you get the browning that flavor depends on.
Easier Cleanup
Less sticking means less scrubbing, which is reason enough for many cooks. Food that releases cleanly leaves far less behind to soak and scrape.
Cleanup often comes down to a quick wash rather than a battle with a scouring pad. Over a week of cooking, that adds up.
Healthier Than Coated Pans
Seasoning gives you a natural nonstick effect without any synthetic coating. For people who’d rather avoid the chemicals in some nonstick surfaces, that can be appealing.
You also sidestep the worry of a coating flaking or scratching over time. The pan is just metal and a thin layer of oil that you control.
What You Need Before You Start
You don’t need much, and you almost certainly own most of it already. Getting everything ready first keeps the process smooth.
Choosing the Right Oil
Oil choice matters more than anything else here. You want a high smoke point oil, since seasoning relies on heating the oil close to that point.
Grapeseed, avocado, and canola all work well and are easy to find. Flaxseed is sometimes favored for the harder film it can leave, though it’s pricier. Olive oil and butter, by contrast, smoke too early to season effectively.
Cleaning and Drying Tools
A spotless starting surface is non-negotiable, so basic cleaning supplies come first. Dish soap, a soft sponge, and a lint-free towel cover it.
The towel matters more than people expect. Any moisture or lint left on the pan can interfere with how the oil bonds.
Application Helpers
To spread the oil thinly and evenly, keep a few paper towels and a pair of tongs handy. The tongs let you wipe the surface with a folded paper towel without burning your fingers.
A clean cloth works too. The aim is always a thin, uniform coat rather than a puddle.
Preparing Your Pan for Seasoning
Good prep is where a reliable nonstick layer is actually won. Skip it, and the seasoning tends to come out patchy.
Washing Off Factory Residue
New pans often carry a faint film of manufacturing oils and dust. Scrub the pan with warm, soapy water to strip that away before you season.
This step ensures the oil bonds to clean metal rather than to whatever the factory left behind. A thorough wash sets up everything that follows.
Removing Old Buildup and Stains
If you’re seasoning a pan that’s seen use, old sticky residue or discoloration can get in the way. A little vinegar or a baking soda paste usually clears it.
Wipe the surface clean and rinse well. You want bare, even metal before the oil goes on.
Drying the Pan Completely
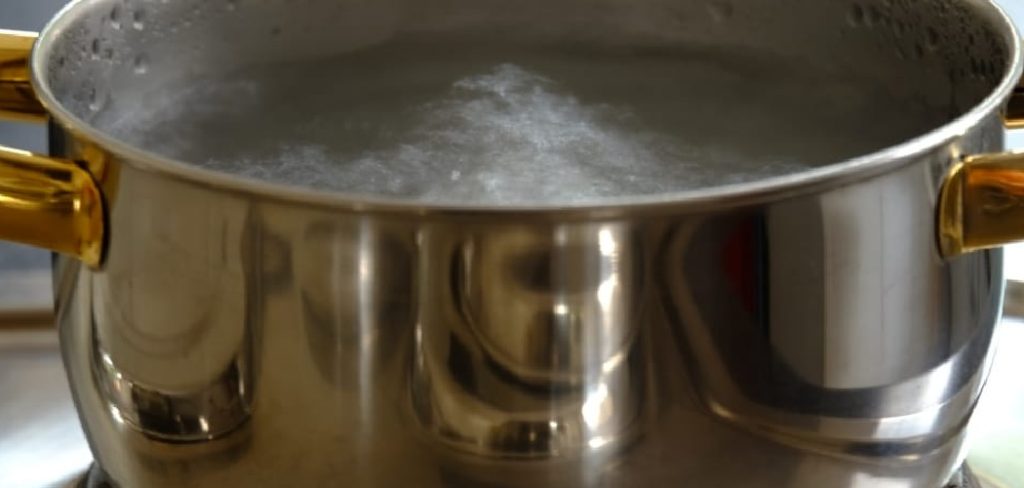
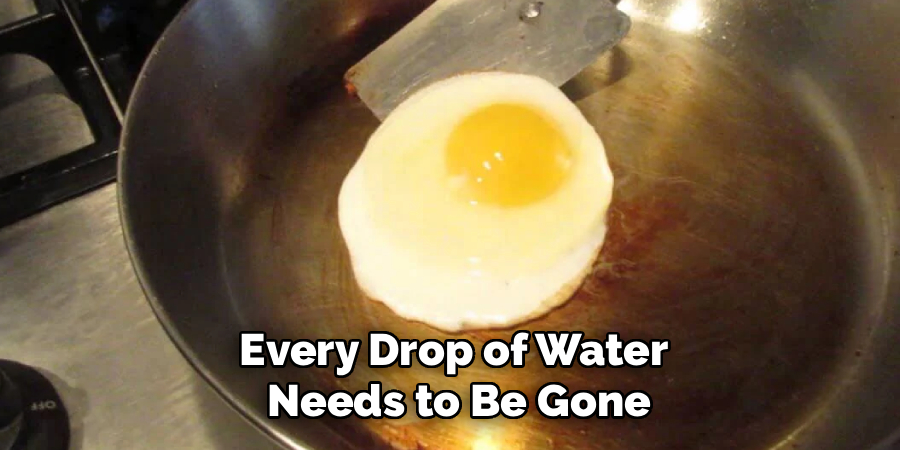
Every drop of water needs to be gone. Oil and water don’t mix, and a damp pan will spit and sputter when the oil hits the heat.
Dry it with a lint-free towel, then let it sit a moment to make sure. A genuinely dry pan lets the oil bond instead of fighting moisture.
How to Season Stainless Steel Cookware: Step-by-Step Guide
Here’s the core method, using the stovetop oil approach. The single most useful habit throughout is patience with the heat. Low and steady builds the smoothest, longest-lasting layer, while rushing tends to scorch the oil into a gummy mess.
Step 1: Clean and Dry the Pan Thoroughly
Wash the pan in warm, soapy water, rinse it well, and dry it completely. Nothing should remain on the surface that could block the seasoning from bonding.
This repeats the prep stage for a reason. A clean, dry start genuinely is that important.
Step 2: Heat the Empty Pan
Set the dry pan over medium heat for a minute or two. Warming the empty pan opens the metal slightly and drives off any last trace of moisture.
You’re not trying to get it screaming hot here. Just warm enough to prepare the surface for the oil.
Step 3: Add a Thin Layer of Oil
Pour in a small amount of your high smoke point oil, roughly a teaspoon or two. Swirl it around so it coats the entire cooking surface in a thin, even film.
Less is more at this stage. You want the metal lightly covered, not swimming in oil.
Step 4: Heat Until the Oil Shimmers
Raise the heat slowly and watch the oil. It will begin to shimmer and ripple, then give off a faint wisp of smoke as it reaches its smoke point.
That light smoking is the signal you’re after. It means the oil is bonding to the surface rather than just sitting on it.
Step 5: Let It Cool and Wipe Out Excess
Turn off the heat and let the pan cool down. Once it’s safe to handle, wipe the surface with a folded paper towel to remove any excess oil.
What you want left behind is the barest film, not a slick puddle. A thin layer cures into a smooth surface, while a thick one stays tacky.
Step 6: Repeat for a Stronger Layer
A single pass works, but a few build a more durable surface. Run the oil-and-heat cycle two or three times, letting the pan cool between rounds.
Each layer reinforces the last. This is where a little extra effort pays off in better nonstick performance.
Step 7: Run the Water Drop Test
To confirm the seasoning took, heat the pan again and flick a few drops of water onto it. If the seasoning and heat are right, the drops will bead up and skate across the surface like little marbles.
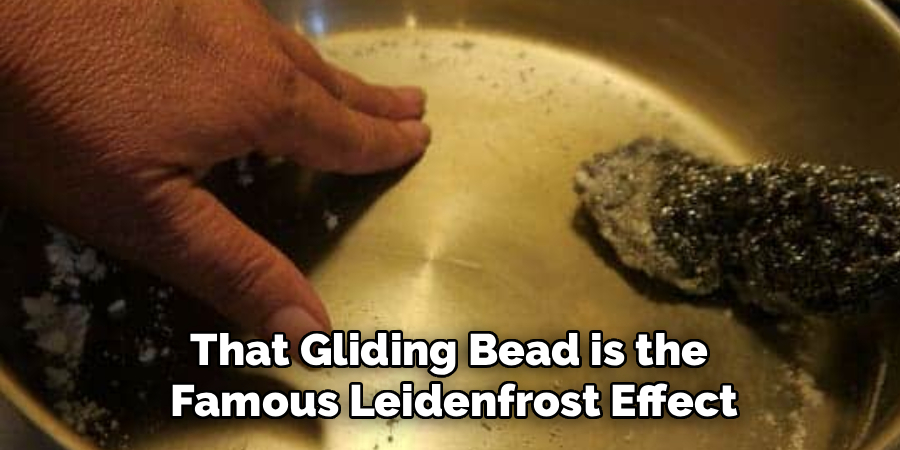
That gliding bead is the famous Leidenfrost effect, and it’s the sign your pan is ready. If the water just spreads out and steams flatly, the pan needs more heat or another seasoning pass.
How to Cook in a Seasoned Pan
Seasoning is only half the battle. How you cook in the pan decides whether that slick surface actually performs or disappoints.
Preheating Before Adding Food
Always preheat the seasoned pan before food goes in. A cold pan undoes the benefit entirely, since the seasoning needs heat to keep food from bonding.
Give it a minute or two over medium heat. The water test works here too, telling you when the pan has reached the sweet spot.
Using Enough Fat
Even a seasoned pan likes a little cooking fat. A small amount of oil or butter, added once the pan is hot, helps food release cleanly every time.
Think of it as backup for the seasoning. The two work together rather than one replacing the other.
Letting Food Release Naturally
This is the habit that trips up most people. Food sticks at first and then releases on its own once a crust forms, so prodding it early is what tears it.
Resist the urge to move things too soon. When the food is ready, it usually loosens with a gentle nudge, and forcing it before that point is the most common cause of sticking.
How to Maintain the Seasoning
Because the layer is lighter than cast iron’s, keeping it going takes a little ongoing care. The habits are simple and quick.
Gentle Cleaning After Each Use
Wash the pan by hand with mild soap and a soft sponge. Gentle cleaning lifts food without stripping away the thin seasoned layer.
Avoid the dishwasher when you can, since harsh detergents and long cycles wear the seasoning down faster. A quick hand wash preserves your work.
Drying and Light Oiling
Dry the pan right after washing rather than letting it air-dry. Then wipe on a very thin film of oil before storing it.
That light coat protects the surface between uses. It’s a five-second habit that helps the seasoning last.
Re-Seasoning When Needed
Eventually, food will start sticking more than it should. That’s simply the signal that the layer has worn thin and wants refreshing.
When it happens, just run the seasoning process again. With the pan already broken in, it tends to go quickly.
Common Mistakes to Avoid
A few predictable errors undo otherwise good seasoning. Knowing them ahead of time saves frustration and wasted oil.
Skipping the Preheat
This is the big one. A cold pan ruins the nonstick effect, no matter how carefully you seasoned it, because the seasoning depends on heat to function.
Always warm the pan before the food goes in. Skip this, and you’ll wonder why a well-seasoned pan still sticks.
Using Too Much Oil
More oil does not mean better seasoning. Thick layers don’t cure smoothly and instead turn gummy and sticky, which is the opposite of what you want.
Keep every coat thin and wipe away the excess. A barely-there film is exactly right.
Scrubbing With Abrasives
Steel wool and harsh scouring pads strip the seasoning straight off, along with a bit of the surface finish. All that careful work vanishes in a few aggressive passes.
Stick to a soft sponge. If something’s stuck on, soak it loose rather than scrubbing hard.
Frequently Asked Questions
A few questions come up again and again. Here are short, honest answers.
Does Stainless Steel Hold Seasoning Like Cast Iron?
No, not really. The seasoned layer on stainless steel is lighter and more temporary than cast iron’s hard-baked patina.
It works well while it lasts, but it needs refreshing more often. Think of it as a routine touch-up rather than a permanent coating.
What Oil Is Best for Seasoning?
A high smoke point oil performs best, since seasoning relies on heating oil near that point. Grapeseed, avocado, and canola are reliable, affordable choices.
Olive oil and butter smoke too early and won’t season properly. Some cooks favor flaxseed for a harder film, though it costs more.
How Often Should I Re-Season?
It depends entirely on how much you cook and how you clean. The simplest guide is the food itself: when the stick creeps back, it’s time.
For frequent cooks, that might mean re-seasoning every week or two. With gentle care and light oiling, you can stretch it out considerably.
Conclusion
For all the frustration a sticky pan can cause, learning how to season stainless steel cookware comes down to a little oil, some patience, and a handful of repeatable steps. Understand what seasoning actually does, choose a high smoke point oil, clean and dry the pan thoroughly, run the heat-and-oil cycle a few times, and confirm your work with the water drop test.
The everyday wins do the rest of the convincing. Proper preheating and gentle cleaning keep that slick layer working far longer, so good searing and easy cleanup become the norm rather than the exception.
So season your favorite pan today and give the water test a try. Once you watch those drops glide across the surface and feel an egg slide free, easier cooking and cleanup at every meal start to feel like the obvious way to use stainless steel.

About
Stuart Rich is a distinguished figure in the world of metalworking and fabrication, with a decade of expertise creating innovative and sustainable metal projects. His professional focus lies in merging traditional blacksmithing and machining with modern manufacturing techniques, fostering designs that are both practical and durable. As the author of Metalenify, Stuart Rich delves into the art and science of metallurgy and DIY metal creation, inspiring artisans, hobbyists, and industry professionals alike.
Education
RMIT University
(Melbourne, Australia)
Associate Degree in Engineering Technology (Mechanical / Manufacturing)
Focus on metallurgical properties, industry-driven projects, and practical metal craftsmanship. Gained hands-on experience with traditional machining and digital manufacturing tools, such as CAD, CNC software, and precision welding equipment.
Nottingham Trent University
(United Kingdom)
Bachelor’s in Product Design and Materials Engineering (Honors)
Specialized in product design with a heavy focus on blending creativity with metal production and fabrication techniques. Participated in real-world industry projects, collaborating with architectural and hardware manufacturing companies to optimize material efficiency.
Publications and Impact
In Metalenify, Stuart Rich shares his insights on structural metal design processes, material grades, and strategies for efficient shop production. His writing bridges the gap between raw artisan knowledge and modern industrial needs, making it a must-read for both budding DIY metalworkers and seasoned fabrication professionals.





