
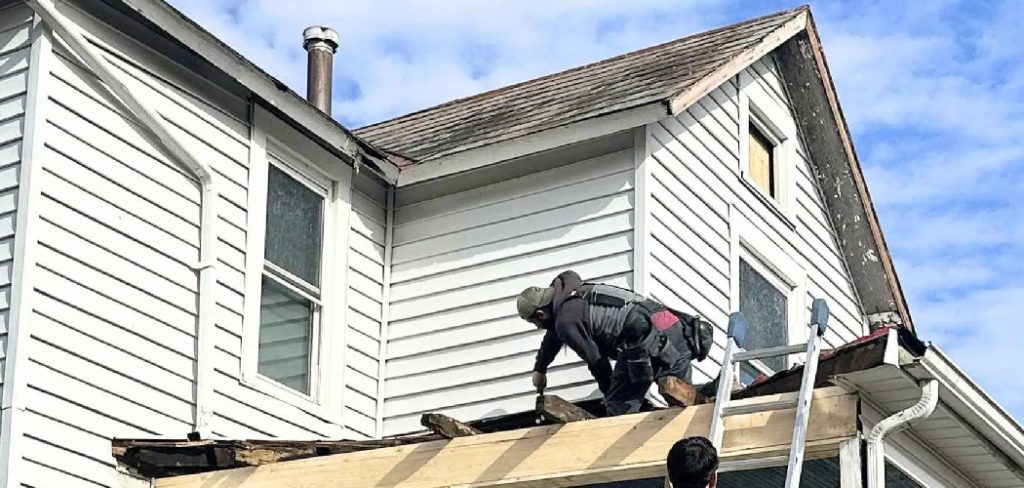
A metal roof is one of the toughest shields your home can have, but even the strongest roof needs help when a storm rolls in. If you live anywhere near the coast or in a region prone to powerful winds, knowing how to secure metal roof for hurricanes can make the difference between minor repairs and major damage. Hurricanes bring fierce gusts, flying debris, and pounding rain that test every panel, screw, and seam on your roof.
The good news? You do not need to be a professional contractor to understand the basics. With the right steps and a little preparation, you can strengthen your roof and protect your family, belongings, and peace of mind. This guide walks you through everything in plain language, no confusing jargon required. Whether you are a first-time homeowner or someone refreshing your storm-prep knowledge, you will find clear, practical advice here. Let’s break it down step by step so you feel confident and ready before the next big storm arrives.
Why Securing Your Metal Roof for Hurricanes Matters
A metal roof already resists wind better than many materials, but no roof is invincible. When hurricane-force winds hit an unsecured roof, they can lift panels, loosen fasteners, and tear away entire sections. Once wind gets underneath a single loose panel, the damage spreads fast.
Properly securing your roof protects more than just the metal above your head. It shields your insulation, walls, and everything inside your home from water intrusion and structural harm. A reinforced roof also lowers your risk of costly insurance claims and may even reduce your premiums. Beyond the financial side, there is real peace of mind in knowing your home can stand firm. Taking action now means fewer surprises later and a safer space for everyone under your roof when the weather turns dangerous.
Step-by-Step Guide to How to Secure Metal Roof for Hurricanes
Step 1: Inspect Your Roof Thoroughly
before you reinforce anything, take time to inspect your entire roof. walk the perimeter and look for loose panels, rusted screws, lifted edges, and worn sealant. pay close attention to seams and flashing, since these are common weak points.
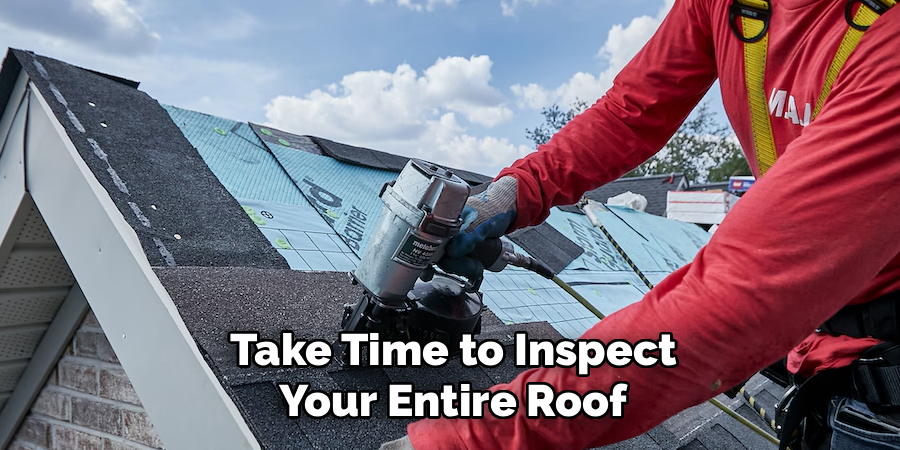
if you can safely access the roof, gently press on panels to check for movement. spotting small issues early gives you time to fix them before a storm exposes them. document what you find with photos, which also helps with insurance records. a careful inspection lays the foundation for every step that follows, so do not rush this part of the process.
Step 2: Tighten and Replace Fasteners
fasteners are the backbone of your roof’s wind resistance. over time, screws loosen, rust, or back out completely, leaving panels vulnerable to lifting. go through each fastener and tighten any that feel loose. replace corroded or stripped screws with new corrosion-resistant ones rated for high winds.
learning how to secure metal roof for hurricanes really starts here, because strong fasteners hold everything together when the wind pushes hardest. use neoprene-washer screws to create a watertight seal at every connection point. this single step dramatically improves your roof’s ability to stay put during extreme weather, so take your time and check every panel.
Step 3: Reinforce the Roof Edges and Eaves
roof edges and eaves take the first hit when wind sweeps across your home. these areas are where uplift begins, so reinforcing them is essential. install or upgrade edge trim and drip edges using heavy-duty, wind-rated materials.
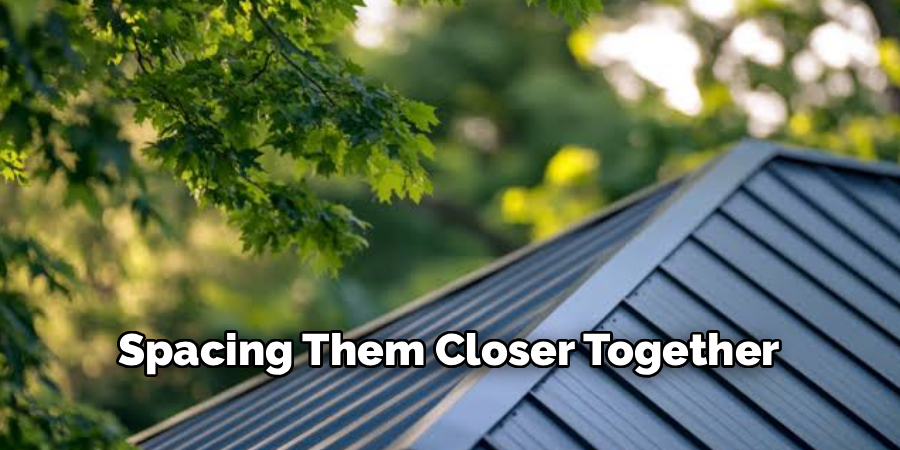
add extra fasteners along the perimeter, spacing them closer together than in the center of the roof. consider using metal cleats or clips to lock the edges down tightly. sealing the gaps along the eaves also blocks wind-driven rain from sneaking underneath. by strengthening these vulnerable borders, you stop wind from finding the leverage it needs to peel panels away from your home.
Step 4: Seal Seams and Joints
every seam and joint on your roof is a potential entry point for water and a weak spot for wind. apply a high-quality, weather-resistant sealant along panel overlaps, ridge caps, and flashing. inspect existing sealant for cracks or peeling and remove old material before reapplying.
focus on areas around vents, chimneys, and skylights, where leaks commonly start. proper sealing keeps your roof watertight and adds an extra layer of bonding between panels. this not only improves storm resistance but also extends the life of your roof. clean, well-sealed seams help your roof act as one solid, connected surface during a hurricane.
Step 5: Install Hurricane Clips and Straps
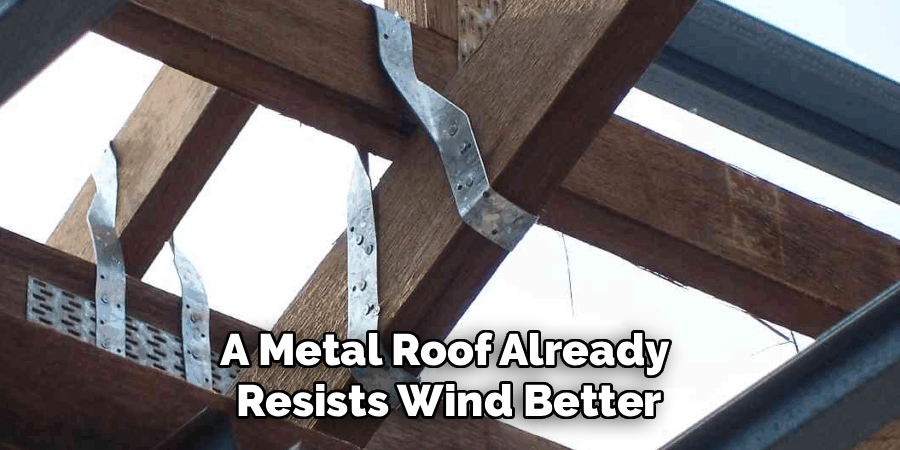
hurricane clips and straps connect your roof structure directly to the walls of your home, creating a continuous load path. this connection helps the entire structure resist uplift instead of relying on the roof alone. mastering how to secure metal roof for hurricanes includes strengthening what lies beneath the panels. install metal clips or straps where the roof rafters meet the wall framing, following local building codes. if you are unsure about this step, a professional can complete it quickly and safely. these inexpensive devices add tremendous holding power and are one of the most effective upgrades for storm-prone homes.
Step 6: Trim Surrounding Trees and Remove Debris
your roof’s safety depends partly on what surrounds your home. overhanging branches can scrape, puncture, or crush metal panels during high winds. trim back any limbs that hang near or over your roofline before storm season begins.
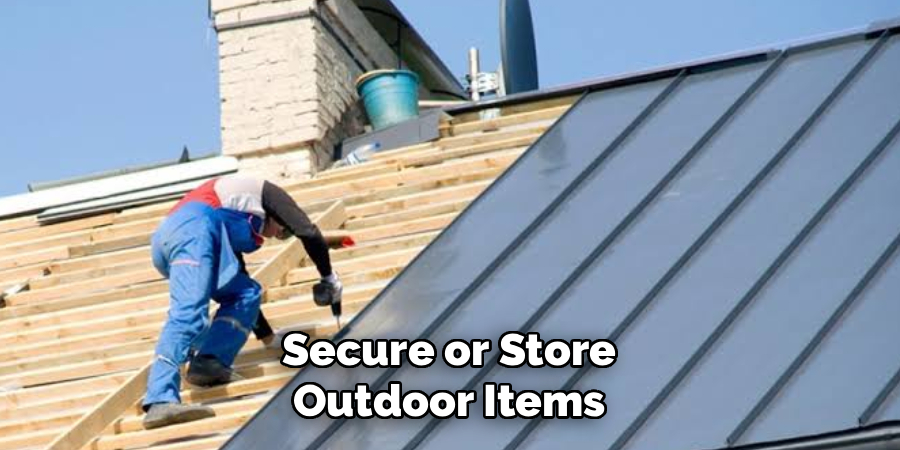
clear gutters, downspouts, and the roof surface of leaves, twigs, and loose objects that could become dangerous projectiles. secure or store outdoor items like furniture and tools that wind could hurl into your roof. keeping the area around your home clean and trimmed reduces the chance of impact damage. this simple, low-cost step often gets overlooked, yet it protects your hard work on the steps above.
Step 7: Schedule a Professional Inspection
even the most careful homeowner benefits from an expert’s trained eye. a professional roofer can spot hidden weaknesses, confirm your reinforcements meet code, and recommend region-specific upgrades. schedule an inspection well before hurricane season so there is time to address any issues. ask about wind-rating certifications and whether your roof qualifies for insurance discounts. professionals can also test fastener strength and check structural connections you may not be able to reach safely. think of this as your final quality check, giving you reassurance that your roof is genuinely ready. expert support at this stage turns good preparation into complete confidence.
Frequently Asked Questions
How Much Does It Cost to Hurricane-Proof a Metal Roof?
costs vary widely based on your roof size, condition, and the upgrades needed. minor work like tightening fasteners and resealing seams may cost a few hundred dollars if you do it yourself. adding hurricane clips, professional inspections, and edge reinforcement can range from several hundred to a few thousand dollars. while it feels like an expense, this investment often saves far more by preventing severe storm damage and lowering insurance premiums.
Can I Reinforce My Metal Roof Myself?
yes, many tasks are beginner-friendly and safe to handle on your own. tightening screws, sealing seams, trimming branches, and clearing debris all fall within reach for most homeowners. however, installing hurricane clips or working on steep, high roofs may require professional help. always prioritize safety, use proper equipment, and never work on a roof in poor weather. when a job feels beyond your comfort level, calling an expert is the smart, secure choice.
How Often Should I Inspect My Roof Before Storm Season?
aim to inspect your roof at least twice a year, with one check happening before hurricane season begins. after any major storm, do an additional inspection to catch new damage early. regular checks help you spot small problems, like loose fasteners or cracked sealant, before they grow into serious issues. consistent attention keeps your roof reliable year after year and ensures your earlier reinforcements remain strong and effective.
Are Metal Roofs Better Than Shingles in Hurricanes?
generally, yes. metal roofs typically resist high winds better than asphalt shingles and are less likely to tear away when properly installed and maintained. they also handle flying debris and heavy rain well. however, performance depends heavily on correct installation, quality fasteners, and ongoing maintenance. a neglected metal roof can still fail, while a well-maintained one offers excellent protection. proper care matters just as much as the material itself.
What Wind Speed Can a Metal Roof Withstand?
a properly installed and reinforced metal roof can often withstand winds of 140 miles per hour or more, depending on the system and installation quality. many modern metal roofing products carry wind ratings tested for hurricane conditions. the key is correct fastening, secure structural connections, and regular upkeep. always check your specific product’s rating and confirm it meets or exceeds the building codes for your storm-prone region.
Conclusion
preparing your home for severe weather does not have to feel overwhelming. by following these seven practical steps, you now understand how to secure metal roof for hurricanes with confidence and clarity. from inspecting panels and tightening fasteners to reinforcing edges, sealing seams, and installing hurricane clips, each action builds toward a stronger, safer roof. trimming nearby trees and scheduling a professional inspection round out a complete, dependable plan that protects everything beneath your roof.
the best time to act is before the storm appears on the forecast, not after. take what you have learned here and start with a simple inspection this week, then work through each step at your own pace. your effort today means real peace of mind tomorrow, knowing your home stands ready when the winds rise. protect your investment, safeguard your family, and give yourself the confidence that comes from being truly prepared.

About
Stuart Rich is a distinguished figure in the world of metalworking and fabrication, with a decade of expertise creating innovative and sustainable metal projects. His professional focus lies in merging traditional blacksmithing and machining with modern manufacturing techniques, fostering designs that are both practical and durable. As the author of Metalenify, Stuart Rich delves into the art and science of metallurgy and DIY metal creation, inspiring artisans, hobbyists, and industry professionals alike.
Education
RMIT University
(Melbourne, Australia)
Associate Degree in Engineering Technology (Mechanical / Manufacturing)
Focus on metallurgical properties, industry-driven projects, and practical metal craftsmanship. Gained hands-on experience with traditional machining and digital manufacturing tools, such as CAD, CNC software, and precision welding equipment.
Nottingham Trent University
(United Kingdom)
Bachelor’s in Product Design and Materials Engineering (Honors)
Specialized in product design with a heavy focus on blending creativity with metal production and fabrication techniques. Participated in real-world industry projects, collaborating with architectural and hardware manufacturing companies to optimize material efficiency.
Publications and Impact
In Metalenify, Stuart Rich shares his insights on structural metal design processes, material grades, and strategies for efficient shop production. His writing bridges the gap between raw artisan knowledge and modern industrial needs, making it a must-read for both budding DIY metalworkers and seasoned fabrication professionals.





