
Tungsten carbide tools are the workhorses of the metalworking world. They hold a sharp edge far longer than ordinary steel, which makes them ideal for cutting tough materials on a lathe. But even the hardest tools eventually wear down, and a dull edge means rough cuts, wasted material, and extra strain on your machine. That’s why learning how to sharpen tungsten carbide lathe cutting tools is such a valuable skill for anyone working at the bench.
The good news? You don’t need a fully equipped industrial shop to do it well. With the right grinding wheel, a steady setup, and a little patience, you can restore a crisp cutting edge yourself. This guide breaks the whole process into clear, manageable steps that work for beginners and seasoned machinists alike. We’ll explain each term as it comes up, point out the safety details that matter, and help you build confidence with every pass. By the end, you’ll know exactly how to bring your worn tools back to life and keep your projects running smoothly.
Why Sharpening Tungsten Carbide Lathe Cutting Tools Matters
A sharp tool does far more than look tidy. A keen edge slices cleanly through metal, leaving a smoother surface finish and reducing the force your lathe has to apply. That means less heat, less vibration, and far less wear on both your tool and your machine. Dull edges, on the other hand, tear at the material and can chip the carbide entirely.
Sharpening your own tools also saves real money. Replacement carbide bits add up quickly, and professional grinding services charge a premium. By handling it yourself, you extend the life of every tool and gain tighter control over your cutting angles. The payoff is consistent, accurate results, lower running costs, and the satisfaction of knowing your equipment is always ready to perform at its best.
Step-by-Step Guide To How to Sharpen Tungsten Carbide Lathe Cutting Tools
Step 1: Gather Your Tools And Safety Gear
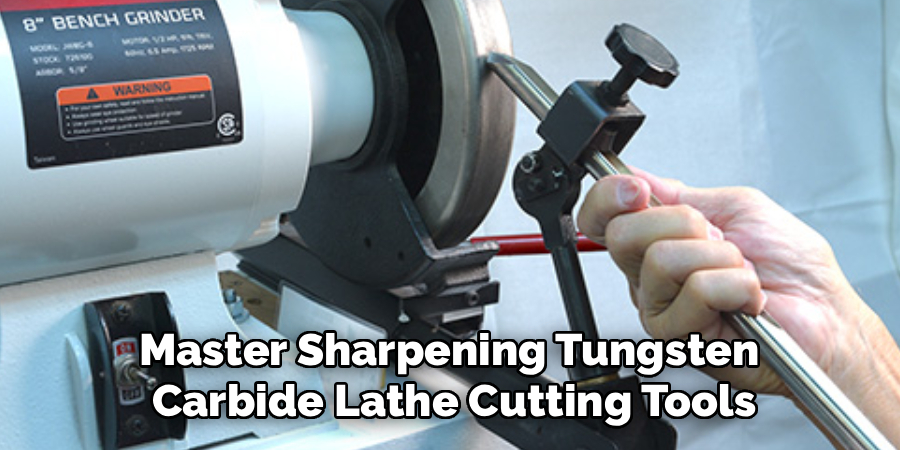
Before you touch the grinder, set yourself up properly. You’ll want a bench grinder fitted with a diamond or green silicon carbide wheel, since ordinary aluminum oxide wheels simply won’t cut hardened carbide effectively. Add a tool rest, a container of water for cooling, safety glasses, a dust mask, and snug-fitting gloves.
Carbide produces fine dust when ground, and breathing it in is genuinely harmful, so a mask and good ventilation are not optional. Take a moment to inspect your wheel for cracks and confirm the tool rest is locked firmly in place. A tidy, well-prepared station makes the whole job safer and lets you focus on the edge rather than fumbling for supplies.
Step 2: Inspect The Cutting Edge Closely
Start by examining the tool under bright light, ideally with a magnifying loupe. You’re looking for the story the edge tells you. Tiny chips, a rounded-over tip, or a shiny worn band along the cutting face all signal where material needs to come off.
Knowing exactly what’s wrong shapes your whole approach. A lightly dulled edge might need only a gentle touch-up, while a chipped corner requires removing more material to reach solid carbide underneath. Note the existing angles too, since you’ll want to preserve them. Spending two minutes here saves you from guessing later and helps you grind with purpose rather than removing more than the tool actually needs.
Step 3: Master Sharpening Tungsten Carbide Lathe Cutting Tools
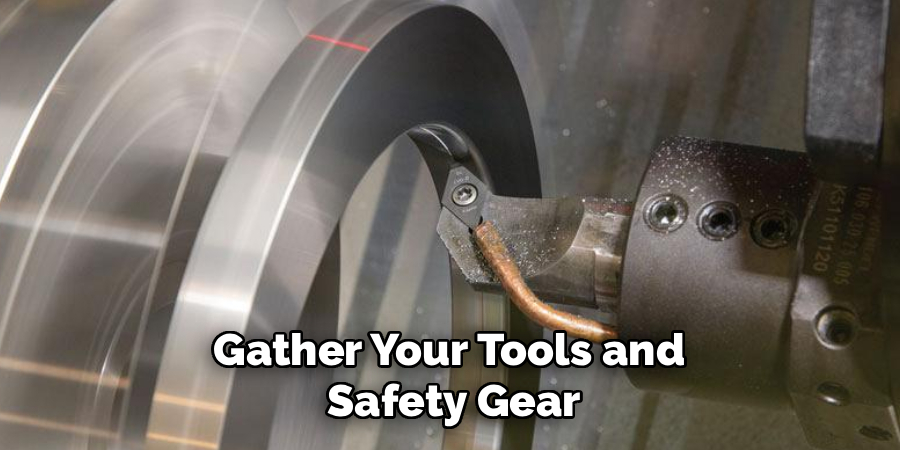
Carbide behaves differently from high-speed steel, so your technique has to adapt. Run the grinder at a steady, moderate speed and let the diamond wheel do the work. Never force the tool into the wheel, because heavy pressure generates heat that can crack the brittle carbide.
Think of it as a series of light, controlled kisses against the abrasive rather than one aggressive shove. Keep the tool moving gently across the wheel face to avoid wearing a groove in one spot. Light, even contact gives you the cleanest result and protects both the wheel and the tool. This patient rhythm is the single most important habit to develop.
Step 4: Grind The Primary Relief Angle
Now you’ll shape the relief angle, the slope behind the cutting edge that keeps the tool from rubbing against the workpiece. Rest the tool firmly on the support, set it to the angle you noted earlier, and bring it to the wheel with light pressure.
Move steadily side to side so the surface stays flat and even rather than rounded. Check your progress often, pulling the tool away to inspect rather than guessing. The goal is a clean, consistent face that matches the original geometry. Take your time on this stage, because the relief angle directly affects how freely the tool cuts and how long the fresh edge will last.
Step 5: Refine The Cutting Face And Edge
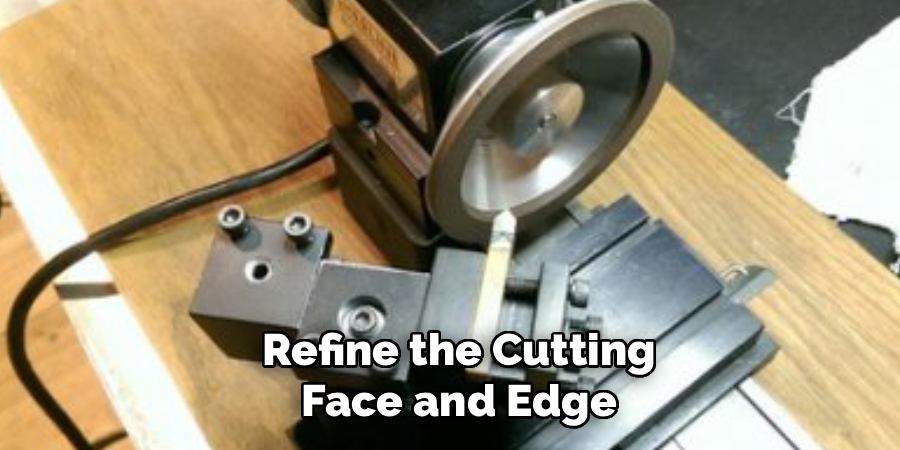
With the relief angle set, turn your attention to the cutting face itself. This is where the sharpness actually lives. Using the same light touch, refine the face until it meets the relief angle in a crisp, defined line.
Watch that meeting point carefully, since this intersection is your working edge. You want it sharp and unbroken, with no rounded or ragged spots. Rotate and reposition the tool slowly to keep everything symmetrical. Resist the urge to rush toward a finished look, because the final crispness comes from controlled, deliberate passes. A clean junction between the two surfaces is what separates a tool that slices from one that merely scrapes.
Step 6: Keep Carbide Cool During Sharpening
Heat is the enemy of carbide. Unlike steel, you should not quench glowing carbide in water, because the sudden temperature shock can cause tiny cracks that ruin the edge. Instead, prevent the heat from building up in the first place.
The trick is patience: grind in short bursts, lift the tool away regularly, and let it cool naturally in the air between passes. If you’re using a wet grinding setup, keep the cooling steady and consistent rather than alternating between hot and cold. By managing temperature carefully, you protect the internal structure of the carbide and ensure the sharp edge you’ve worked so hard to create actually holds up under real cutting loads.
Step 7: Hone And Test The Finished Edge
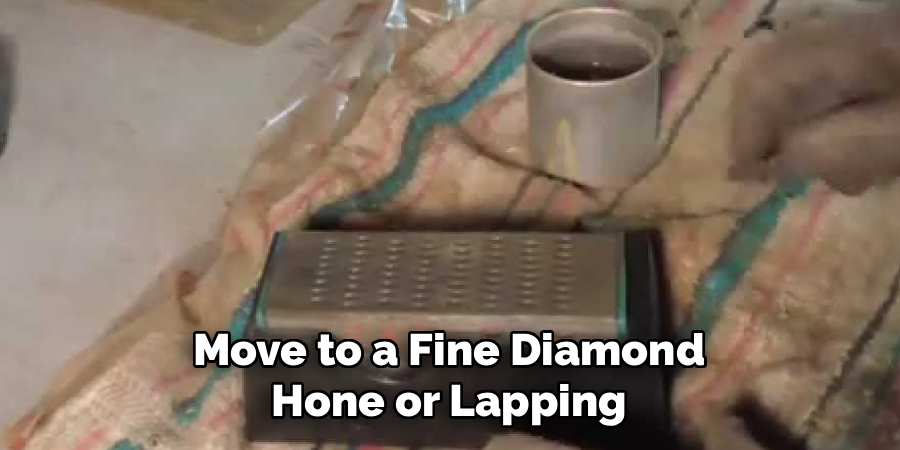
For the finishing touch, move to a fine diamond hone or lapping stone to polish away the last microscopic burrs left by the grinding wheel. A few light strokes refine the edge and give it that final keenness. Wipe the tool clean and inspect the edge once more under good light.
Then test it on a piece of scrap material at a modest cutting speed. A properly sharpened tool will produce clean chips and a smooth finish with minimal effort. If the cut looks rough, return to the relevant stage and refine further. Once you’re happy, your tool is ready for serious work, restored and dependable.
Frequently Asked Questions
Can I Use A Regular Bench Grinder Wheel On Carbide?
Standard aluminum oxide wheels won’t work well on tungsten carbide because the material is simply too hard. You’ll either glaze the wheel or barely make progress. For effective results, fit your grinder with a diamond wheel or a green silicon carbide wheel. These abrasives are designed to cut hardened carbide cleanly, giving you a crisp edge without overheating or damaging the tool.
How Often Should I Sharpen My Carbide Tools?
There’s no fixed schedule, since it depends entirely on how much you use them and what you’re cutting. The tool itself will tell you. When cuts start looking rough, chips form poorly, or the lathe works harder than usual, it’s time. Inspecting the edge regularly under good light helps you catch wear early, so you sharpen before performance drops noticeably and the work suffers.
Why Shouldn’t I Quench Hot Carbide In Water?
Carbide is hard but brittle, and sudden temperature changes create internal stress. Plunging a hot tool into cold water can form tiny cracks, sometimes invisible, that weaken the edge and cause it to crumble during cutting. Always let carbide cool slowly in the air between grinding passes. This patient approach protects the tool’s structure and keeps your freshly sharpened edge strong and reliable.
Is Sharpening Carbide Safe For Complete Beginners?
Absolutely, as long as you respect a few key safety habits. Always wear eye protection and a dust mask, because carbide dust is harmful to breathe. Work with a firmly locked tool rest, use light pressure, and never rush. Start on a worn practice tool to build confidence before tackling an important one. With patience and care, beginners get excellent, satisfying results.
What Angle Should I Grind My Lathe Tool To?
The ideal angle depends on the material you’re cutting and the type of tool. As a starting point, match the original angles your tool came with, which you noted during inspection. Harder workpiece materials generally suit steeper relief angles, while softer metals allow more clearance. When in doubt, preserve the factory geometry, since it was designed for that tool’s intended job.
Conclusion
Bringing a worn carbide tool back to a razor-sharp edge is genuinely within your reach, even if you’ve never tried it before. The secret lies in using the right diamond or silicon carbide wheel, applying light and patient pressure, preserving your cutting angles, and protecting the carbide from heat damage along the way. Each step builds on the last, so work at a comfortable pace and let the inspection and testing stages guide your adjustments.
Once you understand how to sharpen tungsten carbide lathe cutting tools properly, you save money, extend the life of your equipment, and gain real control over the quality of your work. So gather your gear, pick a practice tool to start with, and give it a try. With a little hands-on experience, you’ll sharpen with confidence and enjoy cleaner, more accurate cuts on every project. Your next sharp edge is just a few careful passes away.

About
Stuart Rich is a distinguished figure in the world of metalworking and fabrication, with a decade of expertise creating innovative and sustainable metal projects. His professional focus lies in merging traditional blacksmithing and machining with modern manufacturing techniques, fostering designs that are both practical and durable. As the author of Metalenify, Stuart Rich delves into the art and science of metallurgy and DIY metal creation, inspiring artisans, hobbyists, and industry professionals alike.
Education
RMIT University
(Melbourne, Australia)
Associate Degree in Engineering Technology (Mechanical / Manufacturing)
Focus on metallurgical properties, industry-driven projects, and practical metal craftsmanship. Gained hands-on experience with traditional machining and digital manufacturing tools, such as CAD, CNC software, and precision welding equipment.
Nottingham Trent University
(United Kingdom)
Bachelor’s in Product Design and Materials Engineering (Honors)
Specialized in product design with a heavy focus on blending creativity with metal production and fabrication techniques. Participated in real-world industry projects, collaborating with architectural and hardware manufacturing companies to optimize material efficiency.
Publications and Impact
In Metalenify, Stuart Rich shares his insights on structural metal design processes, material grades, and strategies for efficient shop production. His writing bridges the gap between raw artisan knowledge and modern industrial needs, making it a must-read for both budding DIY metalworkers and seasoned fabrication professionals.





