
![lrs;0;[2]](https://metalenify.com/wp-content/uploads/2026/06/lrs02-1024x488.jpg)
Silver soldering looks like magic the first time you watch molten metal flow into a joint and lock two pieces together. The good news? It’s a skill you can learn at home with a bit of practice and the right setup. Whether you want to repair jewelry, build copper pipe assemblies, or craft small metal projects, silver soldering gives you strong, clean joints that hold up for years.
By the end of this guide on how to silver solder metal, you’ll know exactly what tools you need, how to prep your metal, and the 10 steps to make a solid joint every time. We’ll also cover the benefits, the mistakes to dodge, and answers to common questions.
Let’s get your hands ready and your torch lit.
What Are the Benefits of Silver Soldering?
Silver soldering sits between soft soldering and brazing in terms of strength and heat. That middle ground gives it some real advantages for DIY makers and pros alike.
- Strong, Lasting Joints: Silver solder creates bonds far stronger than standard tin-lead solder. These joints can handle pressure, vibration, and stress.
- Clean Appearance: When done right, the seam is thin and tidy. This matters for jewelry and visible repairs.
- Versatile Materials: You can join copper, brass, steel, and silver. It works across many metal types.
- Lower Heat Than Welding: You don’t melt the base metal. Instead, the solder flows between the parts, so there’s less risk of warping.
- Leak-proof Seals: Plumbers rely on silver solder for water and gas lines because it forms airtight, watertight bonds.
- Cost-effective: Compared to professional welding gear, a basic soldering kit is affordable and beginner-friendly.
In short, silver soldering rewards you with durable results without the steep learning curve of full welding.
What Will You Need?
Before you fire up a torch, gather your supplies. Having everything within reach keeps the process smooth and safe.
Tools and Equipment:
- A propane or butane torch (MAPP gas torch for larger jobs)
- Heat-resistant soldering block or firebrick
- Locking tweezers, clamps, or a third-hand tool
- Wire brush or sandpaper (fine grit, around 400)
- Pliers and a small file
- Safety glasses and heat-resistant gloves
Materials:
- Silver solder (wire or paste form)
- Flux made for silver soldering
- Clean metal pieces you want to join
- A container of water for quenching
- Pickle solution (a mild acid bath) for cleaning afterward
Safety Gear:
- Fire extinguisher nearby
- Good ventilation or a fume extractor
- Apron made of cotton or leather (avoid synthetics that melt)
Take a minute to set up your workspace on a non-flammable surface. A clear, organized area makes a big difference once the heat is on.
10 Easy Steps on How to Silver Solder Metal
Follow these steps in order. Each one builds on the last, so don’t skip ahead. Take your time, especially on the cleaning and flux stages, because those decide whether your joint succeeds.
Step 1: Set Up a Safe Workspace
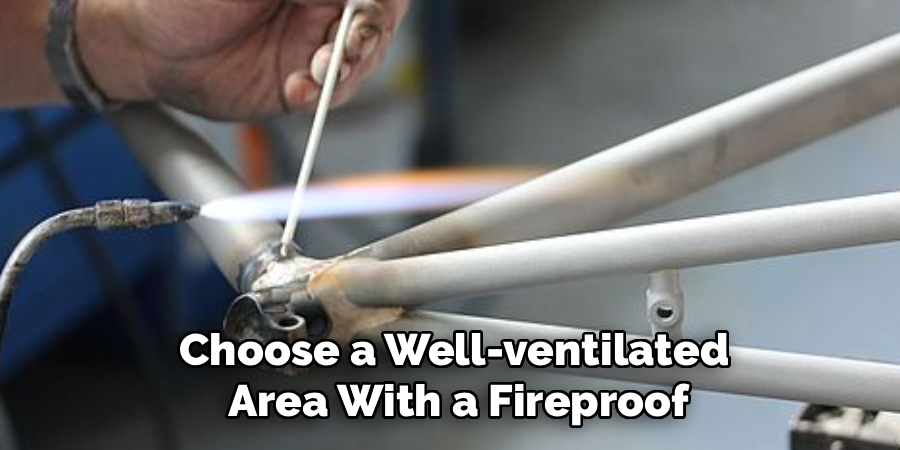
Choose a well-ventilated area with a fireproof surface. Place your firebrick or soldering block on a stable bench. Clear away anything flammable, like paper, cloth, or solvents. Keep a fire extinguisher and your water container close. Put on your safety glasses and gloves before you do anything else. A safe start prevents accidents later.
Step 2: Clean the Metal Thoroughly
Silver solder won’t bond to dirty metal. Use sandpaper or a wire brush to remove grease, oxidation, and grime from both surfaces. The metal should look bright and shiny where the joint will form. After sanding, avoid touching the clean area with bare fingers. Oils from your skin can ruin the bond. Wipe the surface with rubbing alcohol if needed.
Step 3: Fit the Pieces Together
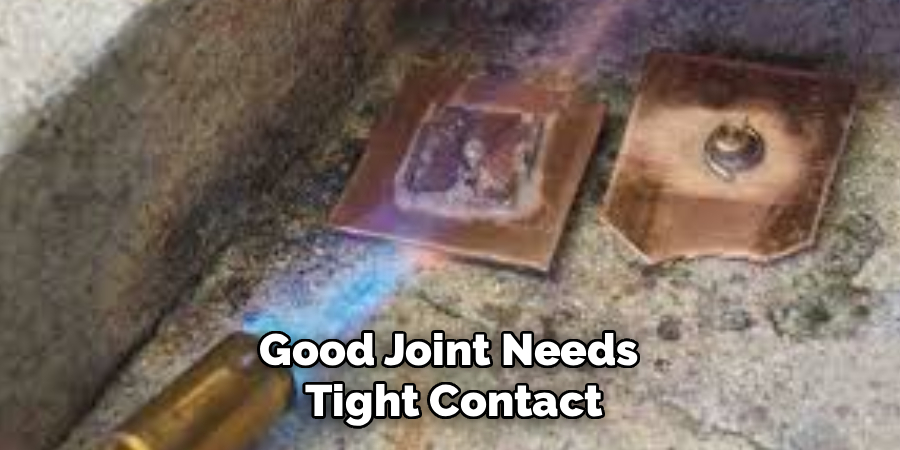
A good joint needs tight contact. The two metal surfaces should sit close, with only a tiny gap for the solder to flow into. Use clamps, tweezers, or a third-hand tool to hold the pieces in position. If the parts move during heating, the joint will fail. Test the fit before adding any flux or solder.
Step 4: Apply Flux to the Joint
Flux is essential. It cleans the metal at high heat and helps the solder flow. Brush a thin, even layer of flux onto both surfaces where they meet. Don’t overdo it; a light coat works best. The flux will bubble and turn glassy as it heats, which is normal. This step protects the metal from oxidation during soldering.
Step 5: Position the Solder
Cut a small piece of silver solder wire, often called a “pallion,” or have your solder paste ready. Place the solder near the joint, not piled on top of it. The solder should be close enough to flow into the seam once it melts. For paste, apply a thin line along the joint. Less is more here.
Step 6: Light and Adjust Your Torch
Ignite your torch and set it to a medium flame. You want a focused inner cone of blue flame, which carries the most heat. Hold the torch a few inches from the metal. Keep the flame moving so you heat the whole joint evenly, not just one spot. Never let the flame sit still in one place.
Step 7: Heat the Metal Evenly
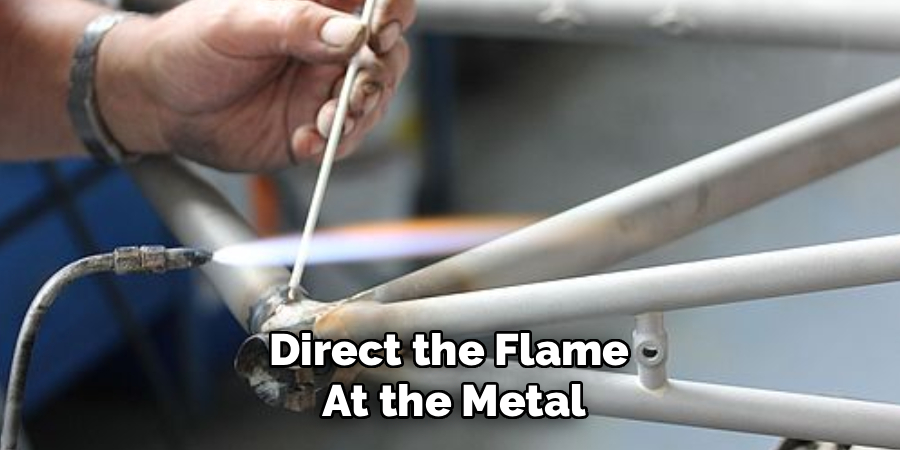
Direct the flame at the metal, not the solder. The goal is to heat the base metal until it’s hot enough to melt the solder. Move the torch in small circles around the joint. Watch the flux: it will dry, bubble, and then go clear and shiny. That glassy stage tells you the metal is reaching the right temperature.
Step 8: Let the Solder Flow
Once the metal is hot enough, the solder will melt and pull into the joint by itself. This is called capillary action. You’ll see a bright, silvery line travel along the seam. Don’t aim the flame directly at the solder, or it may ball up instead of flowing. The moment it flows, remove the heat. The whole flow happens in seconds.
Step 9: Cool and Quench the Joint
Turn off your torch and let the piece cool for a moment. The joint stays hot far longer than you expect, so don’t grab it. After 30 seconds or so, you can quench it in your water container using tweezers. Quenching cools the metal quickly. Be careful, because steam and splashing water can burn you.
Step 10: Clean and Inspect the Finished Joint
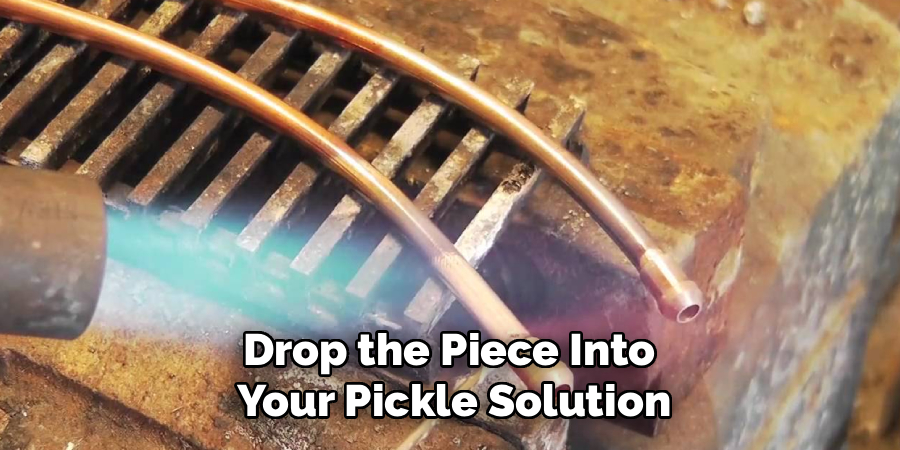
Drop the piece into your pickle solution to remove leftover flux and discoloration. After a few minutes, rinse it in water. Now inspect the joint closely. A good seam looks smooth, bright, and filled. If you see gaps or a weak bond, you can re-flux and reheat to add more solder. File away any rough spots for a clean finish.
That’s the full process. With each project, your control over heat and timing will improve.
5 Things You Should Avoid
Even careful beginners hit a few common snags. Steer clear of these mistakes to save time and material.
- Skipping the cleaning step. Dirty or oxidized metal is the number one reason joints fail. Always sand and wipe your surfaces until they shine.
- Using too much solder. Piling on solder creates messy blobs, not strong joints. A small piece flows farther than you’d think.
- Heating the solder instead of the metal. Aim your flame at the base metal. If you heat the solder directly, it balls up and won’t flow into the seam.
- Forgetting safety gear. Hot metal, open flames, and acid baths demand caution. Always wear glasses and gloves, and work in good ventilation.
- Moving the pieces during cooling. The joint stays soft for a few seconds after the solder flows. Bump it then, and you’ll crack the bond. Hold steady until it sets.
Avoid these five, and you’ll dodge most beginner frustrations.
Frequently Asked Questions
1. What’s the Difference Between Silver Soldering and Brazing?
Silver soldering and brazing are closely related, and many people use the terms interchangeably. The main difference is temperature. Silver soldering happens below about 840°F, while brazing occurs above that point. Both use a filler metal that flows into a joint without melting the base metal. For most home projects, silver soldering gives plenty of strength.
2. Can I Silver Solder Different Types of Metal Together?
Yes, silver solder works on copper, brass, steel, and silver, and you can even join two different metals. The key is choosing the right flux and matching your solder to the job. Clean both surfaces well, since dissimilar metals still need bright, oxide-free contact. Some metals, like aluminum, need special solders and won’t bond with standard silver solder.
3. Why Won’t My Solder Flow Into the Joint?
This usually comes down to three things: heat, cleanliness, or flux. If the base metal isn’t hot enough, the solder just sits there. If the surface is dirty, the solder beads up and refuses to spread. And without enough flux, oxidation blocks the bond. Check all three, reapply flux, and reheat the metal evenly before trying again.
Conclusion
How to silver solder metal is a practical, rewarding skill that opens up repairs and projects you couldn’t tackle before. The secret to strong joints comes down to a few habits: clean your metal well, use flux properly, and heat the base metal rather than the solder. Follow the 10 steps in order, avoid the common mistakes, and you’ll see your results improve fast.
Your next move is simple. Grab a couple of scrap copper pieces and practice the full process from cleaning to quenching. Run through it a few times until the solder flows smoothly every time.
Once you’re confident on scrap, you’ll be ready to tackle real repairs and builds with steady hands and clean, lasting joints.

About
Stuart Rich is a distinguished figure in the world of metalworking and fabrication, with a decade of expertise creating innovative and sustainable metal projects. His professional focus lies in merging traditional blacksmithing and machining with modern manufacturing techniques, fostering designs that are both practical and durable. As the author of Metalenify, Stuart Rich delves into the art and science of metallurgy and DIY metal creation, inspiring artisans, hobbyists, and industry professionals alike.
Education
RMIT University
(Melbourne, Australia)
Associate Degree in Engineering Technology (Mechanical / Manufacturing)
Focus on metallurgical properties, industry-driven projects, and practical metal craftsmanship. Gained hands-on experience with traditional machining and digital manufacturing tools, such as CAD, CNC software, and precision welding equipment.
Nottingham Trent University
(United Kingdom)
Bachelor’s in Product Design and Materials Engineering (Honors)
Specialized in product design with a heavy focus on blending creativity with metal production and fabrication techniques. Participated in real-world industry projects, collaborating with architectural and hardware manufacturing companies to optimize material efficiency.
Publications and Impact
In Metalenify, Stuart Rich shares his insights on structural metal design processes, material grades, and strategies for efficient shop production. His writing bridges the gap between raw artisan knowledge and modern industrial needs, making it a must-read for both budding DIY metalworkers and seasoned fabrication professionals.





