To soften hardened steel, you need a process called annealing. Heat the steel to its critical temperature — typically somewhere between 1,400°F and 1,600°F, depending on the alloy — hold it there for a set period, then let it cool as slowly as possible inside an insulating material like sand or vermiculite.
Working with metal often means changing its physical properties to match what the project actually demands. Hardened steel is excellent at holding a sharp edge or shrugging off heavy wear. That same rigidity, though, makes it nearly impossible to drill, cut, or shape without destroying your tools in the process.
If you need to modify an existing hardened piece, you have to reverse its internal structure before you can do anything useful with it. A controlled heat treatment process known as annealing can relieve those internal stresses and restore the metal’s ductility — essentially returning it to a state where it behaves like workable stock again. In this guide on how to soften hardened steel, we’ll go through the steps to help you achieve this.
Understanding Steel Hardening
Steel hardens when it reaches a critical temperature and then cools rapidly, typically through quenching in oil or water. That sudden drop in temperature traps carbon atoms inside the iron matrix, producing a crystalline structure called martensite — extremely tough, but unforgiving in any situation where the metal needs to flex, yield, or accept a cutting edge.
Annealing undoes this. When the metal is reheated to that critical threshold, the rigid martensite begins to dissolve. Rather than quenching again, the metal is allowed to cool very slowly. This extended cooling gives carbon atoms time to diffuse and rearrange into pearlite, a far softer microscopic structure that machines cleanly and responds well to files and drill bits.
Safety Precautions
High temperatures and heavy metals are a combination that doesn’t leave much margin for carelessness. Before you light anything, put on thick leather blacksmithing gloves, a heavy leather apron, and ANSI-approved safety glasses. Radiant heat and flying sparks can cause serious burns, and bare skin has no place near an active forge or torch.
Clear your workspace of flammable materials, liquids, and loose debris before you start. Whether you’re using a gas forge, oxy-acetylene torch, or propane torch, adequate ventilation isn’t optional — accumulated gases in a confined space become a genuine hazard. Keep a class ABC fire extinguisher close by and make sure you know exactly where it is before the heat source is ever ignited.
7 Simple Step-by-step Guidelines on How to Soften Hardened Steel
Step 1: Gather the Necessary Equipment and Materials
You need a heat source capable of reaching at least 1,500°F — a gas forge, oxy-acetylene torch, or a heavy-duty propane torch will all work, provided the setup suits the size of the piece you’re annealing. A weak flame applied to thick steel won’t produce a uniform heat; you’ll end up with temperature gradients that undermine the whole process.
Beyond the heat source, prepare a heat-resistant container packed with an insulating medium. Dry sand, vermiculite, and wood ashes are all practical choices because they hold heat without conducting it away quickly. You’ll also want a pair of heavy-duty blacksmith tongs — there’s simply no safe way to handle glowing metal without them — and a standard steel file to test the results once the metal has cooled.
Step 2: Prepare the Workspace for Heating
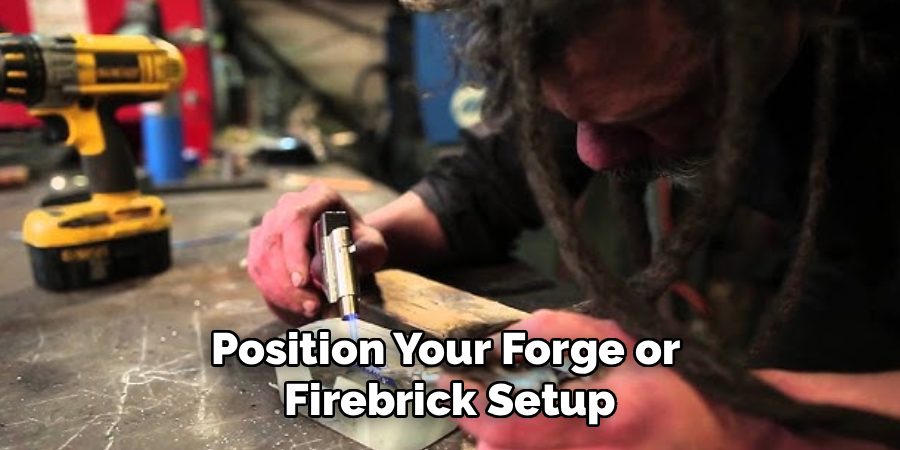
Position your forge or firebrick setup on a stable, non-combustible surface. Outdoors is ideal; a well-ventilated industrial garage also works. Place your container of insulating material directly beside the heating station so that transferring the glowing metal requires as few steps as possible.
Lay out your tongs, safety gear, and the workpiece itself before you ignite the flame. It takes only a few extra minutes to arrange everything within arm’s reach, but those minutes may prevent a genuinely dangerous scramble later. Once you’re at temperature, your attention needs to stay on the metal — not on locating a pair of tongs across the room.
Step 3: Clean the Hardened Steel Thoroughly
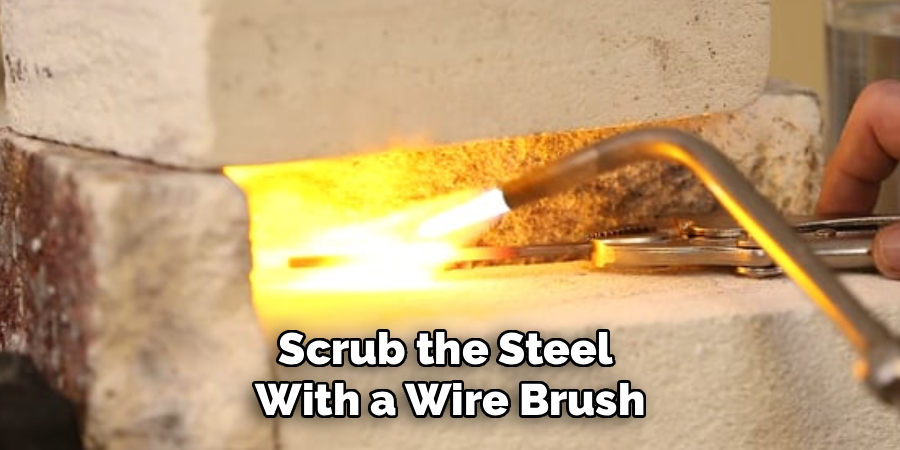
Surface contamination interferes with even heating more than most beginners expect. Grease, oil, paint, and heavy rust can burn off violently during heating or bake into the surface and create localized areas that resist softening. Scrub the steel with a wire brush, sandpaper, or a dedicated degreasing solvent to get down to bare metal.
After the initial scrub, wipe the piece down with acetone or rubbing alcohol to remove any remaining residue. Once it’s clean and dry, handle it only with your leather gloves — the natural oils on bare hands are enough to re-contaminate a freshly prepped surface. Clean steel absorbs heat far more uniformly, and uniform heat absorption is what produces a consistent internal structure.
Step 4: Heat the Steel to its Critical Temperature
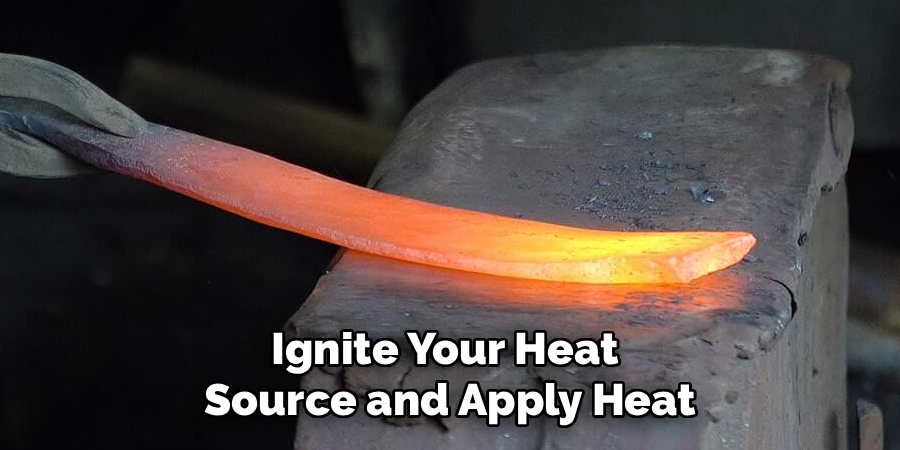
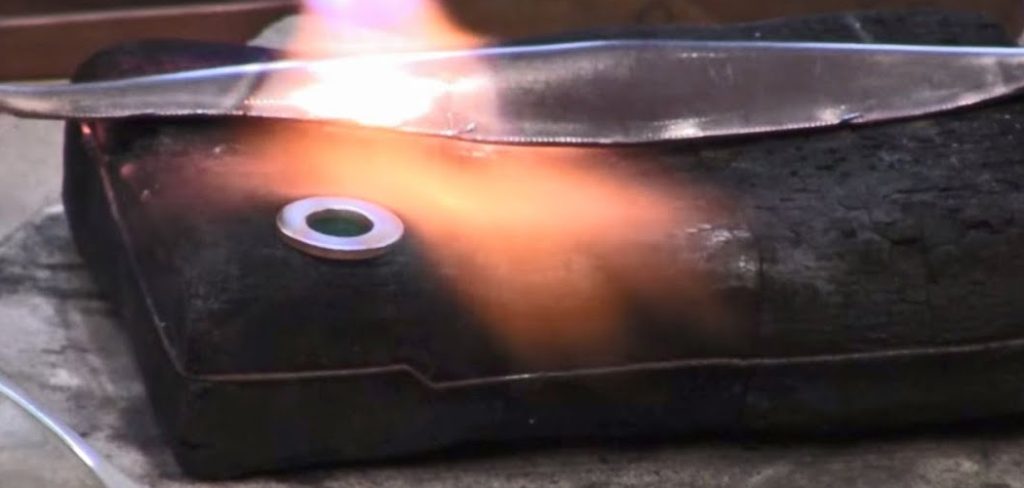
Ignite your heat source and apply heat across the entire surface, moving the torch steadily or positioning the piece carefully inside the forge. The objective is a uniform cherry-red glow — the visual marker that corresponds to the critical transformation temperature. Concentrating heat on one section while the rest stays cool is exactly what you want to avoid.
As the steel approaches this temperature, it loses its magnetic properties. Touching a magnet to the metal with tongs offers a practical check: if it no longer sticks, the steel has crossed the critical threshold. That non-magnetic, cherry-red state indicates the martensite structure is dissolving and the metal is ready for the slow cooling phase.
Step 5: Hold the Temperature (Heat Soaking)
Getting the surface to cherry-red isn’t enough on its own. The heat needs time to penetrate the full cross-section of the piece, and that’s what heat soaking accomplishes. A widely used industrial guideline suggests approximately one hour of soaking per inch of material thickness, though thinner stock — old files, knife blanks — typically needs only five to ten minutes at temperature.
Watch the color carefully during this stage. Letting the metal drift past cherry-red into bright orange or white-hot is a real risk, and it’s one worth taking seriously. Overheating burns carbon out of the steel, which compromises its structural integrity in ways that can’t be corrected simply by re-annealing.
Step 6: Cool the Steel Slowly in Insulation
This step is where annealing either succeeds or fails. Using your tongs, transfer the glowing steel directly into the prepared container of vermiculite, dry sand, or wood ashes, and bury it so that at least two inches of insulating material surrounds it on all sides. The insulation’s job is to slow heat loss dramatically — that extended cooling time is what converts martensite into pearlite.
Leave the container completely undisturbed for a minimum of 12 to 24 hours. It’s tempting to check on the piece earlier, particularly when it seems like enough time has passed, but pulling it out while any residual internal heat remains can allow ambient air to rapidly draw that heat away, accidentally re-hardening sections of the workpiece.
Step 7: Clean and Inspect the Cooled Steel
After a full 24 hours, carefully dig the piece out of the insulating material. It should be completely cool — not just warm, but genuinely room temperature throughout. The surface will likely be covered in dark oxidation and scale, which is a normal consequence of the heat cycle. A wire wheel or sandpaper will remove it and reveal the bare metal beneath.
From here, the steel should respond normally to standard high-speed steel cutting tools. Drill holes, file new bevels, or reshape the profile — whatever the project calls for. Following this process carefully means that materials which were previously too hard to touch with a standard bit are now entirely workable.
Following these steps on how to soften hardened steel, you can now work with hardened steel easily for your projects and repairs.
Common Mistakes to Avoid
Rushing the cooling process is the most common way annealing fails. Removing the steel from the vermiculite before it has fully returned to room temperature can undo hours of careful work in minutes.
Wet sand, despite seeming like a reasonable substitute, acts as a quench rather than an insulator — the moisture draws heat away quickly, which re-hardens rather than softens. Uneven heating presents a separate problem: sections that never reached the critical temperature will retain their hardness and may shatter a drill bit the moment it makes contact.
How to Check If Steel Has Softened?
The file test remains the most accessible and reliable verification method. Run the teeth of a standard metal hand file firmly across the edge of the cooled piece. If the file slides across without biting — skating, as machinists sometimes describe it — the steel is still hard and the annealing process hasn’t worked.
If it digs in and pulls up metal shavings without much resistance, the internal structure has successfully shifted to pearlite and the piece is ready to work.
Applications of Softened Steel
Annealing tends to come up most often when a fabricator needs to repurpose something that was built to stay hard. Blacksmiths and machinists regularly anneal old vehicle leaf springs, worn-out files, or broken drill bits to reclaim them as useful stock for knives, chisels, or specialized hand tools.
Once softened, the material can be cut on a bandsaw, drilled with standard bits, or shaped without the risk of shattering. After the desired form is achieved, the piece can be re-hardened to restore its working properties.
Frequently Asked Questions:
Q1: Can I Use A Propane Torch To Soften Hardened Steel?
Yes, though with caveats. A standard propane torch can work on thin or small pieces, but it typically doesn’t produce enough total heat output to bring thicker stock to a uniform cherry-red. For larger sections of steel, a gas forge or oxy-acetylene torch is usually necessary to achieve the heat penetration that proper soaking requires.
Q2: How Long Does The Cooling Process Take During Annealing?
Somewhere between 12 and 24 hours, depending on the thickness of the piece and how well the insulating material retains heat. As a general principle, slower cooling produces softer results. Leaving the metal buried overnight and resisting the urge to check on it until the following day tends to produce the most consistent outcomes.
Q3: What Is The Difference Between Annealing And Tempering Steel?
Annealing is a high-heat process followed by very slow cooling, and its goal is to make the steel as soft and workable as possible. Tempering is something different — it’s applied after hardening, at lower temperatures, and its purpose is to reduce the brittleness of already-hardened steel without fully sacrificing edge retention. The two processes serve opposite ends of the same spectrum.
Final Thoughts on Metal Modification
Understanding the relationship between heat, atomic structure, and cooling rate changes what’s possible in a fabrication context. Scrap materials that were previously too hard to machine become workable stock. Old tools that would otherwise be discarded can be reshaped into something purpose-built.
Patience matters here, particularly during the cooling phase — that’s the part most people underestimate. If you’ve followed the steps carefully, try the process on an old rusted file first. It’s a low-stakes way to see the transformation firsthand and build confidence before working on anything more valuable. Thanks for reading this guide on how to soften hardened steel.
About
Stuart Rich is a distinguished figure in the world of metalworking and fabrication, with a decade of expertise creating innovative and sustainable metal projects. His professional focus lies in merging traditional blacksmithing and machining with modern manufacturing techniques, fostering designs that are both practical and durable. As the author of Metalenify, Stuart Rich delves into the art and science of metallurgy and DIY metal creation, inspiring artisans, hobbyists, and industry professionals alike.
Education
RMIT University
(Melbourne, Australia)
Associate Degree in Engineering Technology (Mechanical / Manufacturing)
Focus on metallurgical properties, industry-driven projects, and practical metal craftsmanship. Gained hands-on experience with traditional machining and digital manufacturing tools, such as CAD, CNC software, and precision welding equipment.
Nottingham Trent University
(United Kingdom)
Bachelor’s in Product Design and Materials Engineering (Honors)
Specialized in product design with a heavy focus on blending creativity with metal production and fabrication techniques. Participated in real-world industry projects, collaborating with architectural and hardware manufacturing companies to optimize material efficiency.
Publications and Impact
In Metalenify, Stuart Rich shares his insights on structural metal design processes, material grades, and strategies for efficient shop production. His writing bridges the gap between raw artisan knowledge and modern industrial needs, making it a must-read for both budding DIY metalworkers and seasoned fabrication professionals.


