
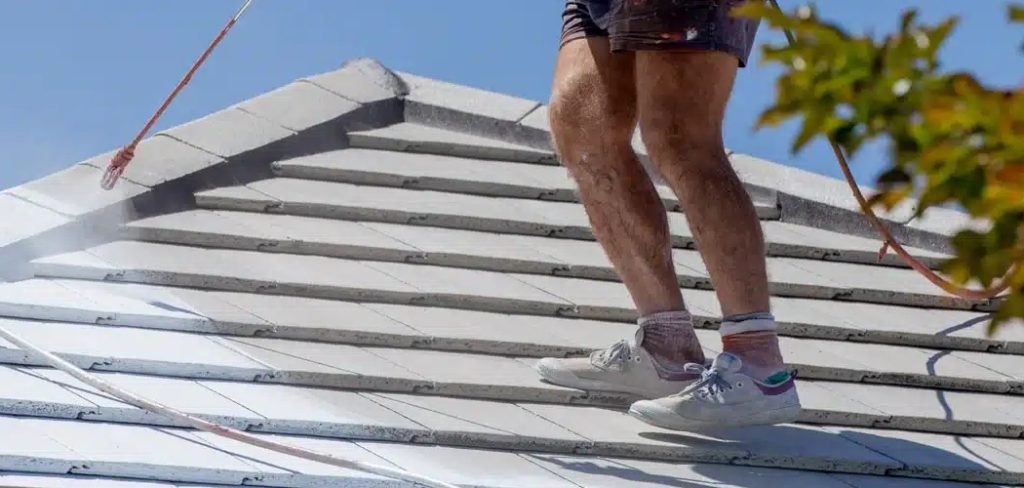
That chalky, faded film you see on an older metal roof isn’t dirt you can wash away. It’s the slow breakdown of the paint’s surface, where the binder erodes and leaves loose pigment behind. Over time, this dulls your roof’s color, weakens its protective coating, and can even stain the walls below when rain washes the powder down. The good news is that this problem is both predictable and preventable. Learning how to stop metal roof paint chalking starts with understanding why it happens and choosing the right products and habits to keep it from coming back.
Whether you’re a homeowner protecting a fresh investment or someone maintaining a barn, shed, or commercial building, this guide breaks the process down into clear, manageable steps. You don’t need to be a professional painter to get great results. With the right preparation, quality materials, and a little routine care, you can keep your roof looking sharp and performing well for years. Let’s walk through exactly how to make that happen.
Why Stopping Metal Roof Paint Chalking Matters
Chalking is more than a cosmetic nuisance. When the paint’s surface degrades, the coating loses its ability to shield the metal underneath, leaving it more exposed to moisture, rust, and UV damage. That means a chalky roof often signals deeper protection loss, not just faded color.
Stopping the problem early saves you money. Repainting a neglected roof costs far more than maintaining one that’s still in good shape. A well-protected coating also reflects more sunlight, which can help keep your building cooler and lower energy bills. On top of that, a clean, vibrant roof boosts curb appeal and property value. Taking action now means fewer repairs, longer-lasting results, and a roof you can rely on through every season.
Step-by-Step Guide to How to Stop Metal Roof Paint Chalking
Step 1: Inspect The Current Condition Of Your Roof
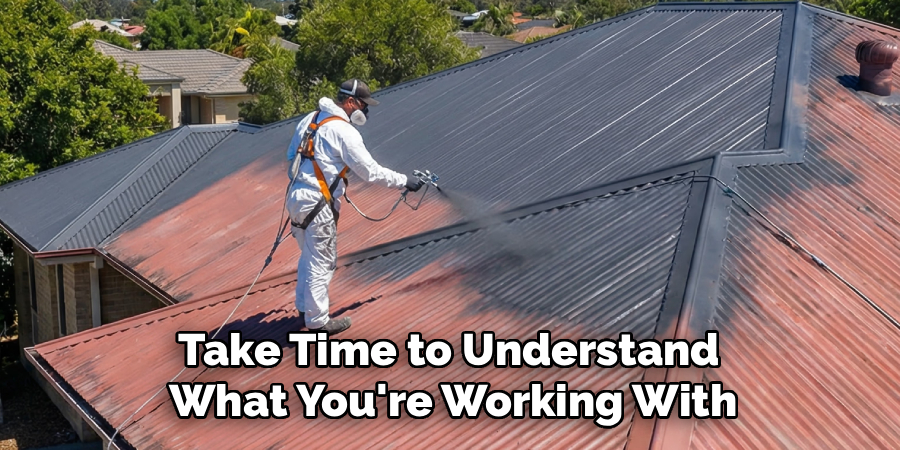
before you fix anything, take time to understand what you’re working with. run your hand gently across a small section of the painted surface. if your palm comes away dusty with colored powder, you’re dealing with active chalking. note how widespread it is, and look for spots where the metal shows through or rust has started to form. checking on a dry, mild day gives you the clearest view. write down problem areas or snap a few photos so you can track changes later. this simple assessment tells you whether you need a full repaint or just targeted cleaning and protection, saving you wasted effort down the line.
Step 2: Clean The Surface Thoroughly
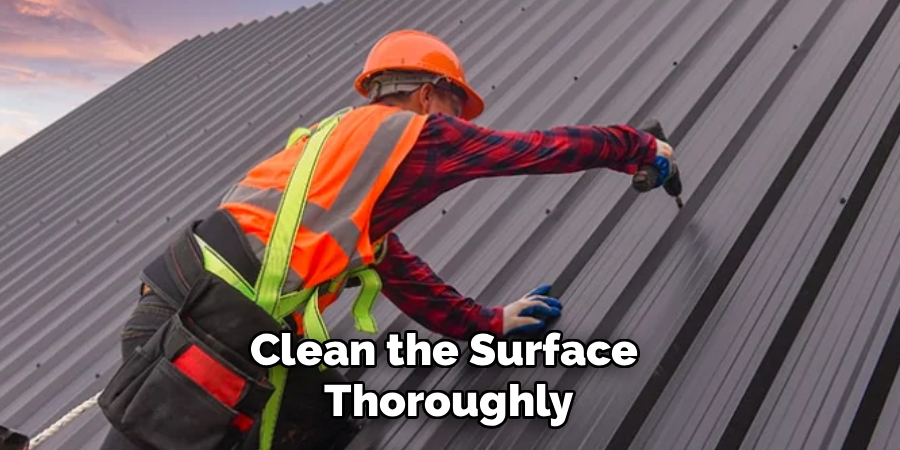
chalk, dirt, and grime prevent new coatings from sticking, so cleaning is essential. mix a mild detergent with water, or use a product made for metal roofs, and scrub the surface with a soft-bristle brush. for larger roofs, a low-pressure wash works well, but avoid blasting the metal so hard that you damage the existing finish. rinse completely and let everything dry. learning how to stop metal roof paint chalking really begins here, because a clean, bare surface is the foundation for every coat that follows. take your time, since leftover residue is the most common reason new paint fails early.
Step 3: Remove Loose And Failing Paint
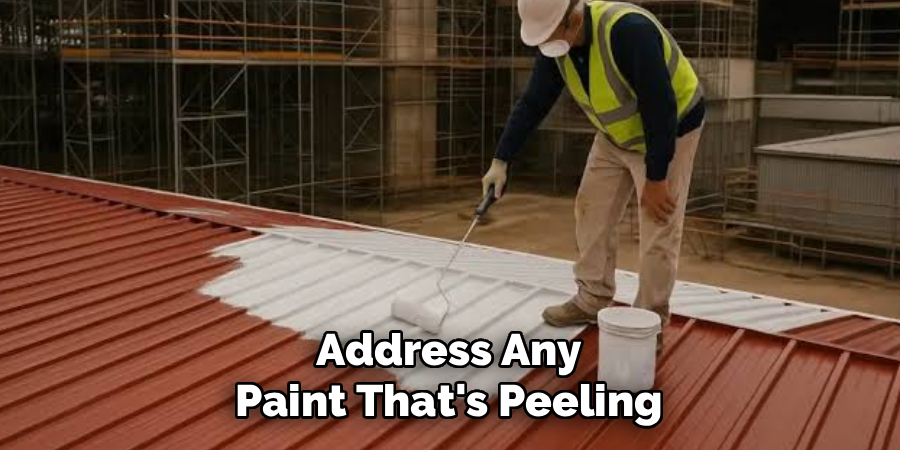
once the surface is clean and dry, address any paint that’s peeling, flaking, or heavily chalked. use a wire brush, sanding pad, or scraper to gently remove loose material until you reach a stable, firm layer. work in small sections so you don’t miss anything. for stubborn spots, light sanding helps create a slightly rough texture that gives the next coat something to grip. always wear gloves and a dust mask to stay safe. this step feels tedious, but skipping it leads to uneven results and premature failure. a solid, well-prepared base is what makes your finish last for many years.
Step 4: Apply A Quality Primer
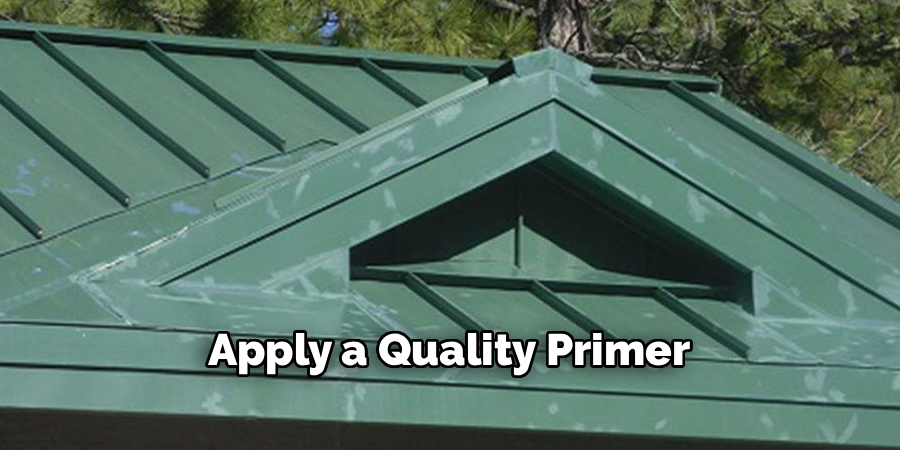
primer bridges the gap between old metal and fresh paint, and it’s especially important on weathered surfaces. choose a primer designed for metal roofing, ideally one with rust-inhibiting properties if you spotted any corrosion earlier. apply it in thin, even coats using a brush, roller, or sprayer, and follow the manufacturer’s drying times closely. don’t rush this part, because a good primer dramatically improves adhesion and color retention. it also adds an extra layer of defense against moisture. understanding how to stop metal roof paint chalking means recognizing that primer isn’t optional, it’s the unsung hero that helps your topcoat resist breakdown and stay vibrant much longer.
Step 5: Choose The Right Topcoat
not all paints handle sun and weather equally, so your topcoat choice matters enormously. look for coatings specifically formulated for metal roofs, such as high-quality acrylic or specialized elastomeric products with strong UV resistance. these are engineered to hold their binder together far longer, which is exactly what reduces chalking. check the label for terms like “fade-resistant” or “chalk-resistant,” and don’t be tempted by cheaper paints that cut corners on durability. investing a little more now pays off in years of protection. if you’re unsure, ask a paint supplier for a product matched to your climate and roof material, since the right fit makes all the difference.
Step 6: Apply The Topcoat Correctly
application technique affects performance just as much as product quality. paint on a dry, mild day with low humidity and no rain in the forecast, so the coating cures properly. apply two thin coats rather than one thick layer, allowing full drying time between them. work in consistent directions to avoid streaks, and make sure you cover edges, seams, and fasteners where wear tends to start first. a sprayer gives smooth coverage on large roofs, while a brush handles detailed spots. even, careful application creates a strong protective film that resists weathering. patience here rewards you with a uniform finish that looks professional and holds up beautifully over time.
Step 7: Maintain And Monitor Regularly
your work doesn’t end once the paint dries. routine care keeps chalking from creeping back. rinse your roof once or twice a year to remove dirt and debris that trap moisture, and inspect it each season for early signs of wear. catching small issues, like a fading patch or a scratched area, lets you touch them up before they spread. keep a record of when you painted and which products you used, so future maintenance is easier. this ongoing attention is the simplest, most affordable way to protect your investment. a few minutes of monitoring saves you from costly repairs and keeps your roof looking fresh.
Frequently Asked Questions
What Exactly Causes Metal Roof Paint To Chalk?
Chalking happens when UV rays and weather break down the binder that holds the paint’s pigment together. As the binder erodes, loose pigment particles rise to the surface as a powdery film. Heat, sunlight, and lower-quality coatings speed up this process. That’s why choosing UV-resistant, high-quality paint and maintaining it properly makes such a noticeable difference in how long your finish lasts.
Can I Just Paint Over A Chalky Roof Without Cleaning?
No, and skipping cleaning is one of the biggest mistakes you can make. Chalk acts like a layer of loose dust, preventing new paint from bonding to the surface. If you paint over it, the fresh coat will peel or fail within months. Always clean thoroughly, remove loose paint, and let everything dry first. Proper prep is what gives your new coating the strong, lasting grip it needs.
How Often Should I Repaint My Metal Roof?
It depends on your climate, the paint quality, and how well you maintain the roof. Many quality coatings last ten to twenty years, but harsh sun or coastal conditions can shorten that. Regular rinsing and seasonal inspections help you spot wear early, so you can do small touch-ups instead of full repaints. Watching for fading or chalk signs tells you when a fresh coat is truly needed.
Is Chalking A Sign That My Roof Is Failing?
Not necessarily, but it shouldn’t be ignored. Light chalking is often just normal surface aging, especially on older paint. However, heavy chalking signals that the protective coating is breaking down, leaving the metal more vulnerable to rust and moisture. Treating it promptly with cleaning and recoating restores protection. Think of chalking as an early warning that helps you act before more serious damage develops underneath.
Do I Need A Professional, Or Can I Do This Myself?
Many homeowners successfully handle this project themselves, especially on smaller or single-story roofs. With the right tools, quality products, and careful preparation, DIY results can look excellent. That said, large, steep, or high roofs come with real safety risks. If you’re unsure about working at height or want a guaranteed finish, hiring a professional is a smart, worthwhile choice. Always prioritize your safety over saving money.
Conclusion
A chalky metal roof doesn’t have to be a permanent problem, and you now have a clear roadmap to fix it. By inspecting the surface, cleaning thoroughly, removing failing paint, priming well, choosing a durable topcoat, applying it carefully, and staying on top of maintenance, you give your roof the best possible defense against fading and breakdown. Each step builds on the last, and together they deliver results that last for years rather than months.
The key takeaway is that learning how to stop metal roof paint chalking comes down to good preparation and quality materials, not complicated techniques. Whether you tackle the job yourself or bring in a professional, acting early protects your investment, improves your building’s appearance, and saves you money over time. So don’t wait for the powder to spread or the rust to set in. Grab your supplies, follow these steps, and give your roof the lasting protection it deserves.

About
Stuart Rich is a distinguished figure in the world of metalworking and fabrication, with a decade of expertise creating innovative and sustainable metal projects. His professional focus lies in merging traditional blacksmithing and machining with modern manufacturing techniques, fostering designs that are both practical and durable. As the author of Metalenify, Stuart Rich delves into the art and science of metallurgy and DIY metal creation, inspiring artisans, hobbyists, and industry professionals alike.
Education
RMIT University
(Melbourne, Australia)
Associate Degree in Engineering Technology (Mechanical / Manufacturing)
Focus on metallurgical properties, industry-driven projects, and practical metal craftsmanship. Gained hands-on experience with traditional machining and digital manufacturing tools, such as CAD, CNC software, and precision welding equipment.
Nottingham Trent University
(United Kingdom)
Bachelor’s in Product Design and Materials Engineering (Honors)
Specialized in product design with a heavy focus on blending creativity with metal production and fabrication techniques. Participated in real-world industry projects, collaborating with architectural and hardware manufacturing companies to optimize material efficiency.
Publications and Impact
In Metalenify, Stuart Rich shares his insights on structural metal design processes, material grades, and strategies for efficient shop production. His writing bridges the gap between raw artisan knowledge and modern industrial needs, making it a must-read for both budding DIY metalworkers and seasoned fabrication professionals.





