
Chrome plating gives metal a bright, mirror-like shine, but that glossy layer does not last forever. Over time it can peel, pit, or flake, leaving your part looking tired and worn. Maybe you want to repaint, repolish, or apply a fresh coating, and that old chrome is standing in your way. Knowing how to strip chrome from metal lets you take control of your project and bring a piece back to bare, workable metal.
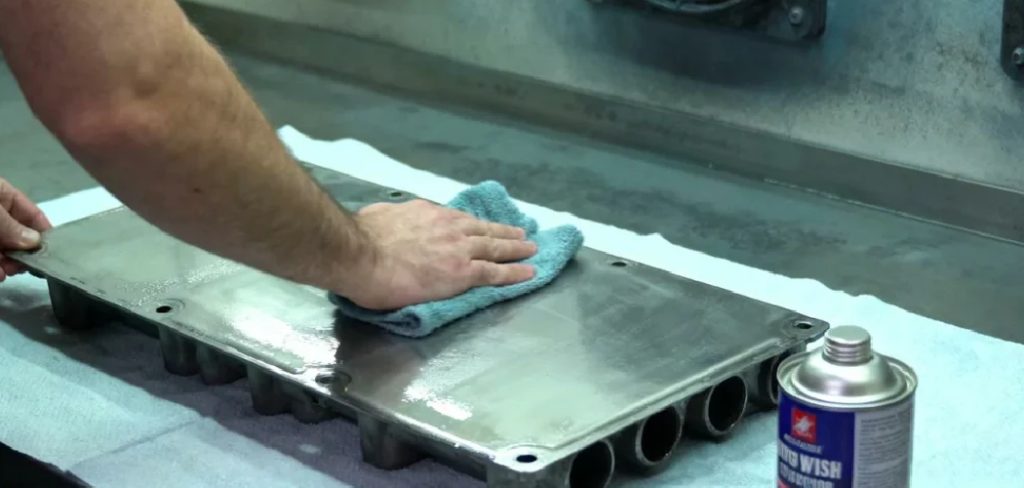
The good news is that this task is approachable, even if you have never tackled it before. With the right tools, a little patience, and proper safety gear, you can remove that stubborn layer at home. This guide walks you through the whole process in simple, friendly steps, so you feel confident from start to finish. We will cover preparation, the actual stripping, and how to protect your freshly exposed surface. By the end, you will understand each stage clearly and be ready to refinish your project just the way you imagined.
Why Stripping Chrome From Metal Matters
Removing old chrome is more than a cosmetic choice. A damaged plating layer can trap moisture, hide rust, and prevent new paint or coatings from sticking properly. Stripping it down gives you a clean, honest surface to work with, which leads to better, longer-lasting results.
There are real benefits to doing this yourself, too. You save money on professional refinishing, you gain full control over the final look, and you learn a skill you can reuse on future projects. A properly stripped part bonds well with primer, polish, or fresh plating, so your hard work actually holds up. Whether you are restoring a vintage car trim, a motorcycle part, or a household fixture, starting with bare metal sets you up for a finish you can be proud of.
Step-by-Step Guide To How to Strip Chrome From Metal
Step 1: Set Up A Safe Work Area
Before you begin, choose a space with strong airflow, since the products and dust involved can irritate your lungs and skin. An open garage, a covered patio, or a well-ventilated workshop all work well. Lay down a protective drop cloth to catch any debris or runoff.
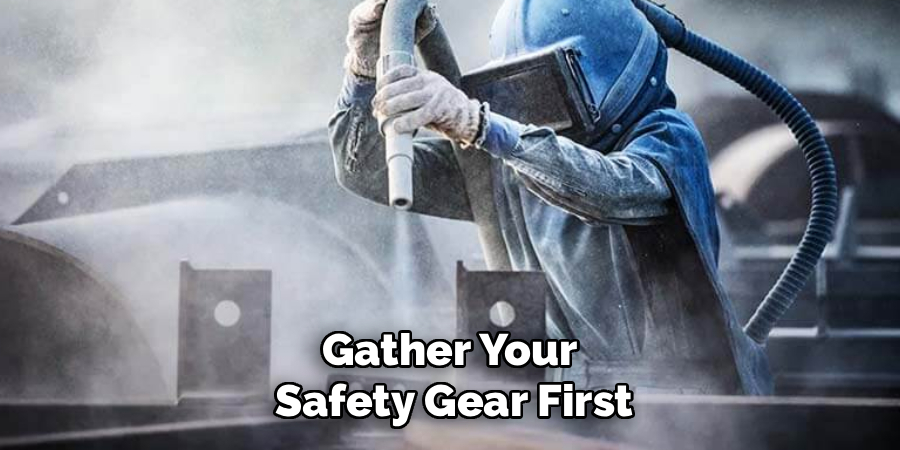
Gather your safety gear first, because protection matters more than speed. You will want chemical-resistant gloves, safety goggles, a respirator, and long sleeves. Keep a bucket of clean water nearby for quick rinsing in case anything splashes. Setting up carefully now makes the rest of the job smoother and far less stressful, letting you focus on the work instead of scrambling for supplies.
Step 2: Gather Your Tools And Materials
Having everything within reach saves time and keeps your project flowing. You will need your chosen stripping method’s supplies, plus basics like a stiff brush, fine sandpaper, clean rags, and a container for soaking smaller parts. Choose between mechanical removal, chemical stripping, or reverse electrolysis depending on your comfort level and the part’s size.
Take a moment to read every product label so you understand the right way to strip chrome from metal safely and effectively. Different chemicals react differently, and some are far harsher than others. Knowing your materials ahead of time helps you avoid mistakes, protects the underlying metal, and gives you a clear plan before you make that first move.
Step 3: Clean The Surface Thoroughly
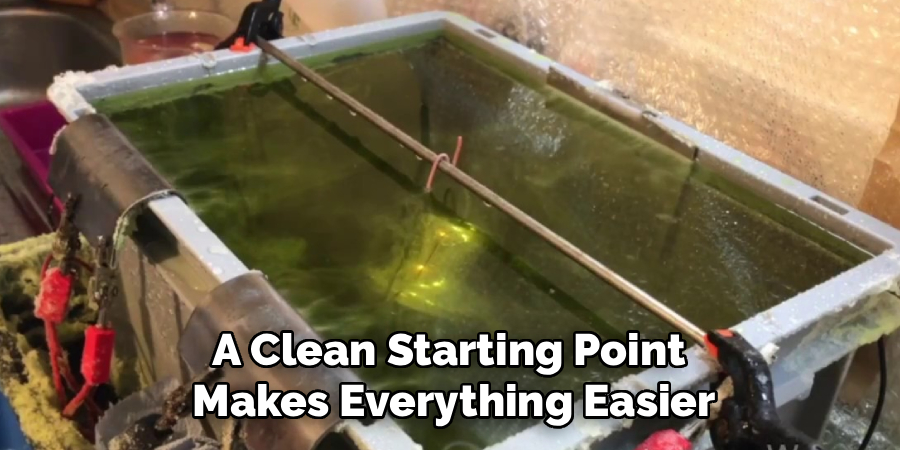
A clean starting point makes everything easier. Wash the part with warm, soapy water to lift away grease, grime, and road dirt. For stubborn buildup, use a degreaser and a soft brush, then rinse well and dry the surface completely with a clean cloth.
This step matters because dirt and oil can block your stripping agent from reaching the chrome evenly. A grimy surface leads to patchy results and wasted effort. Once the metal is spotless, inspect it closely to spot any rust, cracks, or weak areas you should know about. Starting with a clean, dry part sets the stage for an even, predictable removal process from here on.
Step 4: Choose And Apply Your Stripping Method
Now you commit to your approach. For mechanical removal, use sandpaper, a wire wheel, or a sandblaster to grind the chrome away gradually. For chemical stripping, apply the product evenly with a brush and let it sit according to the label’s timing. For reverse electrolysis, set up your bath, connect the part, and let the current do the work.
Whichever route you take, work patiently and in small sections. Rushing leads to uneven spots and missed patches. Mastering how to strip chrome from metal often means combining methods, such as loosening the layer chemically and then finishing the last traces by hand for a clean result.
Step 5: Remove The Loosened Chrome
Once the chrome begins to lift, blister, or dull, it is time to take it off. Use a plastic scraper or a stiff brush to gently work the loosened plating away from the metal. Move slowly and follow the contours of the part so you do not gouge the surface underneath.
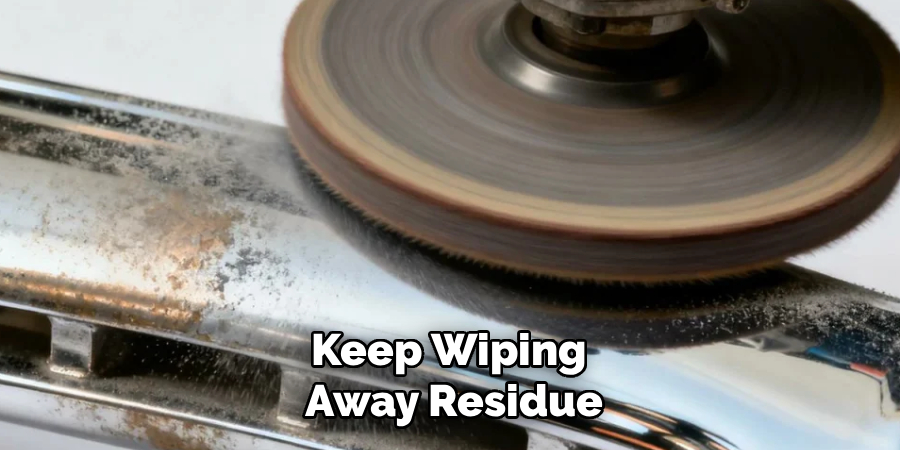
For tight corners and detailed areas, a smaller brush or fine pad gives you better control. If some chrome stubbornly clings on, reapply your method to those spots rather than forcing it. Patience really pays off here. Keep wiping away residue with a clean rag as you go, checking your progress often until the bare metal starts to show through evenly.
Step 6: Neutralize And Rinse The Part
After the chrome is gone, you must stop any chemical activity and clean the surface. If you used a chemical stripper, neutralize it following the product instructions, often with a baking soda and water solution. Then rinse the entire part thoroughly with clean water to wash away every trace of residue.
Dry the metal completely with a lint-free cloth, since leftover moisture invites flash rust within minutes on bare surfaces. Inspect the part one more time under good light to confirm all the chrome and chemical residue are truly gone. A clean, fully rinsed surface protects your safety and prepares the metal perfectly for whatever finish comes next.
Step 7: Prepare The Bare Metal For Finishing
With the chrome removed, your part is ready for its next stage. Lightly sand the surface with fine-grit sandpaper to smooth any rough spots and create a slight texture that helps primer or coatings grip. Wipe the metal with a tack cloth or mild solvent to remove dust before moving on.
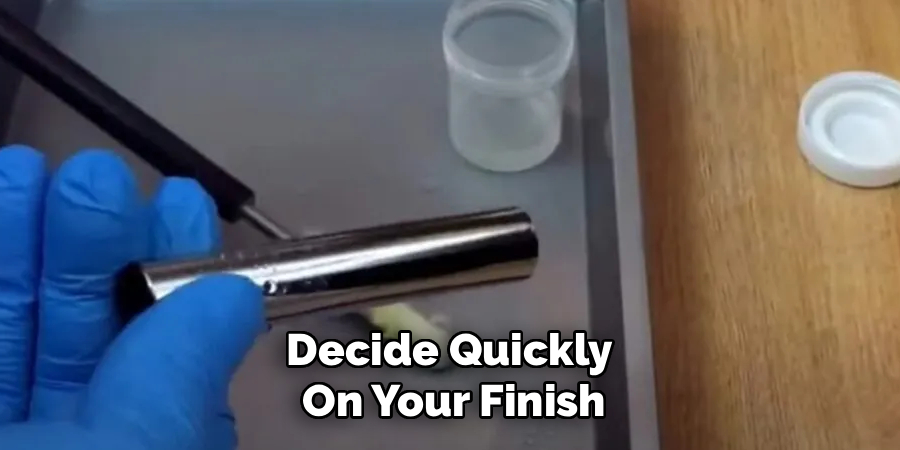
Decide quickly on your finish, because bare metal does not stay pristine for long. You might apply primer and paint, polish it to a shine, or send it out for fresh plating. Whatever you choose, acting promptly prevents oxidation and keeps your hard-earned surface in top condition, ready to reward all your careful effort.
Frequently Asked Questions
Is It Safe To Remove Chrome At Home?
Yes, you can do it safely with the right precautions. The main risks come from harsh chemicals and fine dust, so always wear gloves, goggles, and a respirator while working in a well-ventilated space. Read every product label closely and keep water nearby for rinsing. If you feel unsure about strong chemicals, mechanical sanding offers a gentler, beginner-friendly alternative that still delivers solid results.
What Is The Easiest Method For Beginners?
Mechanical removal is usually the most beginner-friendly choice. Using sandpaper, a wire wheel, or a sanding pad lets you work at your own pace without handling dangerous chemicals. It does take more time and effort, but you stay in full control and can see your progress clearly. For larger or detailed parts, you can combine sanding with a milder chemical stripper to speed things up.
Will Stripping Chrome Damage The Metal Underneath?
When done carefully, the base metal stays intact. The key is patience and using gentle pressure, especially with mechanical tools that can gouge soft metals. Chemical strippers target the plating without harming most underlying surfaces if you follow the timing instructions. Always work in small sections and inspect frequently. Rushing or using overly aggressive tools is what typically causes scratches or warping, so take your time.
How Long Does The Whole Process Take?
Timing depends on the part’s size, the method, and the chrome’s condition. A small fixture might take an hour or two, while a large car bumper could require a full day or more. Chemical methods often work faster than hand sanding, but they still need soaking and neutralizing time. Plan for extra time on detailed areas, and never rush the rinsing and drying stages.
Do I Need To Refinish The Metal Right Away?
Acting quickly is strongly recommended. Bare metal begins to oxidize and form light rust within hours once the protective chrome is gone, especially in humid conditions. As soon as the surface is clean and dry, apply primer, paint, polish, or a protective coating. If you cannot finish immediately, store the part in a dry place and consider a temporary protective layer to hold off corrosion.
Conclusion
Bringing a chrome-plated part back to bare metal is a satisfying project that opens the door to repainting, polishing, or replating. By setting up a safe workspace, gathering the right tools, cleaning thoroughly, and working patiently through each step, you can achieve clean, professional results at home. Neutralizing, rinsing, and prepping the surface afterward ensures your effort truly pays off with a finish that lasts.
Now that you understand how to strip chrome from metal, you have a clear, repeatable process you can trust on your next restoration. Take your time, respect the safety steps, and inspect your progress along the way. So gather your gear, pick the method that suits your comfort level, and give that worn part the fresh start it deserves. With a little care, your finished project will look exactly the way you pictured it.

About
Stuart Rich is a distinguished figure in the world of metalworking and fabrication, with a decade of expertise creating innovative and sustainable metal projects. His professional focus lies in merging traditional blacksmithing and machining with modern manufacturing techniques, fostering designs that are both practical and durable. As the author of Metalenify, Stuart Rich delves into the art and science of metallurgy and DIY metal creation, inspiring artisans, hobbyists, and industry professionals alike.
Education
RMIT University
(Melbourne, Australia)
Associate Degree in Engineering Technology (Mechanical / Manufacturing)
Focus on metallurgical properties, industry-driven projects, and practical metal craftsmanship. Gained hands-on experience with traditional machining and digital manufacturing tools, such as CAD, CNC software, and precision welding equipment.
Nottingham Trent University
(United Kingdom)
Bachelor’s in Product Design and Materials Engineering (Honors)
Specialized in product design with a heavy focus on blending creativity with metal production and fabrication techniques. Participated in real-world industry projects, collaborating with architectural and hardware manufacturing companies to optimize material efficiency.
Publications and Impact
In Metalenify, Stuart Rich shares his insights on structural metal design processes, material grades, and strategies for efficient shop production. His writing bridges the gap between raw artisan knowledge and modern industrial needs, making it a must-read for both budding DIY metalworkers and seasoned fabrication professionals.





