
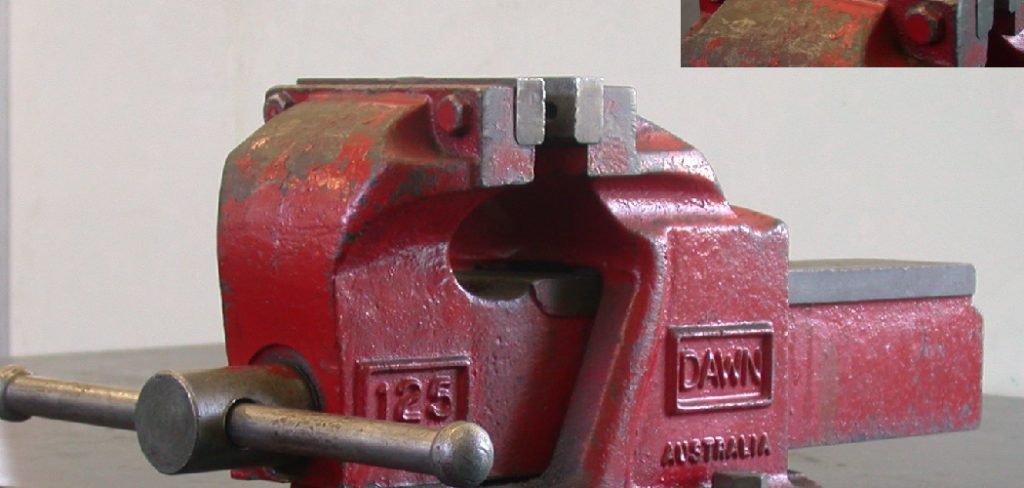
A bench vise securely holds materials in place while you cut, drill, or sand them. To use one safely, securely mount the vise to a workbench, open the jaws slightly wider than your material, insert the object, and tighten the handle firmly. Always wear safety gear and clean the mechanism afterward.
Using workshop equipment correctly may seem like a straightforward endeavor. It rarely is. A bench vise acts as a secondary, entirely unyielding pair of hands for woodworkers and metalworkers. Holding materials securely seems basic on the surface, but doing it poorly could easily ruin a valuable piece of hardwood or lead to an unpredictable, dangerous slip. Mastering this clamping tool often separates amateur results from professional-level craftsmanship.
We tend to take static tools for granted. A drill makes noise and demands respect, but a heavy piece of cast iron sitting quietly on a table invites complacency. By studying the mechanical reality of operating a vise safely, you prevent accidental shifts that threaten both your project and your physical well-being. This guide on how to use a bench vise will navigate the practical processes required to operate this clamping device with confidence.
Understanding The Components Of A Bench Vise
Before turning a handle, one might consider the anatomy of the tool itself. A standard bench vise relies on a stationary jaw, a moving jaw, a threaded screw mechanism, and a lever handle. The stationary element mounts directly to your workbench. This creates a rigid base that absorbs shock and resists twisting forces.
The moving jaw travels along a parallel track, pushed and pulled by the heavy threaded rod. Rotating the handle clockwise closes the gap between the jaws. Turning it counter-clockwise releases the pressure. Many models also include a flat anvil surface, which can be useful for light tapping or shaping small parts. Swivel bases are another feature that might improve how you position an awkward workpiece, allowing you to rotate the entire assembly for better access.
8 Simple Step-By-Step Guidelines On How To Use A Bench Vise
Step 1: Inspect And Prepare Your Workspace
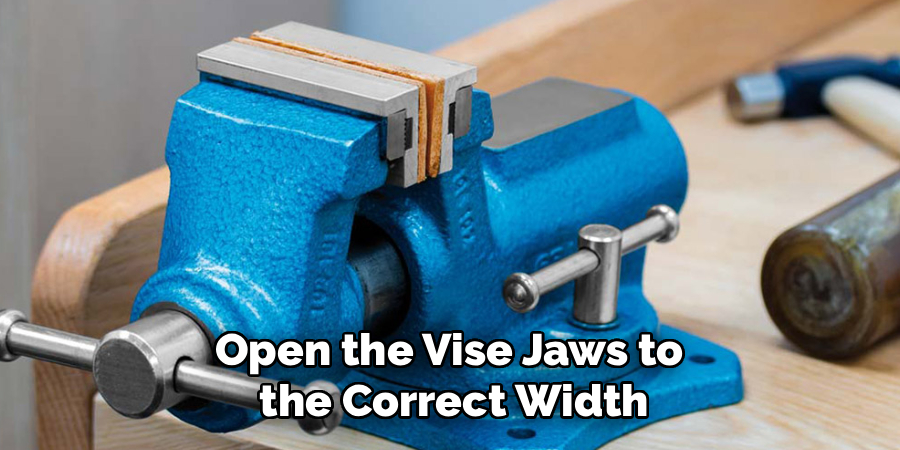
Look at your environment before touching the tool. Wood shavings, scattered wrenches, and random debris might impede your movement. A cluttered bench could suggest a lack of focus, which often precedes accidents in a workshop setting. Verify that the vise is bolted tightly to the surface. A loose tool is an unpredictable tool, and any wobbling becomes a liability once you apply force to a trapped object. Check the metal jaws for severe rust. Ensure the handle rotates fluidly rather than grinding against internal friction.
Preparation also means gathering the saws, drills, or files you plan to use. Staging these instruments within arm’s reach prevents you from walking away from a partially secured object. Setting up a sound, organized environment usually lays the necessary groundwork for a safe session.
Step 2: Equip Yourself With Appropriate Safety Gear
Personal protective equipment remains your primary defense against flying debris. Safety goggles help shield your eyes from sharp wood splinters and airborne metal fragments. Heavy leather work gloves protect your hands from the rough edges of your building materials, as well as the pinch points inherent to mechanical tools. Loose clothing or dangling jewelry can catch in the turning screw mechanism, so address those wardrobe choices before starting.
If you are producing fine dust through heavy sanding, a respirator may be a wise addition to your setup. Closed-toe boots shield your feet from dropped objects. Taking these steps seriously allows you to focus on the task rather than worrying about trips to the emergency room.
Step 3: Open The Vise Jaws To The Correct Width
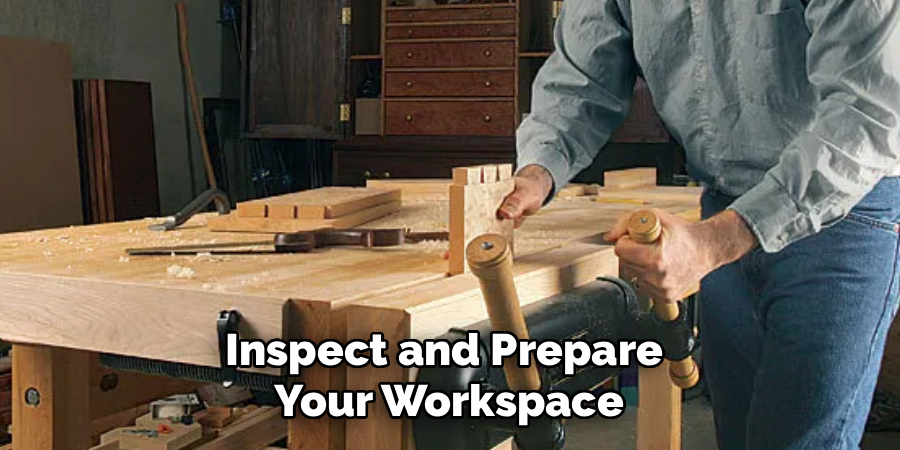
Turn the main lever counter-clockwise. This draws the dynamic jaw backward along the slide. You generally want the opening to be slightly wider than your workpiece. Applying a few drops of lubricating oil to the threads might help if the handle feels stubbornly stiff.
Never force the jaws past their intended maximum width. Doing so could completely disengage the internal screw, potentially damaging the casting. Estimating the thickness of your material beforehand ensures you stay within the safe operating capacity of your specific model. Establishing a proper initial gap streamlines the process and helps you avoid scraping the sides of your material during insertion.
Step 4: Position Your Material Carefully Inside The Jaws
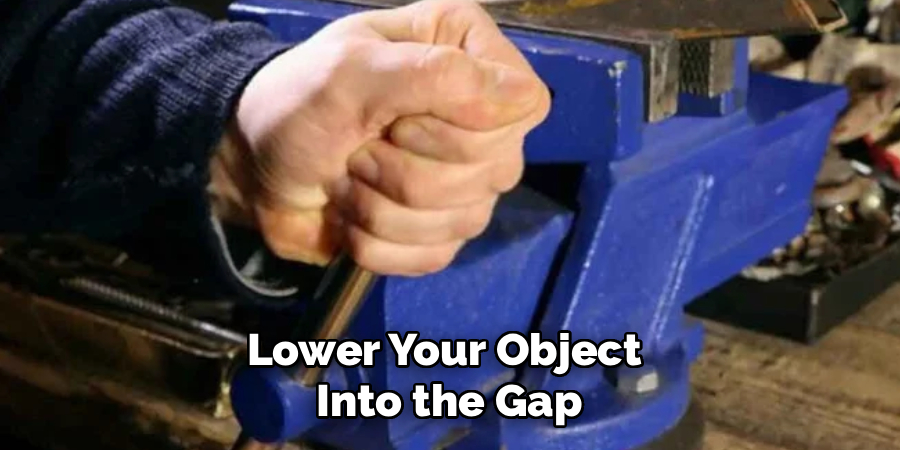
Lower your object into the gap. It should sit squarely between the gripping faces. Position the material low enough so the tool clamps near its center of gravity. This helps minimize vibration during aggressive filing or heavy sawing. Leave just enough material exposed above the top edge to give your tools unobstructed access.
Softer materials—like pine, brass, or acrylic—require soft jaw pads. These inserts, often made of rubber or aluminum, sit over the aggressive steel teeth. They prevent deep scratches from ruining the finish of your workpiece. Applying these protective barriers indicates a clear shift from rough carpentry to thoughtful craftsmanship.
Step 5: Tighten The Handle To Secure The Workpiece
Hold the handle and rotate it clockwise. The jaws will meet the material. Continue turning until you feel firm resistance. The goal is to apply just enough pressure to stop the object from shifting. Give the piece a cautious tug to verify its stability before reaching for a saw.
Use only the strength of your hands. Striking the handle with a mallet or adding a metal extension pipe often leads to structural disaster. Over-tightening crushes soft woods and can strip the internal threads entirely. Discovering the balance between a loose grip and destructive force takes a bit of practice and tactile awareness.
Step 6: Execute Your Project Tasks Safely
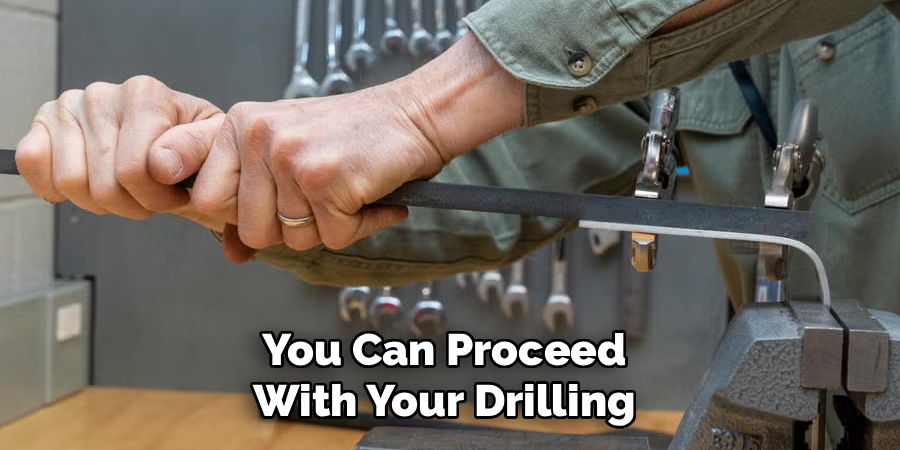
Your material is now locked. You can proceed with your drilling or sawing. Because the heavy iron casting absorbs the physical strain, your hands are free to control your power tools with greater precision. Direct your cutting force toward the stationary jaw when possible. This channels the energy directly into the workbench rather than stressing the movable track. Keep your feet planted firmly to maintain your own physical balance.
Watch how the material behaves under stress. Stop immediately if the wood begins to slip. Readjust the tension. Avoid leaning your body weight directly onto the clamped item. If the wood breaks suddenly, you might lose your footing. Letting the tool do the holding usually results in a cleaner cut and a safer environment.
Step 7: Release The Clamped Material Carefully
Removing the finished piece requires a measured approach. Support the object with your non-dominant hand. This prevents it from dropping onto the concrete floor the second the tension breaks. Slowly turn the handle counter-clockwise with your other hand. Keep a steady grip until the jaws clear the edges.
Rushing this step occasionally leads to a dented project right at the finish line. If a board feels stuck, gently wiggle it side to side. Yanking it upward rarely solves the problem and might damage delicate wood fibers.
Step 8: Clean And Maintain The Vise After Use
Maintenance is somewhat tedious, yet it prevents premature tool failure. Brush away metal shavings and sawdust. Leaving abrasive particles on the sliding track gradually grinds down the metal surfaces. This neglect eventually makes the handle hard to turn and reduces overall clamping power. Wipe the exposed areas with a dry cloth to remove lingering moisture.
Applying a light coat of dry graphite lubricant to the screw every month or so preserves its smooth action. Treating this piece of equipment with basic respect tends to extend its usable life by several decades.
Following these steps on how to use a bench vise properly will ensure that your vise remains in good working condition and continues to serve you well for years to come.
Common Mistakes To Avoid
Novices frequently crush soft woods by applying too much torque to the handle. Skipping the use of protective rubber pads is another typical oversight. This leaves deep, permanent indentations in expensive materials.
Hitting the lever with a hammer to gain extra tightness is arguably the worst habit, as it quickly shears the internal threads. Finally, ignoring the accumulation of sharp debris in the sliding channel virtually guarantees mechanical issues down the road.
Frequently Asked Questions
Q1: What Size Bench Vise Is Best For A Home Workshop?
For general woodworking and light metal tasks, a model with a jaw width of four to five inches appears to be the most practical choice. It holds standard lumber securely without dominating your table space. Heavy automotive repairs might require a larger six-inch or eight-inch version. Choose a larger size if daily heavy pounding matters more than preserving bench space.
Q2: How Do I Prevent Rust From Forming On My Vise?
Keep your environment reasonably dry. Bare cast iron rusts quickly when exposed to humidity. Wiping down the exterior with a rag lightly coated in machine oil serves as a good barrier against moisture. Throwing a canvas tarp over the tool during the winter months may also reduce condensation buildup.
Q3: Can I Use A Woodworking Vise For Metal Projects?
Holding small metal brackets in a wood vise is technically possible, but it is rarely recommended. The soft wooden jaws will likely sustain gouges from the sharp metal edges. Wood vises lack the hardened steel teeth needed to grip round pipes securely. Angle grinder sparks could also scorch the wooden faces, potentially causing a fire hazard.
Next Steps For Workshop Mastery
Understanding the mechanical limits of a bench vise fundamentally changes how you approach complex builds. Practicing these basic steps—from inspecting the workbench to applying the right amount of oil—helps ensure a safer environment and better final products.
Take time to experiment with scrap material. Test different jaw pads. Feel how much tension is required to hold pine versus steel. A quality vise is an investment that, when treated properly, could easily outlast the workbench it is bolted to. Thanks for reading this guide on how to use a bench vise.

About
Stuart Rich is a distinguished figure in the world of metalworking and fabrication, with a decade of expertise creating innovative and sustainable metal projects. His professional focus lies in merging traditional blacksmithing and machining with modern manufacturing techniques, fostering designs that are both practical and durable. As the author of Metalenify, Stuart Rich delves into the art and science of metallurgy and DIY metal creation, inspiring artisans, hobbyists, and industry professionals alike.
Education
RMIT University
(Melbourne, Australia)
Associate Degree in Engineering Technology (Mechanical / Manufacturing)
Focus on metallurgical properties, industry-driven projects, and practical metal craftsmanship. Gained hands-on experience with traditional machining and digital manufacturing tools, such as CAD, CNC software, and precision welding equipment.
Nottingham Trent University
(United Kingdom)
Bachelor’s in Product Design and Materials Engineering (Honors)
Specialized in product design with a heavy focus on blending creativity with metal production and fabrication techniques. Participated in real-world industry projects, collaborating with architectural and hardware manufacturing companies to optimize material efficiency.
Publications and Impact
In Metalenify, Stuart Rich shares his insights on structural metal design processes, material grades, and strategies for efficient shop production. His writing bridges the gap between raw artisan knowledge and modern industrial needs, making it a must-read for both budding DIY metalworkers and seasoned fabrication professionals.





