
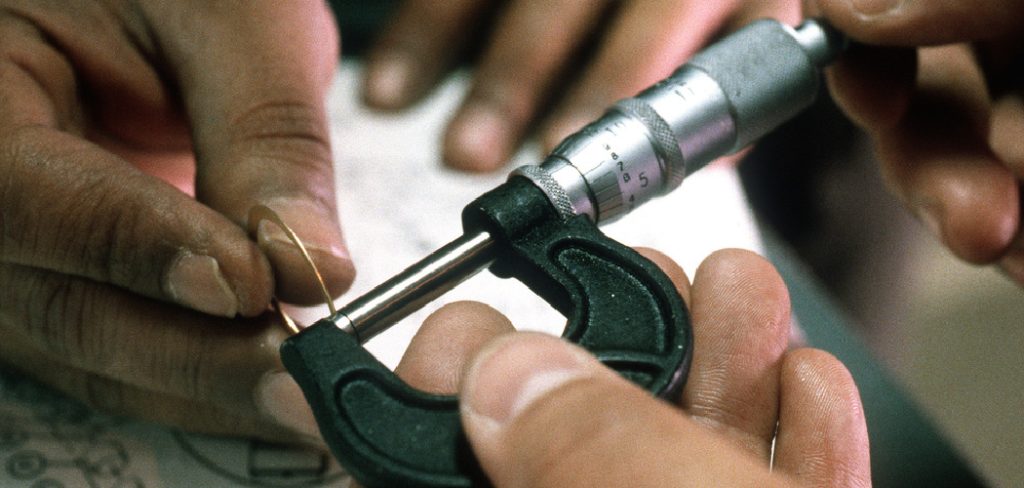
There’s a particular thrill the first time a micrometer clicks shut in your hand and gives you a number accurate to a thousandth of an inch. I remember staring at the scales, half convinced I’d never decode them, and feeling almost foolish for being intimidated by something so small.
That feeling fades fast. The tool that looks like a riddle becomes second nature quicker than you’d expect.
Learning how to use a micrometer unlocks a level of accuracy that calipers and rulers simply cannot touch. We’re talking about precision that separates a part that fits from one that’s quietly wrong by a hair.
This guide walks through the different types, how to read both imperial and metric scales, and a step-by-step method you can lean on. By the end, those decimal places will feel less like a mystery and more like an old friend.
What a Micrometer Does and Why It Matters
Before you pick one up, it helps to understand what makes this tool special. A few seconds of context here changes how you see every reading.
Precision You Cannot Get Anywhere Else
A micrometer measures down to 0.001 inch, or 0.01 millimeter, on a metric model. That’s far finer than a ruler, and tighter than most calipers can promise.
Picture the tolerances that matter in real work. An engine bearing, a machined shaft, and the wall thickness of a tube. A few thousandths off in any of those, and the part may not seat the way it should.
That tiny margin is exactly where this tool earns its place. It catches the differences your eye and your tape measure would never spot.
Where Micrometers Earn Their Keep
These tools show up wherever precision counts. Checking shaft diameters, measuring wall thickness, verifying gauge stock, and inspecting machined parts fresh off the lathe.
Anywhere a fit has to be right rather than roughly right, a micrometer steps in. It’s the difference between guessing and knowing, and that one tool can spare you costly mistakes before they ever happen.
Common Types of Micrometers
Once you start looking, you’ll find more varieties than you might guess. Recognizing them helps you grab the right one for the job at hand.
Outside, Inside, and Depth Micrometers
The outside micrometer is the one most people picture. It measures thickness and outside diameter, closing its jaws gently around whatever you’re checking.
An inside micrometer does the opposite job. It measures bores, gaps, and inside diameters, reaching into spaces the outside model can’t.
Then there’s the depth micrometer, which gauges how deep a hole or step goes. Match the tool to the measurement, and the whole job feels natural rather than forced.
Digital, Dial, and Vernier Styles
The readout style is mostly a matter of comfort and budget. Digital micrometers flash a number right on a screen, which makes them friendly for beginners and quick in a busy shop.
Dial and standard thimble models rely on mechanical scales that you read by eye. They’re dependable, they never need a battery, and plenty of seasoned machinists prefer them for exactly that reason.
Vernier micrometers add an extra scale that squeezes out even finer precision. They take a little more patience to read, but they reward you with numbers the others can’t quite reach.
Parts of a Micrometer You Need to Know
Naming the parts now makes every later instruction land cleanly. You don’t need to memorize a diagram; just get familiar with the players.
The Frame, Anvil, and Spindle
The frame is that sturdy C-shaped body holding everything together. It feels solid for a reason, since any flex would ruin a reading.
The anvil is the fixed face on one side. The spindle is the moving face that travels toward it as you turn the tool.
Your workpiece sits between those two faces. When the spindle closes against it, the gap they measure becomes your number. These three parts form the heart of every reading you’ll ever take.
The Thimble, Sleeve, and Ratchet
The thimble is the rotating barrel you turn with your fingers. As it spins, the spindle advances or retreats in precise, tiny increments.
The sleeve sits beneath the thimble and carries the main scale. Together, the marks on the sleeve and thimble give you your measurement.
Then there’s the ratchet, the small knob at the very end. It may be the most underrated part of the whole tool, because it applies the same gentle pressure every time. That consistency is what makes your readings repeatable instead of random.
Preparing the Micrometer Before You Measure
Rushing straight to the part tends to backfire. A short setup makes the difference between a trustworthy number and a misleading one.
Cleaning the Anvil and Spindle Faces
Start by wiping the measuring faces with a clean, lint-free cloth. Dust, oil, a stray metal chip — any of it can inflate your reading.
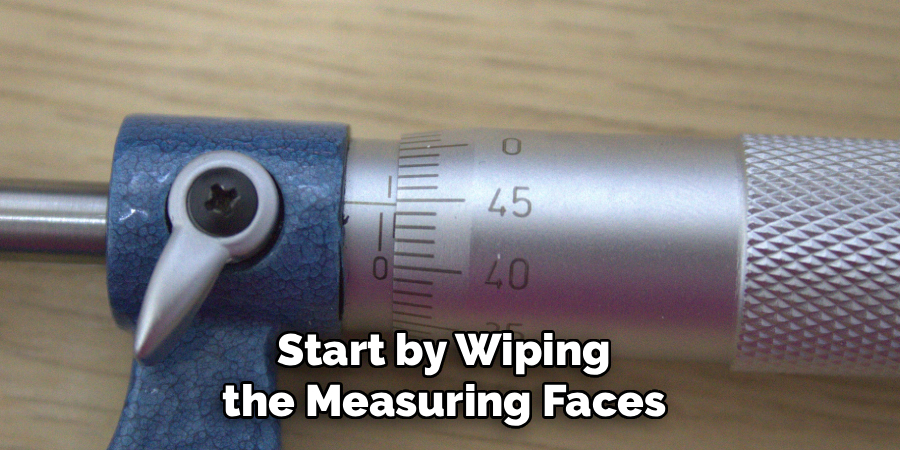
It sounds almost too simple to matter. But a single speck of grit between the anvil and the part adds thousandths you never intended, and that’s exactly the range a micrometer is built to catch.
Checking and Setting the Zero
Now confirm the tool reads zero. Close it gently against its standard, or directly for a small micrometer, and look at the scales.
If it doesn’t sit at zero, adjust the sleeve with the little wrench it came with, or reset a digital model with the button. This quick check means every measurement starts honestly. Skip it, and you may carry a hidden error into everything you measure that day.
How to Use a Micrometer: Step-by-Step Guide
This is the heart of it. Knowing how to use a micrometer comes down to a calm, repeatable sequence, where each step protects the accuracy of the next.
Don’t rush these. The early moves set up everything that follows, and they’re what turn a guess into a number you can stake your work on. Build the rhythm, and it becomes automatic.
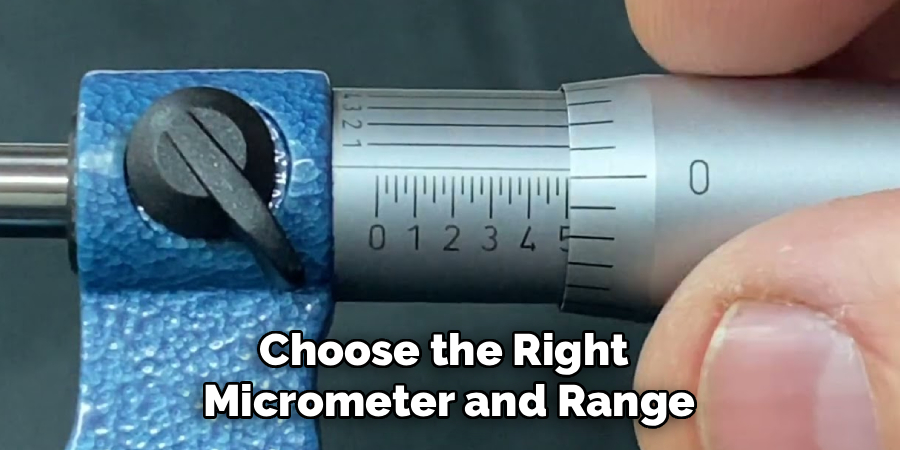
Step 1: Choose the Right Micrometer and Range
First, pick the correct type and measuring range for the part. A one-inch outside micrometer simply won’t span a two-inch shaft, no matter how you wish it would.
Micrometers cover fixed ranges, often in one-inch jumps. So match the tool to the size you’re checking before you do anything else, since the wrong range stops you cold.
Step 2: Clean the Part and the Measuring Faces
Wipe both the workpiece and the anvil and spindle faces. Nothing should stand between the metal and a true reading.
This echoes your prep, and that repetition is on purpose. A clean part measured with clean faces gives you the real number, every single time.
Step 3: Zero the Micrometer
Confirm the tool reads zero before you measure anything. Close it down, check the scales, and adjust if needed.
Trust the baseline before you trust the measurement. It’s a small habit, but it’s the one that keeps a whole batch of readings honest.
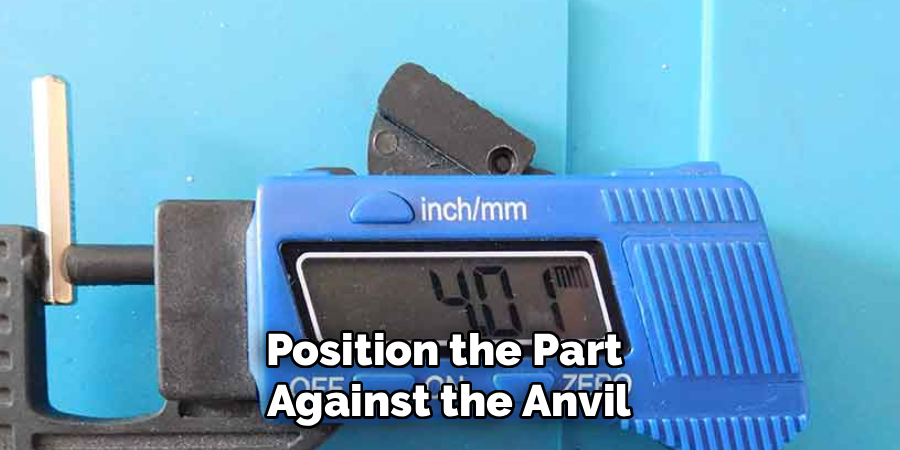
Step 4: Position the Part Against the Anvil
Seat the workpiece squarely against the fixed anvil. Keep the part perpendicular to the spindle, not tilted at an angle.
A square setup gives you a true diameter or thickness. A tilted one reads larger than reality, and that error sneaks in so quietly you may never notice it.
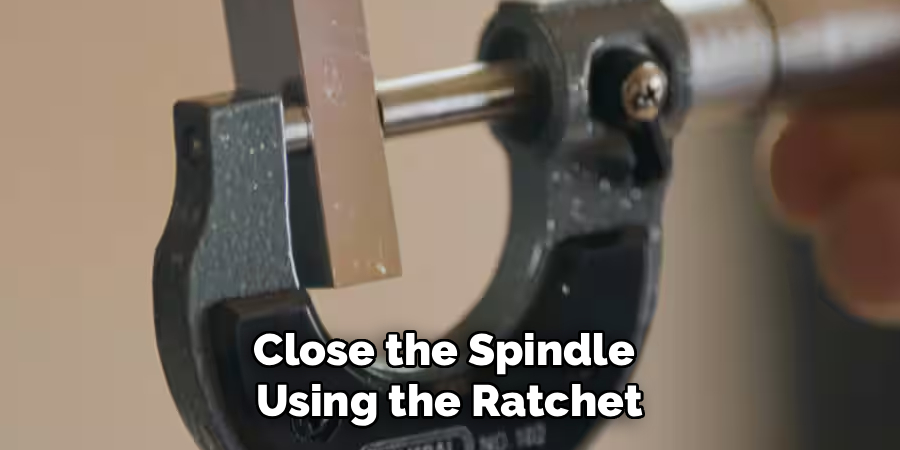
Step 5: Close the Spindle Using the Ratchet
Turn the thimble until the spindle nears the part, then finish with the ratchet. Let it click two or three times and stop.
This is where the ratchet earns its keep. It applies the same gentle pressure every time, so you don’t crush a soft part or vary your readings based on how hard you happened to squeeze.
Step 6: Lock the Spindle if Needed
If your micrometer has a locking ring or lever, use it to hold the reading steady. This helps when you want to remove the tool to read it in better light.
It’s also handy for awkward spots where you can’t see the scales while measuring. Lock it, pull it out, and read it comfortably without losing the number.
Step 7: Read the Measurement Carefully
Now read the sleeve and thimble together, taking your time. A hurried glance is how a correct number turns into a costly guess.
We’ll break down the actual reading shortly, so don’t worry if the scales still look cryptic. For now, the lesson is simple: slow down here, because this is the step that matters most.
Step 8: Take Multiple Readings to Confirm
Finish by measuring the part in two or three spots. One reading tells you something; several tell you the truth.
Repeated measurements reveal taper, ovaling, or a slip you didn’t feel. When the numbers agree, you’ve earned real confidence. When they don’t, that disagreement is teaching you something worth knowing.
How to Read a Micrometer Measurement
The scales only look mysterious until someone breaks them down. Once you see the logic, they read almost as easily as a clock.
Reading an Imperial Micrometer
On an imperial micrometer, you add two readings together. The sleeve gives you whole and partial inches in increments of 0.025, and the thimble gives you thousandths from 0 to 0.025.
Picture a real example. Say the sleeve reads 0.275, and the thimble lines up at 12, which is 0.012.
Add them together, and you get 0.287 inch. That’s the whole trick. Read the sleeve, read the thimble, and let the two numbers meet.
Reading a Metric Micrometer
A metric micrometer works the same way with different units. The sleeve shows millimeters and half-millimeters, while the thimble shows hundredths of a millimeter.
Here’s an example to anchor it. Suppose the sleeve reads 7.5 millimeters, and the thimble sits at 0.21.
Add them, and your reading is 7.71 millimeters. Same logic as the imperial version, just a different ruler underneath. Once one clicks, the other follows easily.
Common Mistakes That Ruin Accuracy
A few predictable slips turn precision into frustration. Most are easy to dodge once you know they’re lurking.
Overtightening and Skipping the Ratchet
This is the classic error. Cranking the thimble by hand feels productive, but it crushes the part and compresses your reading.
The ratchet exists precisely to stop this. Use it every time, and your pressure stays consistent. Ignore it, and your numbers will wander depending on your mood and your grip.
Measuring at an Angle or Over Debris
A tilted part throws off the reading, and so does a stray chip caught between the faces. Either one sends you chasing a problem that was never really in the metal.
The fix is the same one we keep circling back to. Clean the faces, square the part, and the trouble mostly disappears on its own.
Caring for Your Micrometer
A micrometer protects your work, so it’s worth protecting in return. A little care keeps a good tool accurate for years, maybe decades.
Cleaning and Storing It Right
Wipe the faces after every use. Grime and moisture are slow enemies, and they do their damage quietly.
When you store it, leave a small gap between the anvil and spindle so the faces don’t bind or corrode together. Keep the tool in its case, away from grit and damp, where it can’t get knocked around the bottom of a drawer.
Calibration and Routine Checks
Check the zero regularly, not just once in a while. It’s the fastest way to catch a tool that’s drifted out of true.
For deeper assurance, verify it against gauge blocks or the standard it shipped with. A micrometer you trust is only trustworthy because you keep confirming it, and that habit costs almost nothing.
When to Reach for a Different Tool
Knowing the limits of your tool is its own kind of skill. Even a fine micrometer isn’t right for every measurement.
Some jobs fall outside its range entirely. A part larger than the micrometer spans calls for a bigger tool or a different approach, and there’s no forcing it.
Rough or irregular surfaces often suit calipers better, since a micrometer wants clean, defined faces to read against. And for the most demanding precision work, gauge blocks and a controlled environment may tell you more than any handheld tool can.
Choosing the right instrument for the job isn’t a shortcut. It’s a confident, practical decision that gets you the accurate answer you’re actually after.
Conclusion
So there it is. Knowing how to use a micrometer turns intimidating decimal places into a calm routine you can rely on whenever precision matters.
The pattern is easy to hold onto. Clean the faces first, zero before you measure, close with the ratchet, read both scales carefully, and confirm with a few readings.
You’ve got the full roadmap now, from telling the types apart to decoding the scales and caring for the tool so it stays honest. The next time a job calls for accuracy down to the thousandth, you won’t feel out of your depth.
You’ll feel ready. Pick up that micrometer, trust the process, and measure with the quiet assurance that you’ve got the right number in hand.

About
Stuart Rich is a distinguished figure in the world of metalworking and fabrication, with a decade of expertise creating innovative and sustainable metal projects. His professional focus lies in merging traditional blacksmithing and machining with modern manufacturing techniques, fostering designs that are both practical and durable. As the author of Metalenify, Stuart Rich delves into the art and science of metallurgy and DIY metal creation, inspiring artisans, hobbyists, and industry professionals alike.
Education
RMIT University
(Melbourne, Australia)
Associate Degree in Engineering Technology (Mechanical / Manufacturing)
Focus on metallurgical properties, industry-driven projects, and practical metal craftsmanship. Gained hands-on experience with traditional machining and digital manufacturing tools, such as CAD, CNC software, and precision welding equipment.
Nottingham Trent University
(United Kingdom)
Bachelor’s in Product Design and Materials Engineering (Honors)
Specialized in product design with a heavy focus on blending creativity with metal production and fabrication techniques. Participated in real-world industry projects, collaborating with architectural and hardware manufacturing companies to optimize material efficiency.
Publications and Impact
In Metalenify, Stuart Rich shares his insights on structural metal design processes, material grades, and strategies for efficient shop production. His writing bridges the gap between raw artisan knowledge and modern industrial needs, making it a must-read for both budding DIY metalworkers and seasoned fabrication professionals.





