
A steel stick is one of those simple tools that proves its worth again and again. Whether you call it a steel rod, a metal bar, or a steel stick, this sturdy piece of material shows up in workshops, construction sites, gardens, and home toolboxes everywhere.
Yet many people grab a steel stick without really knowing how to use it safely or effectively. That can lead to wasted effort, poor results, or even injury. The good news is that learning to handle a steel stick properly takes very little time. Once you understand the basics, you can tackle a wide range of tasks with confidence.
In this guide on how to use steel stick, we’ll walk you through everything you need to know. You’ll learn about the benefits of a steel stick, what supplies to gather before you start, and ten clear steps that take you from preparation to cleanup.
What Are the Benefits?
A steel stick brings plenty to the table, which is why it remains a favorite across so many trades and hobbies. Here are some of the biggest advantages of working with one.
- Strength and durability. Steel is famous for its toughness. A quality steel stick can bear heavy loads, resist bending, and last for years without breaking down. That makes it ideal for structural work, leverage tasks, and anything that demands reliability.
- Versatility. Few tools match the flexibility of a steel stick. You can use it as a lever, a support beam, a stake, a guide, or a measuring reference. With a little creativity, it adapts to dozens of jobs around the home, garden, or job site.
- Cost-effectiveness. Compared with many specialized tools, a steel stick is affordable. Because it lasts so long and serves so many purposes, it gives you excellent value for your money.
- Low maintenance. Steel needs very little care. A quick wipe-down and the occasional coat of protective oil keep rust at bay. There are no moving parts to break and no batteries to replace.
- Heat and weather resistance. Steel handles high temperatures and harsh outdoor conditions far better than wood or plastic. That makes it dependable in tough environments where other materials would fail.
These benefits combine to make the steel stick a practical, long-lasting investment for anyone who likes to fix, build, or create.
What Will You Need?
Before you begin, gather your supplies. Having everything within reach saves time and keeps you safe. Here’s a simple checklist.
- A steel stick of the right length and thickness for your task
- Safety gloves to protect your hands from sharp edges and rough surfaces
- Safety glasses to shield your eyes from debris
- A measuring tape for accurate marking and sizing
- A marker or chalk to note cutting or bending points
- A clamp or vise to hold the stick steady
- A hacksaw or cutting tool if you need to trim the length
- A file or sandpaper to smooth rough or sharp edges
- Protective oil or rust inhibitor for finishing and storage
- A clean rag for wiping down the surface
- Work boots to guard your feet against dropped objects
Adjust this list to match your specific project. A small repair may need only the stick and gloves, while a bigger build might call for every item above.
10 Easy Steps on How to Use Steel Stick
Follow these ten steps in order. Each one builds on the last, guiding you from start to finish with safety and accuracy in mind.
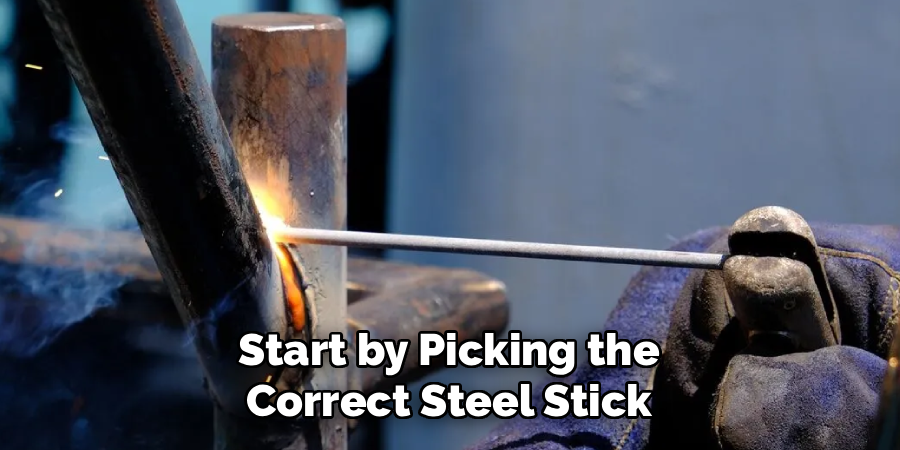
Step 1: Choose the Right Steel Stick
Start by picking the correct steel stick for your job. Steel sticks come in different lengths, diameters, and grades. A thin rod works well for light tasks like staking plants, while a thick bar is better for heavy lifting or structural support. Consider how much weight or pressure the stick will face. If you’re unsure, choose a slightly stronger option than you think you need. Inspect the stick for cracks, deep rust, or bends before you commit to using it.
Step 2: Inspect the Stick for Defects
Once you’ve selected your stick, give it a close look. Run your hand along its length while wearing gloves to feel for sharp burrs, weak spots, or rough patches. Check both ends for splits or fraying. A damaged steel stick can fail under load and cause injury, so never skip this check. If you spot serious flaws, set the stick aside and choose another. A few seconds of inspection now can save you from a dangerous accident later.
Step 3: Put on Your Safety Gear
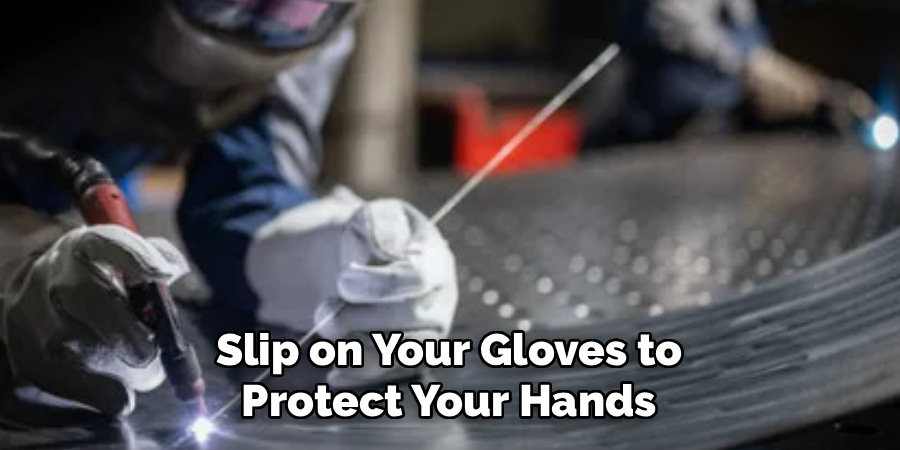
Safety always comes first. Slip on your gloves to protect your hands, and put on your safety glasses to keep debris out of your eyes. If you’ll be cutting or grinding, the glasses are especially important. Wear sturdy work boots in case the stick slips or drops. Loose clothing and dangling jewelry can catch on tools or edges, so remove or secure them. Dressing properly takes only a moment and keeps you protected throughout the task.
Step 4: Measure and Mark Your Cut Points
If your project needs a specific length, measure carefully before cutting. Use your tape measure to find the exact spot, then mark it clearly with a marker or chalk. Measure twice to be sure, because a wrong cut wastes material and money. For repeated cuts, mark each point so you stay consistent. Accurate marks make the rest of the job smoother and help you avoid costly mistakes.
Step 5: Secure the Steel Stick
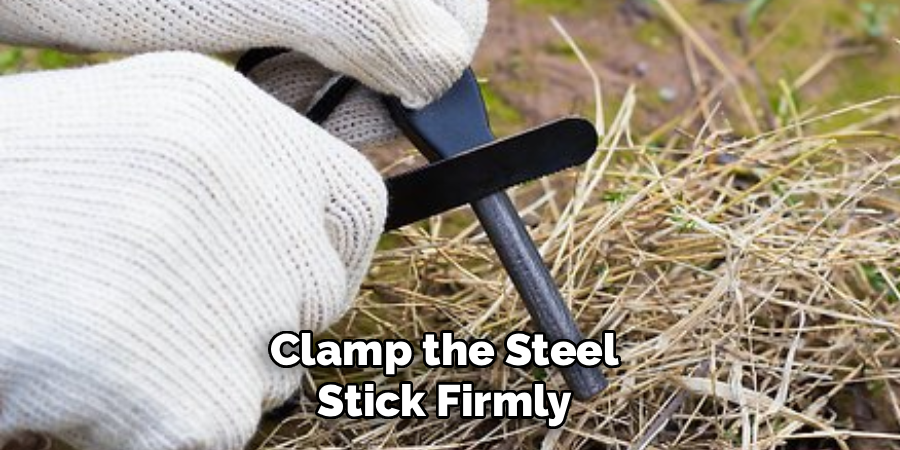
A loose stick is hard to work with and dangerous to cut. Clamp the steel stick firmly in a vise or fix it to a stable workbench. Make sure it can’t roll, slide, or spin while you handle it. The more secure the stick, the more control you have over your tool. This step matters most when cutting or bending, where sudden movement could lead to slips and injuries.
Step 6: Cut the Stick to Size
With the stick secured and your marks in place, you’re ready to cut. Use a hacksaw or an appropriate cutting tool, keeping steady, even strokes. Let the tool do the work rather than forcing it. Cut slowly to keep your line straight and reduce strain on the blade. Steel can heat up as you cut, so pause if it gets hot. Once you reach the mark, support the loose end so it doesn’t fall and cause damage or injury.
Step 7: Smooth the Rough Edges
Cutting steel leaves sharp burrs and jagged edges that can slice skin. Use a file or sandpaper to smooth these areas until they feel safe to touch. Work the edges in firm, controlled strokes, checking your progress as you go. Smooth ends also make the stick easier to insert, join, or handle later. Never skip this step, as sharp edges are a common cause of cuts and scrapes.
Step 8: Position the Stick for Your Task
Now place the steel stick where it needs to go. If you’re using it as a lever, set the fulcrum point firmly. If it’s a stake, line it up straight before driving it in. For support work, make sure both ends rest on solid surfaces. Take your time to position the stick correctly, since proper placement affects how well it performs and how safely it holds up under load.
Step 9: Apply the Stick to the Job
With everything in position, put the steel stick to work. Apply force steadily and evenly rather than in sudden jerks. If you’re prying, lifting, or supporting, keep your body balanced and your footing solid. Watch how the stick responds under pressure. If it bends or shifts unexpectedly, stop and reassess. Working with calm, controlled movements gives you the best results and keeps you in command of the tool.
Step 10: Clean and Store the Stick
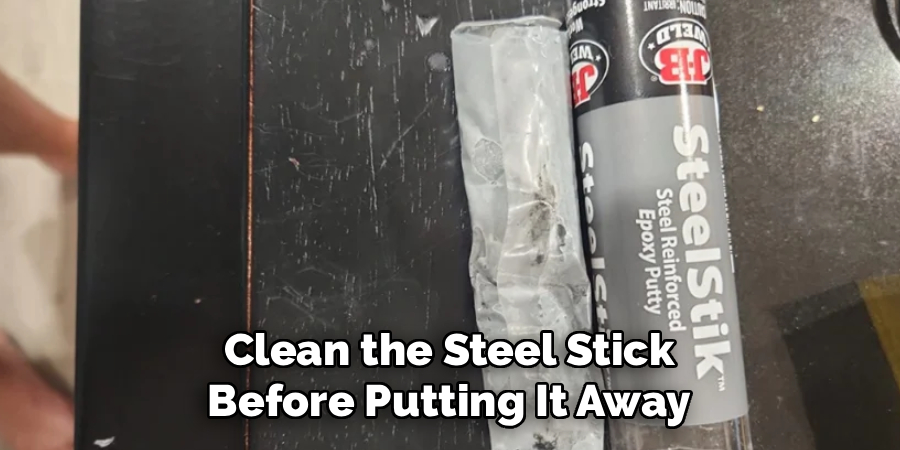
When you finish, clean the steel stick before putting it away. Wipe off dirt, dust, and moisture with a clean rag. Apply a thin coat of protective oil to guard against rust. Store the stick in a dry place, away from damp floors and harsh weather. Proper storage keeps it strong and ready for the next job. A little care now extends the life of your steel stick for years to come.
5 Things You Should Avoid
Steering clear of these common mistakes will keep your work safe and your steel stick in top shape.
1. Skipping safety gear. Never handle, cut, or bend a steel stick without gloves and eye protection. A single slip can cause a serious cut or eye injury.
2. Using a damaged stick. Cracks, deep rust, or bends weaken steel. A flawed stick can snap under pressure, so always inspect before use.
3. Forcing the tool. Pushing too hard while cutting or prying can break the stick, damage your tool, or cause it to slip. Let steady, controlled effort do the work.
4. Ignoring sharp edges. Leaving burrs on a freshly cut stick invites cuts. Always file the ends smooth before handling further.
5. Storing it wet. Moisture leads to rust, which weakens steel over time. Dry and oil the stick before storage to keep it strong.
Conclusion
A steel stick may look like a simple tool, but it offers strength, versatility, and value that few other items can match. By choosing the right stick, inspecting it carefully, and following each of the ten steps, you can tackle a wide range of tasks safely and effectively.
Always wear your safety gear, secure the stick before cutting, smooth those sharp edges, and store the tool properly when you’re done.
Avoiding common mistakes, like using a damaged stick or skipping protective equipment, keeps both you and your project safe. With a little care and the right approach, your steel stick will serve you well for years. Now that you know how to use steel stick, you’re ready to put it to work with confidence.
About
Stuart Rich is a distinguished figure in the world of metalworking and fabrication, with a decade of expertise creating innovative and sustainable metal projects. His professional focus lies in merging traditional blacksmithing and machining with modern manufacturing techniques, fostering designs that are both practical and durable. As the author of Metalenify, Stuart Rich delves into the art and science of metallurgy and DIY metal creation, inspiring artisans, hobbyists, and industry professionals alike.
Education
RMIT University
(Melbourne, Australia)
Associate Degree in Engineering Technology (Mechanical / Manufacturing)
Focus on metallurgical properties, industry-driven projects, and practical metal craftsmanship. Gained hands-on experience with traditional machining and digital manufacturing tools, such as CAD, CNC software, and precision welding equipment.
Nottingham Trent University
(United Kingdom)
Bachelor’s in Product Design and Materials Engineering (Honors)
Specialized in product design with a heavy focus on blending creativity with metal production and fabrication techniques. Participated in real-world industry projects, collaborating with architectural and hardware manufacturing companies to optimize material efficiency.
Publications and Impact
In Metalenify, Stuart Rich shares his insights on structural metal design processes, material grades, and strategies for efficient shop production. His writing bridges the gap between raw artisan knowledge and modern industrial needs, making it a must-read for both budding DIY metalworkers and seasoned fabrication professionals.


