
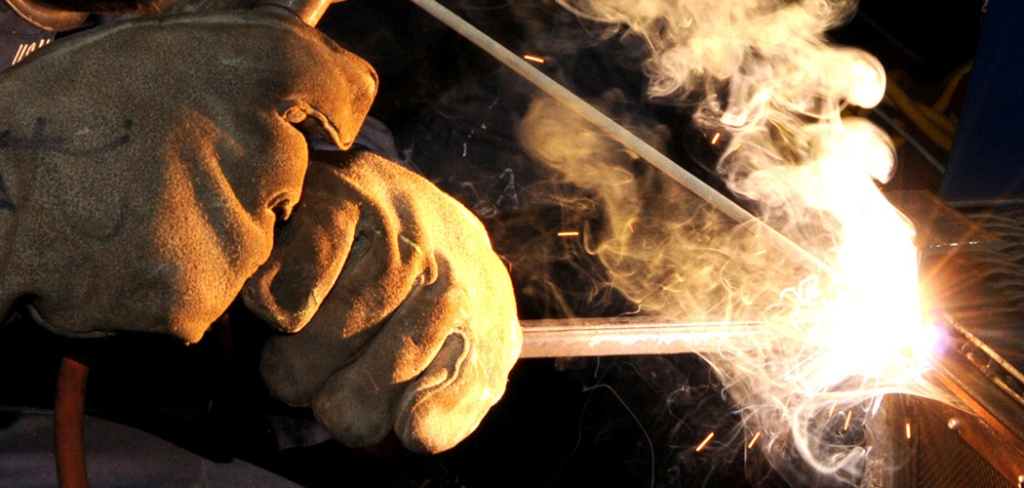
Galvanized steel is everywhere—fences, trailer frames, ductwork, and outdoor railings. It’s tough, rust-resistant, and built to last. But that protective zinc coating, which makes the steel so durable, also makes welding it tricky and potentially dangerous if you skip the right precautions.
The good news? With the proper prep, gear, and technique, you can weld galvanized steel safely in a home shop or workshop. This guide on how to weld galvanized steel walks you through everything you need to know, step by step.
Let’s get into it.
What Are the Benefits of Welding Galvanized Steel?
Welding galvanized steel gives you the best of both worlds: the strength of steel and the corrosion protection of zinc. That combination matters in plenty of real-world projects.
- Corrosion resistance that lasts. The zinc coating shields steel from rust, even in wet or outdoor conditions. If you’re building a trailer, gate, or anything exposed to weather, galvanized steel can last decades longer than bare steel.
- Lower long-term costs. Because the metal resists rust, you spend less on repairs, repainting, and replacement. For workshops handling fencing or structural jobs, that adds up fast.
- Versatility for many projects. Galvanized steel works for everything from fabrication to repairs. Once you know how to handle it, you expand the range of jobs you can confidently take on.
- Strong, reliable joints. When welded correctly, galvanized steel forms joints that hold up under load and stress, just like standard steel. The trick is managing the zinc coating—which we’ll cover next.
Knowing the payoff is one thing. Having the right tools on hand is what sets you up for success.
What Will You Need?
Before you light up your welder, gather your equipment. Welding galvanized steel demands a few extras beyond your usual setup—mostly for safety.
Welding Equipment:
- MIG or stick (SMAW) welder
- Appropriate filler wire or electrodes (more on this in the steps)
- Shielding gas if running MIG (typically 75/25 argon-CO₂)
Surface Prep Tools:
- Angle grinder with a grinding wheel or flap disc
- Wire brush
- Acetone or a degreaser for cleaning
Safety Gear:
- Auto-darkening welding helmet
- Respirator rated for metal fumes (a P100 or fume respirator, not a dust mask)
- Heat-resistant welding gloves
- Flame-resistant jacket and long sleeves
- Safety glasses
Ventilation:
- A fume extractor, exhaust fan, or open-air workspace with strong airflow
A Quick Warning: The single most important item here is your respirator and ventilation. Zinc coating releases toxic fumes when heated. We’ll explain why that matters as we go.
With your station set up, you’re ready to weld.
10 Easy Steps on How to Weld Galvanized Steel
Follow these steps in order. Don’t rush the prep—it makes or breaks your weld quality and your safety.
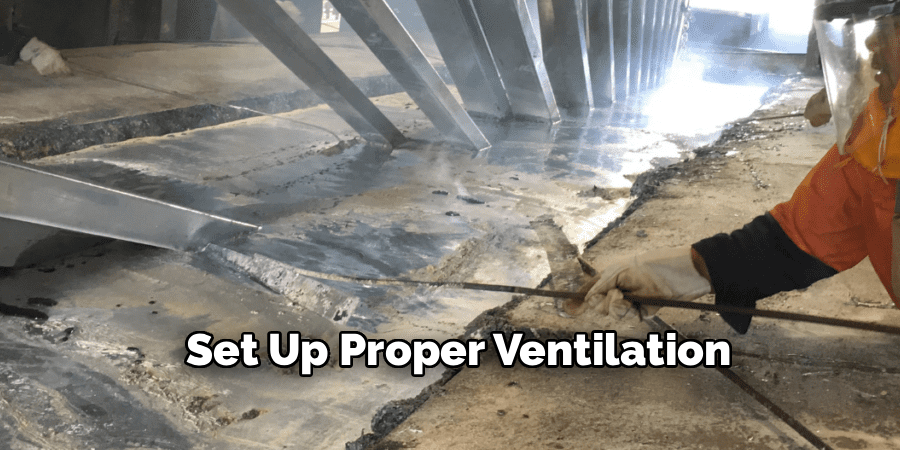
Step 1: Set Up Proper Ventilation
Zinc burns off as a toxic fume when heated, and breathing it causes “metal fume fever”—flu-like symptoms that can hit hours later. Before anything else, set up your workspace outdoors or near a strong exhaust system. Position a fume extractor close to the weld zone. If you’re indoors, open doors and run fans to push fumes away from your face. Good airflow is your first line of defense.
Step 2: Put On Your Protective Gear
Suit up completely before you begin. Wear your fume respirator, welding helmet, gloves, and flame-resistant clothing. The respirator is critical—a standard dust mask won’t filter zinc fumes. Cover all exposed skin to avoid burns from sparks and UV exposure. Treat your gear as mandatory, not optional, every single time.
Step 3: Remove the Zinc Coating from the Weld Area
This is the step most beginners skip—and it’s the most important. Use an angle grinder with a flap disc to strip the zinc coating about 2 to 4 inches back from the joint on both sides. You want to expose bare, shiny steel where the arc will hit. Removing the zinc reduces toxic fumes dramatically and prevents weld defects like porosity. Grind until you see clean metal, not gray coating.
Step 4: Clean the Surface
After grinding, wipe the bare steel with acetone or a degreaser to remove oil, dust, and grinding residue. A clean surface helps the weld pool flow evenly and bond properly. Let the area dry fully before welding. Contaminants left behind cause weak, spattered welds. A quick wipe-down saves you headaches later.
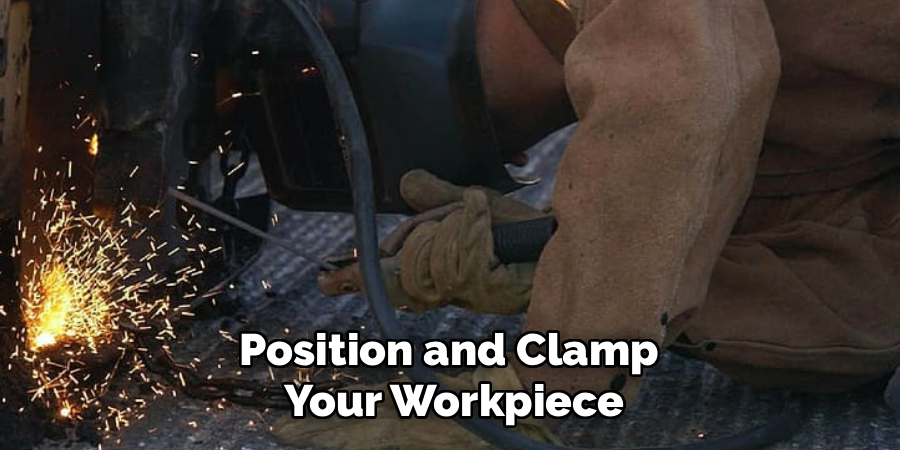
Step 5: Position and Clamp Your Workpiece
Secure your pieces with clamps or a vise so they don’t shift mid-weld. Proper fit-up—where the joint edges meet cleanly—creates stronger welds. Make sure your ground clamp has solid contact with bare metal, not the zinc coating. A stable setup gives you control and consistency.
Step 6: Choose the Right Filler and Settings
For MIG, an ER70S-6 wire works well because it tolerates minor impurities. For stick welding, E6011 or E7018 electrodes are common choices. Set your amperage based on your metal thickness—check your welder’s chart. Galvanized steel often needs slightly higher heat to penetrate the zinc that remains near the joint. Dial in your settings on scrap metal first if you’re unsure.
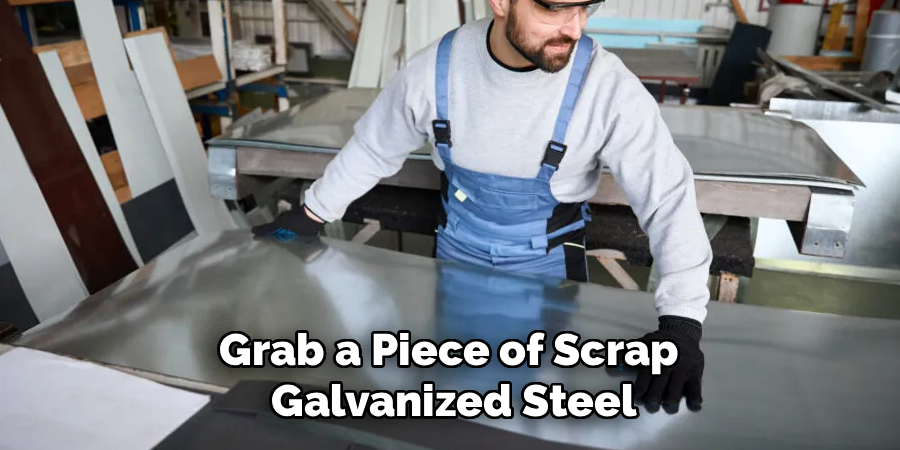
Step 7: Run a Test Weld on Scrap
Grab a piece of scrap galvanized steel and run a short bead. This lets you confirm your settings, check for excessive spatter, and get a feel for the puddle. If you see lots of popping or porosity, you likely have leftover zinc—grind more and try again. Testing first protects your real workpiece.
Step 8: Weld the Joint
Now make your weld. Move at a steady, slightly slower pace than you would with bare steel to allow gases to escape and reduce porosity. Keep a consistent arc length and travel angle. Watch your weld pool—it should flow smoothly. If you hear excessive crackling, you may be hitting residual zinc, so adjust your speed or check your prep.
Step 9: Inspect the Weld
Once the joint cools, examine it closely. Look for full penetration, even bead width, and no obvious holes or cracks. Porosity (tiny pinholes) usually signals leftover zinc or contamination. If the weld looks weak or pitted, grind it out and redo that section. A solid inspection prevents failures down the road.
Step 10: Clean Up and Recoat
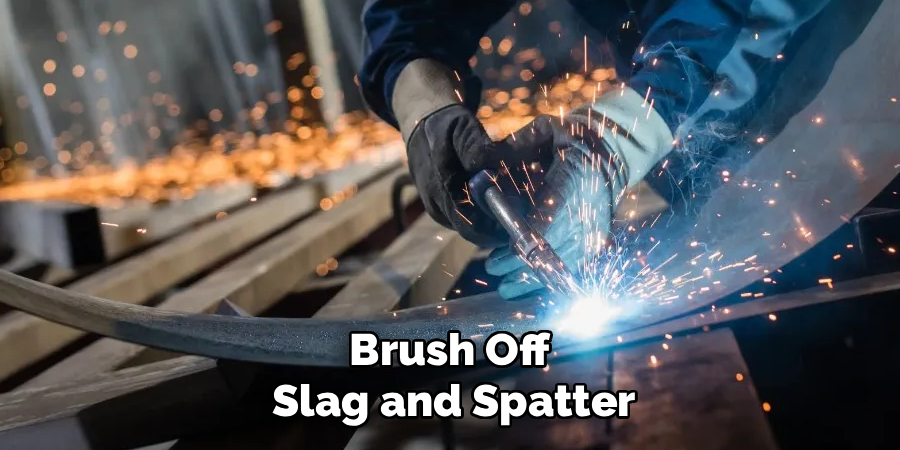
After welding, the bare steel you ground earlier is now exposed and prone to rust. Brush off slag and spatter, then apply a cold galvanizing compound (zinc-rich spray or paint) over the welded area. This restores corrosion protection where you removed it. Finally, clean your workspace and dispose of debris safely. Recoating completes the job and keeps your work rust-free for years.
5 Things You Should Avoid
Even experienced welders slip up. Steer clear of these mistakes to protect your health and your welds.
- Never weld over zinc coating. Welding through zinc creates toxic fumes and poor, porous welds. Always grind it off first.
- Don’t skip the respirator. Zinc fumes cause metal fume fever and worse with repeated exposure. A dust mask doesn’t cut it—use a proper fume respirator.
- Avoid working in still, enclosed air. Poor ventilation traps fumes around your face. Never weld galvanized steel in a closed garage without airflow.
- Don’t rush surface prep. Leftover zinc, oil, or residue ruins weld integrity. Take the time to grind and clean properly.
- Never leave bare steel exposed. Skipping the recoat step invites rust right where you welded. Always reapply a zinc-rich coating afterward.
Avoid these pitfalls, and you’ll weld cleaner, safer, and stronger.
Frequently Asked Questions
- Is Welding Galvanized Steel Dangerous?
It can be if you ignore safety steps. The main hazard is zinc fumes, which cause metal fume fever—symptoms like chills, fever, and nausea. With proper ventilation, a fume respirator, and by grinding off the zinc coating first, you greatly reduce the risk. Treat the precautions seriously every time, and welding galvanized steel becomes very manageable. - Do I Really Have to Remove the Zinc Coating Before Welding?
Yes, removing the zinc near the joint is strongly recommended. Grinding it off cuts down on toxic fumes and prevents weld defects like porosity. It also gives you cleaner, stronger joints with better penetration. While welding over zinc is technically possible, it produces worse results and far more fumes. Always grind the weld area first. - What Welding Method is Best for Galvanized Steel?
Both MIG and stick welding work well for galvanized steel. MIG is often easier for beginners and gives cleaner results on thinner metal. Stick welding handles thicker material and outdoor conditions better. Whichever you choose, use the right filler—ER70S-6 wire for MIG or E6011/E7018 rods for stick. The prep and safety steps matter more than the method itself.
Conclusion
Welding galvanized steel isn’t hard once you respect the process. The zinc coating that makes this metal so durable is also what demands extra care—so the key is preparation and safety. Grind off the zinc, clean the surface, suit up with a proper respirator, and always work with strong ventilation.
From there, the actual welding follows familiar steps: pick the right filler, dial in your settings, test on scrap, and weld at a steady pace. Finish by inspecting your work and recoating the bare steel to lock in rust protection.
Hopefully, this guide has given you a better understanding of how to weld galvanized steel and the necessary precautions to take.

About
Stuart Rich is a distinguished figure in the world of metalworking and fabrication, with a decade of expertise creating innovative and sustainable metal projects. His professional focus lies in merging traditional blacksmithing and machining with modern manufacturing techniques, fostering designs that are both practical and durable. As the author of Metalenify, Stuart Rich delves into the art and science of metallurgy and DIY metal creation, inspiring artisans, hobbyists, and industry professionals alike.
Education
RMIT University
(Melbourne, Australia)
Associate Degree in Engineering Technology (Mechanical / Manufacturing)
Focus on metallurgical properties, industry-driven projects, and practical metal craftsmanship. Gained hands-on experience with traditional machining and digital manufacturing tools, such as CAD, CNC software, and precision welding equipment.
Nottingham Trent University
(United Kingdom)
Bachelor’s in Product Design and Materials Engineering (Honors)
Specialized in product design with a heavy focus on blending creativity with metal production and fabrication techniques. Participated in real-world industry projects, collaborating with architectural and hardware manufacturing companies to optimize material efficiency.
Publications and Impact
In Metalenify, Stuart Rich shares his insights on structural metal design processes, material grades, and strategies for efficient shop production. His writing bridges the gap between raw artisan knowledge and modern industrial needs, making it a must-read for both budding DIY metalworkers and seasoned fabrication professionals.





