
Working with metal can feel intimidating at first, especially when you need to make a clean, accurate hole without slipping, snapping a bit, or scratching your workpiece. The good news is that learning how to drill holes in metal is far easier than most people expect once you understand a few core principles. With the right bit, a steady hand, and a little patience, you can create precise holes in steel, aluminum, brass, and more.
This guide walks you through everything in plain, simple language, so it works whether you are a complete beginner or someone brushing up on the basics. We will cover the tools you need, how to set up safely, and the small techniques that separate a frustrating attempt from a smooth, professional result. Each step builds on the last, giving you a clear path to follow from start to finish. By the time you reach the end, you will feel confident drilling clean holes in almost any metal project around your home or workshop.
Why Drilling Holes In Metal Matters
Knowing how to make clean holes in metal opens the door to countless projects, from building shelving brackets to repairing equipment or crafting custom hardware. A properly drilled hole keeps fasteners tight, parts aligned, and structures strong. A rushed or sloppy one can crack the material, wander off center, or leave sharp burrs that weaken the joint.
Getting it right also protects your tools and your safety. The correct speed and pressure prevent overheated bits, broken drill bits, and dangerous slips. Beyond the practical side, mastering this skill saves you money, since you can handle repairs and builds yourself instead of paying someone else. It is a foundational ability that pays off across nearly every DIY and trade task you take on.
Step-by-Step Guide To How to Drill Holes in Metal
Step 1: Gather Your Tools And Materials
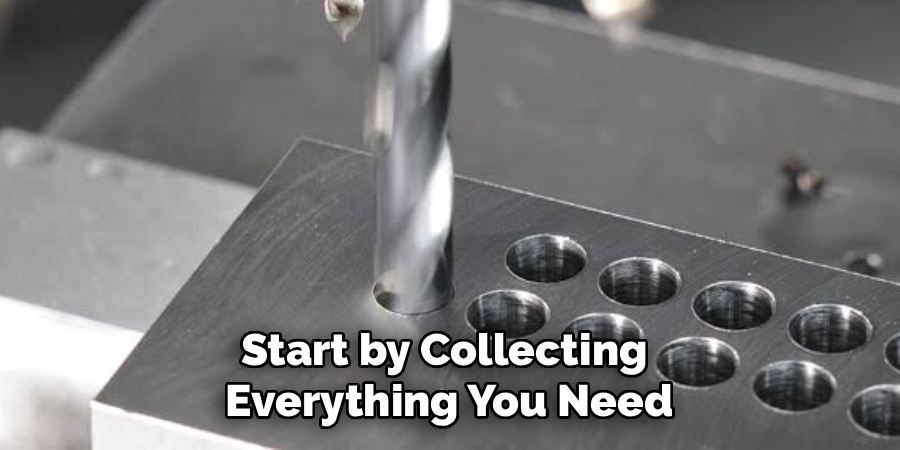
Start by collecting everything you need so you are not pausing halfway through. You will want a power drill or drill press, high-speed steel or cobalt drill bits, safety glasses, gloves, and a marker or center punch. Cutting oil and a clamp or vise round out the basics.
Choosing the right bit matters most here, since standard wood bits dull almost instantly on metal. Cobalt and titanium-coated bits handle the heat and hardness far better. Having quality supplies ready makes the whole process smoother and safer, and it sets the foundation for clean, accurate results from the very first hole you attempt.
Step 2: Mark The Hole Location Accurately
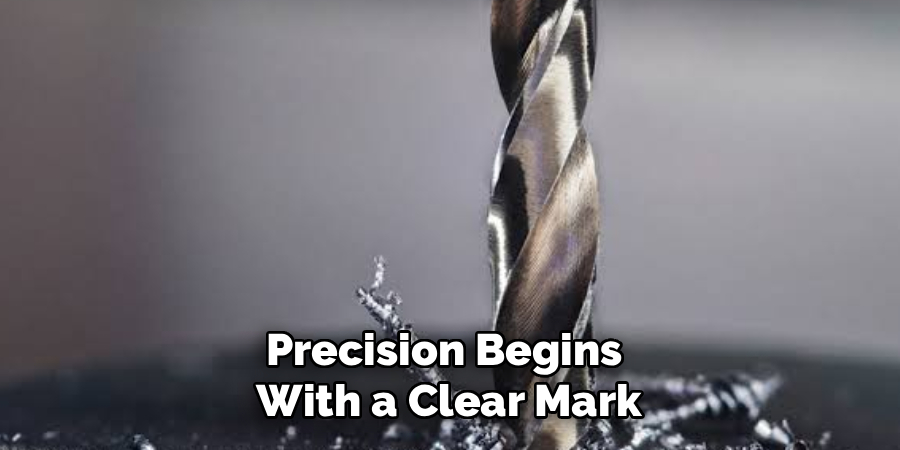
Precision begins with a clear mark. Measure carefully and use a marker to show exactly where each hole belongs. Double-check your measurements against your plan before you commit, because a misplaced hole in metal is hard to undo.
Once you are happy with the spot, grab a center punch and a hammer. A single firm tap creates a small dimple that gives your drill bit a place to bite. This tiny indent stops the bit from skating across the smooth surface, which is one of the most common beginner frustrations. Taking thirty extra seconds here saves you from wandering holes and wasted material later on.
Step 3: Secure The Metal Firmly
Never hold metal in your hand while drilling. Spinning bits can grab the workpiece and fling it, which is both dangerous and ruins your accuracy. Clamp the metal to a sturdy workbench or lock it tightly into a vise so it cannot shift.
Make sure the area beneath the hole is clear, leaving room for the bit to pass through without hitting your bench or the clamp. Placing a scrap piece of wood underneath the metal supports it and prevents bending. A firmly held workpiece lets you focus entirely on technique, which is exactly what you need when learning how to drill holes in metal the safe and reliable way.
Step 4: Choose The Correct Speed
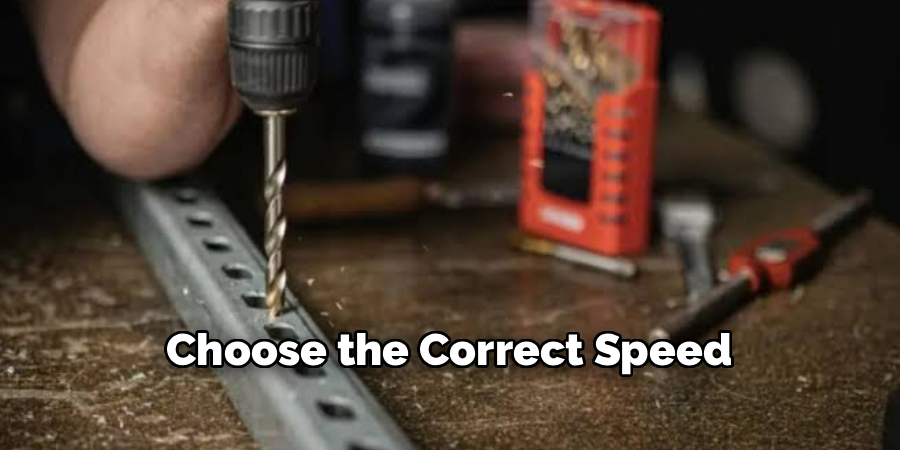
Speed control is where many beginners go wrong. Metal requires slower drill speeds than wood, and the harder or thicker the metal, the slower you should go. High speeds build heat quickly, which dulls bits and can even weld the bit to the workpiece.
As a simple rule, large bits and hard metals call for low speeds, while small bits and soft metals like aluminum tolerate slightly faster settings. If you see smoke or hear squealing, you are going too fast. Listen and watch as you work, and adjust until the bit cuts smoothly and produces clean curls of metal rather than fine, burnt dust.
Step 5: Apply Steady Pressure And Lubrication
With your drill set, position the bit on your punched mark and begin slowly. Apply firm, steady downward pressure rather than forcing it. You want the bit to cut, not grind. Too little pressure rubs and overheats, while too much can snap the bit or crack the metal.
Add a few drops of cutting oil to the spot as you go, especially on steel. This lubrication keeps the bit cool, reduces friction, and extends tool life dramatically. Reapply oil if the hole gets dry. This balance of pressure and lubrication is central to how to drill holes in metal cleanly, giving you neat results every time.
Step 6: Drill Larger Holes In Stages
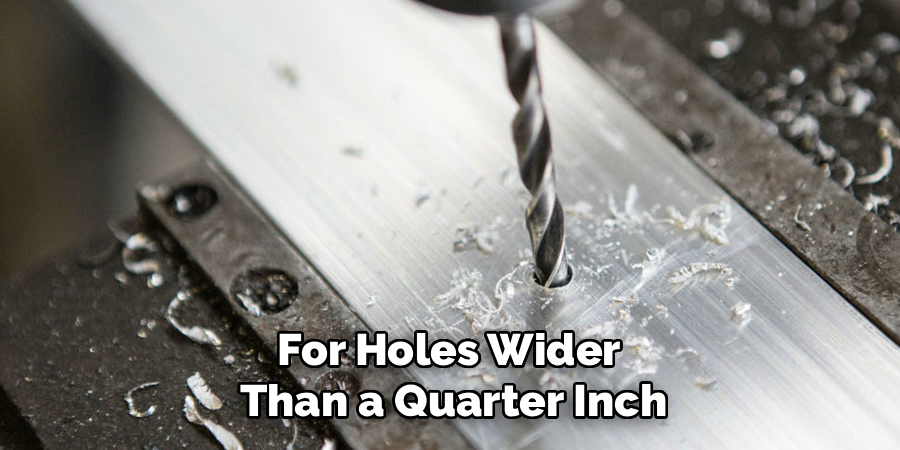
For holes wider than a quarter inch, do not jump straight to a big bit. Start with a smaller pilot hole to guide the larger bit and reduce strain on your drill. This pilot hole keeps the bigger bit centered and prevents it from grabbing or wandering.
Once your pilot hole is complete, switch to progressively larger bits until you reach your target size. Working in stages spreads the effort across several passes, which produces a cleaner edge and protects both your bits and the metal. It takes a little longer, but the smoother, more accurate result is well worth the extra few minutes of patience.
Step 7: Deburr And Finish The Hole
After the bit breaks through, you will usually find sharp ridges called burrs around the edges. These can cut your fingers and stop parts from sitting flush, so removing them is important. Use a deburring tool, a countersink bit, or a slightly larger drill bit spun gently by hand.
Wipe away any oil and metal shavings with a cloth, and inspect the hole to confirm it is clean and the right size. A quick pass with fine sandpaper smooths everything nicely. This final step gives your work a polished, professional feel and ensures every hole is safe to handle and ready for whatever fastener or part comes next.
Frequently Asked Questions
What Type Of Drill Bit Works Best On Metal?
High-speed steel bits handle most everyday metal tasks, while cobalt and titanium-coated bits perform better on harder materials like stainless steel. These options resist heat and stay sharp far longer than standard wood or masonry bits. For frequent metalwork, investing in a quality cobalt set saves money over time, since cheap bits dull quickly and force you to replace them often.
Why Does My Drill Bit Keep Slipping On The Surface?
Slipping usually happens because the smooth metal gives the bit nothing to grip. The fix is simple. Use a center punch to tap a small dimple at your marked spot before drilling. This indent holds the bit in place as it starts spinning. Going slow at the beginning and applying steady pressure also helps the bit bite cleanly instead of skating around.
Do I Really Need Cutting Oil?
Cutting oil is highly recommended for steel and other hard metals. It cools the bit, reduces friction, and helps clear shavings, all of which extend your bit’s life and improve hole quality. For soft metals like aluminum, you can sometimes skip it, though a little lubrication never hurts. If you lack proper cutting oil, a general-purpose machine oil works in a pinch.
How Do I Stop The Metal From Overheating?
Heat comes mainly from drilling too fast and skipping lubrication. Slow your drill speed, especially on thick or hard metal, and apply cutting oil regularly. Let the bit do the cutting with steady pressure rather than forcing it. If things get hot, pause and let the metal cool. Watching for smoke or discoloration helps you catch overheating before it damages your bit.
Can I Use A Regular Cordless Drill?
Yes, a standard cordless drill works fine for most home projects, as long as it has variable speed control and enough power. Set it to a lower speed for metal and use sharp bits designed for the job. For very thick steel or frequent heavy use, a drill press offers more control and consistency, but a good handheld drill covers the majority of tasks.
Conclusion
Drilling into metal does not have to be stressful or risky once you understand the fundamentals. By gathering the right tools, marking and securing your workpiece, controlling your speed, and using lubrication, you set yourself up for clean, accurate results every time. Working larger holes in stages and finishing with a quick deburr adds that professional touch that makes your projects shine.
The real secret to how to drill holes in metal is patience paired with the correct technique, not brute force. Take your time, follow each step in order, and you will quickly build the confidence to tackle bigger and more ambitious projects. So grab your drill, gather your supplies, and put these tips into practice. With a little hands-on experience, this skill will soon feel like second nature in your workshop.

About
Stuart Rich is a distinguished figure in the world of metalworking and fabrication, with a decade of expertise creating innovative and sustainable metal projects. His professional focus lies in merging traditional blacksmithing and machining with modern manufacturing techniques, fostering designs that are both practical and durable. As the author of Metalenify, Stuart Rich delves into the art and science of metallurgy and DIY metal creation, inspiring artisans, hobbyists, and industry professionals alike.
Education
RMIT University
(Melbourne, Australia)
Associate Degree in Engineering Technology (Mechanical / Manufacturing)
Focus on metallurgical properties, industry-driven projects, and practical metal craftsmanship. Gained hands-on experience with traditional machining and digital manufacturing tools, such as CAD, CNC software, and precision welding equipment.
Nottingham Trent University
(United Kingdom)
Bachelor’s in Product Design and Materials Engineering (Honors)
Specialized in product design with a heavy focus on blending creativity with metal production and fabrication techniques. Participated in real-world industry projects, collaborating with architectural and hardware manufacturing companies to optimize material efficiency.
Publications and Impact
In Metalenify, Stuart Rich shares his insights on structural metal design processes, material grades, and strategies for efficient shop production. His writing bridges the gap between raw artisan knowledge and modern industrial needs, making it a must-read for both budding DIY metalworkers and seasoned fabrication professionals.





