
You reach for your trusty hydraulic press, pull the handle, and instead of that powerful, satisfying push, you get a sluggish creep. Maybe a hiss of escaping fluid. Maybe nothing at all.
I’ve stood there more than once, staring at a machine that worked fine yesterday and refuses to cooperate today. It’s deflating.
Here’s the good news, though. A press acting up is rarely a death sentence, and learning how to repair a hydraulic press is far more approachable than that sluggish ram suggests.
Most faults trace back to a handful of usual suspects, and you can fix nearly all of them with standard tools and a patient eye. This guide walks through how the press works, the common problems, and a step-by-step repair you can lean on. By the end, that breakdown turns into a money-saving win you can repeat.
How a Hydraulic Press Works
Before you grab a wrench, it helps to understand what’s happening inside. A few minutes of context here makes diagnosing far less intimidating.
The Role of Fluid, Pressure, and the Cylinder
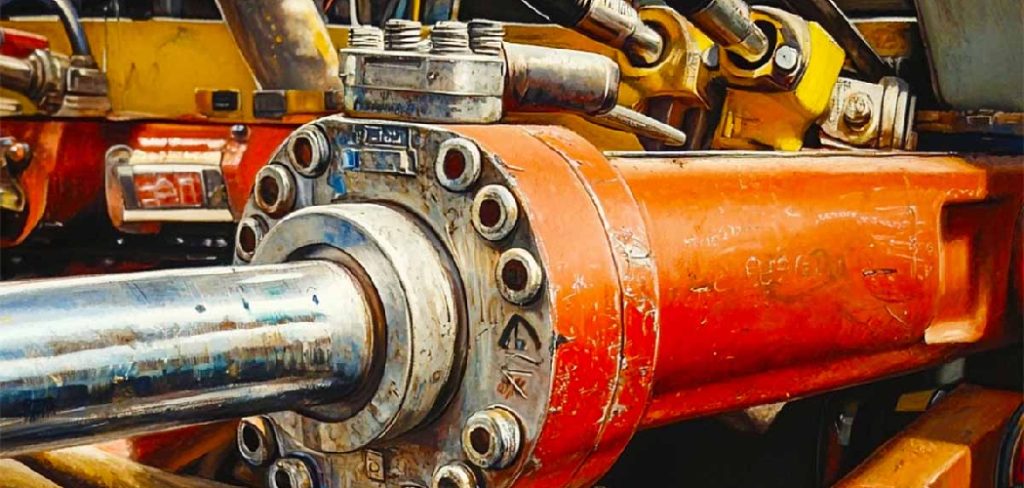
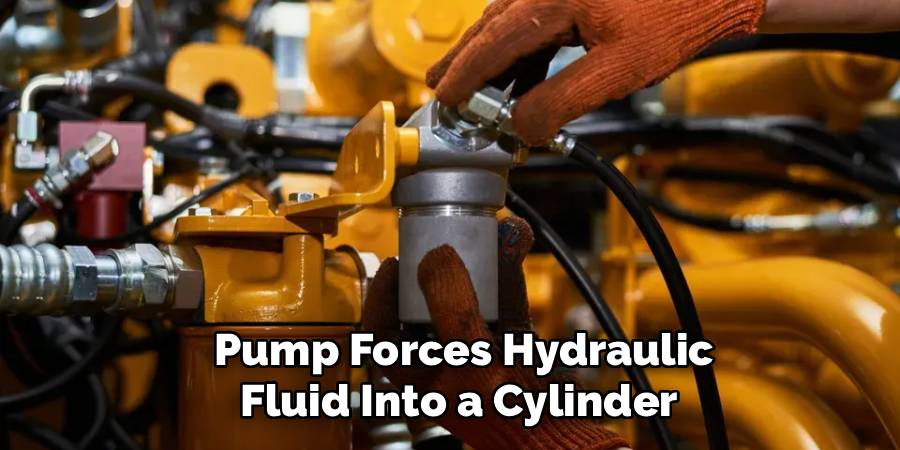
The basic idea is elegant. A pump forces hydraulic fluid into a cylinder, where pressure builds and drives the ram down with enormous force.
Picture a small input creating a massive output. That’s the whole magic of hydraulics, a little effort multiplied into tons of pressing power.
The catch is that the system depends on a sealed, unbroken chain. A leak anywhere along that path saps the power, and suddenly your ram can’t push the way it used to.
Key Components You Should Know
Knowing the parts by name takes the mystery out of any repair. The pump moves the fluid, the reservoir stores it, and the cylinder houses the ram that does the work.
Then there are the smaller players that cause most of the trouble. Seals keep pressure contained, valves direct the flow, and hoses carry fluid between everything.
Once you can point to each piece and say what it does, a fault stops feeling like a black box. It becomes a puzzle with a traceable cause.
Common Hydraulic Press Problems
Before you can fix anything, you have to recognize what you’re dealing with. Most press problems fall into a few clear categories.
Loss of Pressure or Weak Force
This is the one people notice first. The ram stalls under load, or it creeps down slowly when it used to slam home with authority.
A press that’s lost its punch usually points to worn seals, air trapped in the system, or simply low fluid. None of those are exotic, and all of them are fixable.
The trick is figuring out which one. A weak press has a small list of suspects, and working through them methodically tends to reveal the culprit fast.
Leaks, Drips, and Spongy Action
Leaks come in two flavors, and they behave differently. An external leak leaves a telltale puddle under the press, easy to spot if you’re looking.
An internal leak is sneakier. It robs power quietly, with no puddle to give it away, since the fluid slips past a worn seal inside the cylinder rather than out onto the floor.
Then there’s that spongy, bouncy feel when you work the ram. Nine times out of ten, that points to air trapped somewhere in the system rather than a mechanical fault.
Ram That Will Not Retract or Advance
A stuck ram feels like the worst news, but it usually isn’t. The cause often traces back to a faulty valve, a bent rod, or fluid that’s grown thick with contamination.
Each of those follows a logical path to a fix. Even this frustrating fault, the one that seems to lock the whole machine, tends to resolve once you isolate which part has given up.
Tools and Materials You Will Need
The right gear turns a messy repair into a smooth one. You don’t need a specialist’s shop, just a handful of items within reach before you begin.
Essential Hand Tools
The core kit is modest. A quality socket and wrench set, seal pick tools, snap-ring pliers, and a soft-faced mallet will handle most of the disassembly.
Add a clean drain pan to that list. Catching the old fluid keeps your workspace tidy and the fluid contained for proper disposal, which beats a slick floor every time.
Replacement Parts and Safety Gear
A few parts and protective items round things out. A seal and O-ring kit matched to your press, fresh hydraulic fluid, thread sealant, and lint-free rags cover the rebuild.
Don’t forget the gear that protects you. Safety glasses and gloves cost almost nothing, and hydraulic fluid under pressure is no joke.
Here’s a small habit worth keeping: gather everything before you start. There’s nothing worse than a half-dismantled press sitting in pieces for days while you wait on a seal kit.
Diagnosing the Fault Before You Repair
Rushing to disassemble is tempting. It’s also the fastest way to waste an afternoon fixing the wrong thing.
Inspecting for Leaks and Fluid Level
Start with the simplest checks. Pop the reservoir and confirm the fluid level, since low fluid alone explains a surprising number of weak presses.
Then hunt for the source. Look for damp spots, fresh drips, and seals that look like they’re weeping. Following those clues often points you straight to where the system is losing its grip, no teardown required.
Testing Pressure and Ram Movement
Now cycle the ram slowly and pay attention to how it behaves. Listen for air, that telltale sponginess that suggests a bubble rather than a broken part.
Watch whether the press holds pressure once it reaches the top of its stroke. A ram that drifts back down on its own may suggest an internal leak past a seal, while one that holds firm points you elsewhere. These small observations narrow the field before you ever pick up a tool.
How to Repair a Hydraulic Press: Step-by-Step Guide
This is the heart of it. Knowing how to repair a hydraulic press really comes down to working a careful sequence, where safety leads and each step sets up the next.
Don’t skip ahead, especially on the early steps. A charged hydraulic system holds dangerous stored energy, and respecting that is what keeps the whole job from going wrong. Let each small win carry you forward.
Step 1: Release Pressure and Secure the Press
Before anything else, release the system pressure fully. Lower the ram all the way down and disconnect the power.
This step isn’t negotiable. A pressurized system can spray fluid or move unexpectedly, and that stored energy has hurt people who treated it casually. Confirm the press is truly dead before your hands go near it.
Step 2: Drain the Old Hydraulic Fluid
Position your drain pan and empty the reservoir and cylinder. Let it run out completely.
While it drains, study the old fluid. Milky color hints at water contamination, metal flecks suggest internal wear, and grit tells you the system has been running dirty. That used fluid is a diagnostic report if you bother to read it.
Step 3: Pinpoint the Source of the Fault
Now trace the problem to a specific component. Is it a leaking seal, a tired pump, a sticky valve, or a cracked hose?
This is where your earlier diagnosis pays off. Targeting the real cause keeps you from replacing parts that were never broken, which saves both money and the frustration of opening the press twice.
Step 4: Disassemble the Cylinder or Affected Part
Carefully remove the cylinder cap or whatever component you’ve identified. Go slowly here.
Keep your parts organized as they come off, and make a mental or written note of the order. Reassembly is far smoother when you’re not guessing which washer went where, and a phone photo of each stage costs nothing.
Step 5: Inspect and Replace Seals and O-Rings
Slip out the worn seals with a pick, then clean every groove they sat in. This is the step that fixes most pressure problems.
Seat the fresh seals and O-rings squarely, taking care not to nick or twist them on the way in. These small rubber parts cause the majority of pressure loss, so getting them right is where the repair earns its keep.
Step 6: Repair Leaks and Tighten Connections
With the seals handled, turn to the connections. Address any weeping fittings with fresh thread sealant, and replace hoses that show cracks or bulges.
Then snug every connection. The system has to hold pressure once it’s filled, and a single loose fitting can undo all the careful seal work you just finished.
Step 7: Reassemble and Refill with Fresh Fluid
Rebuild the cylinder in reverse order, following those notes you made earlier. Take your time aligning everything.
Once it’s together, refill the reservoir with the correct hydraulic fluid to the proper level. Keep contaminants out as you pour, since a speck of grit now can scar the cylinder walls you just rebuilt.
Step 8: Bleed the Air and Test Under Load
Cycle the ram several times to purge any trapped air, topping up fluid as the level drops. The action should firm up as the bubbles clear.
Finally, test the press under load. A ram that pushes strongly and holds steady tells you the repair took. If it still feels weak or spongy, you’ve got a clue pointing you back to one of the earlier steps.
Repairing the Cylinder and Seals in Detail
The cylinder is the heart of the press, and it’s more rebuildable than it looks. A little extra attention here separates a lasting repair from one that fails again soon.
Honing and Inspecting the Cylinder Bore
With the cylinder open, examine the bore closely. You’re looking for scoring, pitting, or rust along the inner wall.
Light damage often responds to a gentle honing, which restores a smooth surface for the new seals to ride against. A scarred bore chews through fresh seals quickly, so this step may be what makes your repair stick rather than fail in a month.
Choosing the Right Seal Kit
Match your seals and O-rings to the press by both size and material. The wrong size won’t seal, and the wrong material may break down against your particular fluid.
A complete kit beats reusing tired parts every time. It’s tempting to swap only the seal that obviously failed, but the others are the same age, and they tend to follow the first one into failure not long after.
Mistakes That Make Repairs Worse
A few predictable slips turn a clean fix into a frustrating mess. Most are easy to dodge once you know they’re lurking.
Working on a Pressurized System
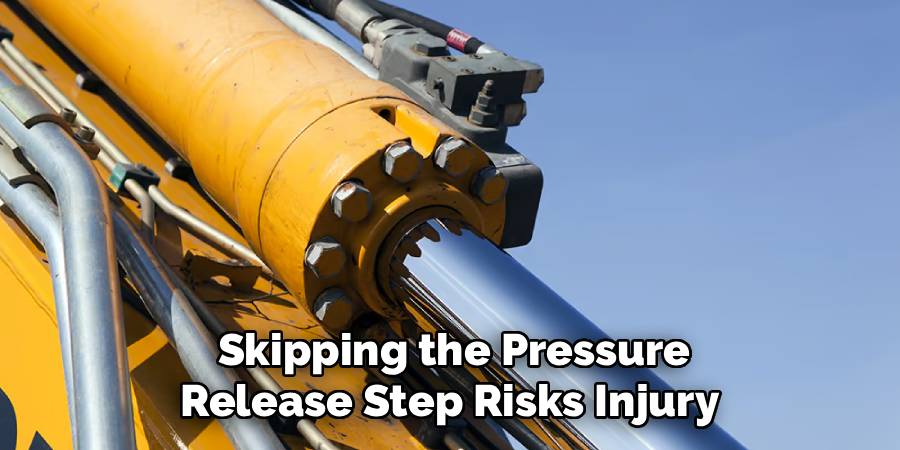
This is the dangerous one. Skipping the pressure-release step risks injury and sprays fluid under high pressure, which can do real harm.
It also makes the work itself harder and messier. There’s a reason this safety move always comes first, and no repair is worth rushing past it.
Using the Wrong Fluid or Dirty Components
The wrong hydraulic fluid shortens seal life and can gum up the works. So can a single speck of grit that finds its way into the cylinder during reassembly.
Cleanliness is the unsung hero of this whole job. You can do everything else right and still watch the repair fail because contamination slipped in while the system was open.
Tips to Keep Your Press Running Strong
A bit of routine care keeps you out of the repair zone in the first place. These small habits add years to a person.
Checking Fluid and Seals Regularly
Make a habit of glancing at the fluid level and the seals now and then. A small drip caught early is a five-minute fix, while the same drip ignored becomes a full pressure failure.
Catching trouble while it’s minor is the whole game. A press rarely fails all at once; it usually warns you first, if you’re paying attention.
Keeping the System Clean and Lubricated
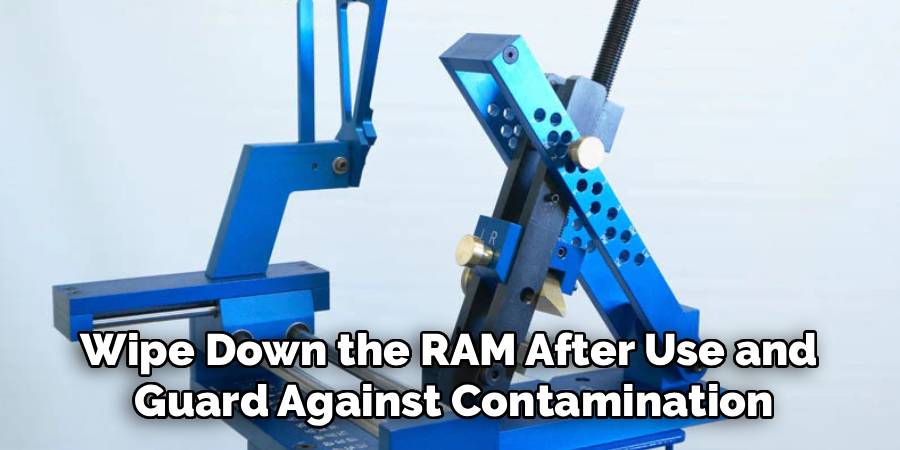
Wipe down the ram after use and guard against contamination creeping into the reservoir. Grit is the slow enemy of any hydraulic system.
Keep the moving parts lightly lubricated, too. A clean, well-maintained press stays smooth for years, and that’s far cheaper than rebuilding a neglected one.
When to Call a Professional
Knowing your limits is its own kind of skill. There’s no shame in stepping back when the stakes climb higher than a DIY repair is worth.
Some jobs simply carry more risk than the fix justifies. A high-tonnage industrial press, a cracked frame, or a failed pump that resists rebuilding all fall into that territory.
The same goes for any repair that moves beyond seals and fluid into structural or high-pressure work, where a mistake could cause serious injury. In those cases, bringing in a hydraulic specialist is the smart play. Their tooling and experience often cost less than the damage a botched repair could do, and asking for help is a confident choice rather than a failure.
Conclusion
So there it is. Knowing how to repair a hydraulic press turns an intimidating breakdown into a satisfying fix you can handle whenever the machine acts up.
The pattern is easy to hold onto. Release the pressure first, diagnose before you disassemble, replace the seals with care, refill with the right fluid, and bleed the air before testing under load.
You’ve got the full roadmap now, from reading the old fluid for clues to honing the cylinder bore so your repair actually lasts. The next time your press creeps, hisses, or simply quits, you won’t feel stuck staring at a dead machine.
You’ll feel ready. Roll up your sleeves, trust the process, and bring that press back to full power.

About
Stuart Rich is a distinguished figure in the world of metalworking and fabrication, with a decade of expertise creating innovative and sustainable metal projects. His professional focus lies in merging traditional blacksmithing and machining with modern manufacturing techniques, fostering designs that are both practical and durable. As the author of Metalenify, Stuart Rich delves into the art and science of metallurgy and DIY metal creation, inspiring artisans, hobbyists, and industry professionals alike.
Education
RMIT University
(Melbourne, Australia)
Associate Degree in Engineering Technology (Mechanical / Manufacturing)
Focus on metallurgical properties, industry-driven projects, and practical metal craftsmanship. Gained hands-on experience with traditional machining and digital manufacturing tools, such as CAD, CNC software, and precision welding equipment.
Nottingham Trent University
(United Kingdom)
Bachelor’s in Product Design and Materials Engineering (Honors)
Specialized in product design with a heavy focus on blending creativity with metal production and fabrication techniques. Participated in real-world industry projects, collaborating with architectural and hardware manufacturing companies to optimize material efficiency.
Publications and Impact
In Metalenify, Stuart Rich shares his insights on structural metal design processes, material grades, and strategies for efficient shop production. His writing bridges the gap between raw artisan knowledge and modern industrial needs, making it a must-read for both budding DIY metalworkers and seasoned fabrication professionals.





