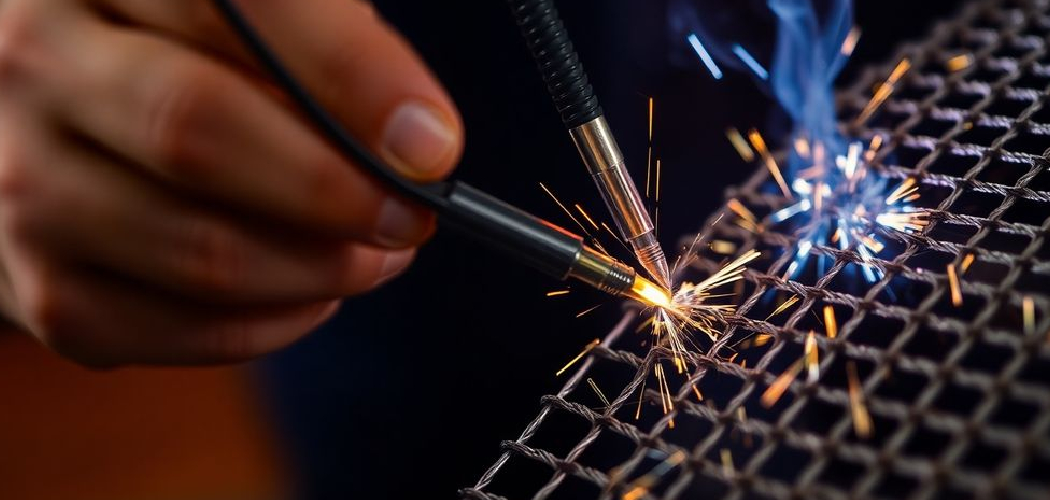
Joining a delicate sheet of wire mesh to a heavy steel plate can feel like a balancing act. One careless pass and you’ve burned a hole straight through that fine grid.
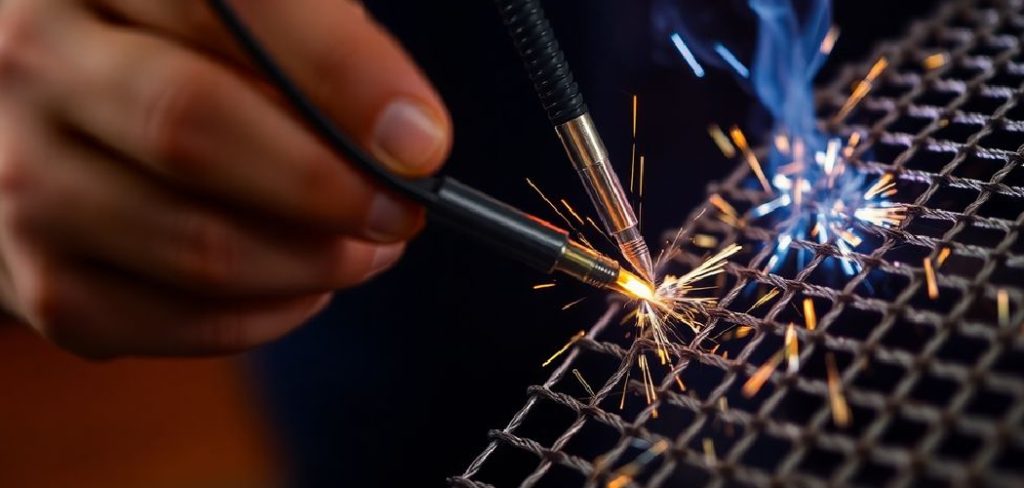
If you’ve wondered how to weld fine wire mesh to thicker metal without melting the mesh or leaving weak, ugly joints, you’ve landed in the right spot. The job sounds intimidating. With the right approach, it isn’t.
This guide walks through the whole thing, from choosing a welding method to cleaning up the finished joint. You won’t need a professional fabrication shop or years on the job. The right setup, a steady hand, and a clear plan tend to carry you most of the way. Let’s get into it.
Why Welding Mesh to Thick Metal Takes Special Care
It’s tempting to treat this like any other weld and just lay down a bead. That instinct, though, is exactly what ruins the mesh.
Managing the Huge Difference in Thickness
The core challenge is right there in the materials. A strand of mesh might measure a fraction of a millimeter, while the base plate could be several millimeters thick.
That gap matters because heat behaves differently in each. The thick metal soaks up warmth and asks for plenty of it, while the thin wire reaches melting point almost instantly. You’re essentially trying to please two materials with opposite needs at the same moment.
Avoiding Burn-Through, Warping, and Weak Joints
Pour too much heat in, and the mesh simply vanishes, leaving a gap where a joint should be. Use too little and the weld never bonds to the heavy base, which gives you a connection that looks fine yet pulls apart under load.
Warping creeps in, too. Concentrated heat in one spot can bend the mesh or distort the plate, so spreading that heat carefully becomes part of the skill.
Understanding the Materials You Are Working With
Before you strike an arc, it pays to know what you’re holding. Mesh and plate vary more than people expect, and those differences shape every setting you’ll choose.
Identifying Your Wire Mesh Type and Gauge
Start with the mesh itself. Is it mild steel, stainless, or galvanized? Each behaves differently under heat, and galvanized in particular gives off fumes you’ll want to avoid breathing.
The gauge matters just as much. A finer wire melts faster and forgives almost nothing, so knowing roughly how thin your strands are tells you how gentle you’ll need to be.
Knowing the Base Metal and Its Thickness
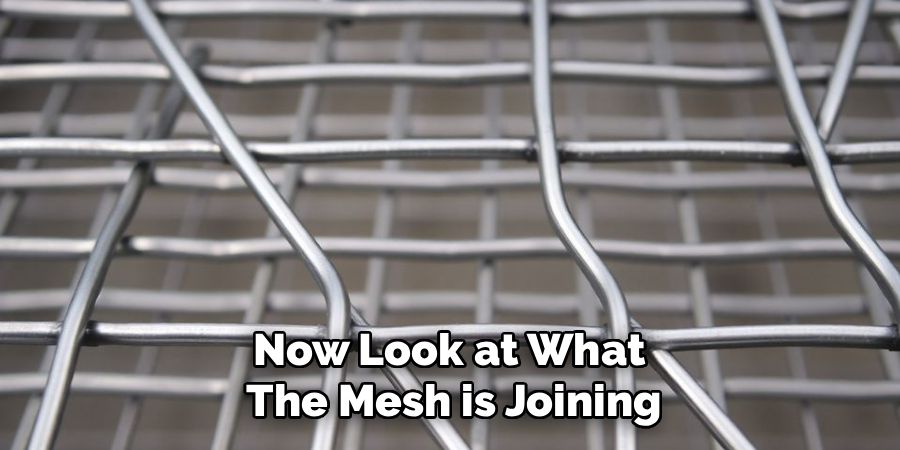
Now look at what the mesh is joining. A quarter-inch steel plate is a different animal from a thin angle bracket, and the thicker it is, the more heat it demands to fuse properly.
Try to match the base metal type to your mesh where you can. Welding mild steel mesh to a mild steel plate is far simpler than mixing metals, which may introduce its own complications.
Matching Filler and Settings to Both Pieces
Your filler should generally suit the base metal, since that’s the piece carrying the structural load. A standard mild steel filler works well for most mild steel jobs.
Settings, though, lean toward protecting the mesh. You’ll often dial in for the thinner material and then aim that controlled heat at the thick side, a balancing trick we’ll come back to shortly.
Choosing the Right Welding Method
No single process is automatically best here. Your choice depends on your gear, your comfort level, and how much control you need over the heat.
Why MIG Works Well for Mixed Thicknesses
MIG is often the friendliest starting point. It lets you lay quick, controlled spots and feed filler steadily, which helps when one piece needs more material than the other.
The speed is genuinely useful with mesh, since short bursts keep the heat from lingering. For many hobbyists, MIG offers the easiest route to a clean joint without a steep learning curve.
Using TIG for Precise Heat Control
TIG gives you the finest command over heat, and that control may be exactly what delicate mesh demands. You decide precisely where the arc goes and how much filler joins it.
The trade-off is difficulty. TIG asks more of your hands and your patience, so it tends to suit those who’ve already spent some time behind a torch. When the mesh is very fine, though, that precision can be worth the effort.
When Spot Welding Is the Smarter Choice
For certain jobs, spot welding sidesteps the whole heat dilemma. It fuses small points quickly without flooding the area with sustained warmth.
This works nicely when you only need the mesh tacked at intervals rather than fully seamed. If your project allows it, spot welding may be the cleanest, lowest-risk option of the three.
Gathering the Right Tools and Materials
A little preparation here keeps the job moving. Stopping mid-weld to hunt for a clamp or the right filler is a quick way to lose your rhythm.
Welder, Filler, and Shielding Gas You Will Need
You’ll want your welder of choice set up and tested, along with filler wire or rod matched to the base metal. For MIG, a thinner wire generally gives you more control over the heat.
Shielding gas matters too. A mix suited to thin metal helps you avoid blasting too much energy into the joint, and the right gas keeps the weld clean rather than spattered and porous.
Safety Gear and Workspace Setup
Welding throws sparks, intense light, and sometimes fumes, so a proper helmet, gloves, and flame-resistant clothing aren’t negotiable. Good ventilation is especially important if there’s any chance of coated or galvanized metal.
Set up a clear, stable workspace with your clamps and a copper backing bar within reach. A tidy bench lets you focus on the weld instead of fumbling for what you need.
Step-by-Step Guide on How to Weld Fine Wire Mesh to Thicker Metal
This is the part you came for. Work through the steps in order, and don’t rush the prep, since that’s where most of these welds quietly succeed or fail.
Step 1: Clean and Prepare Both Surfaces
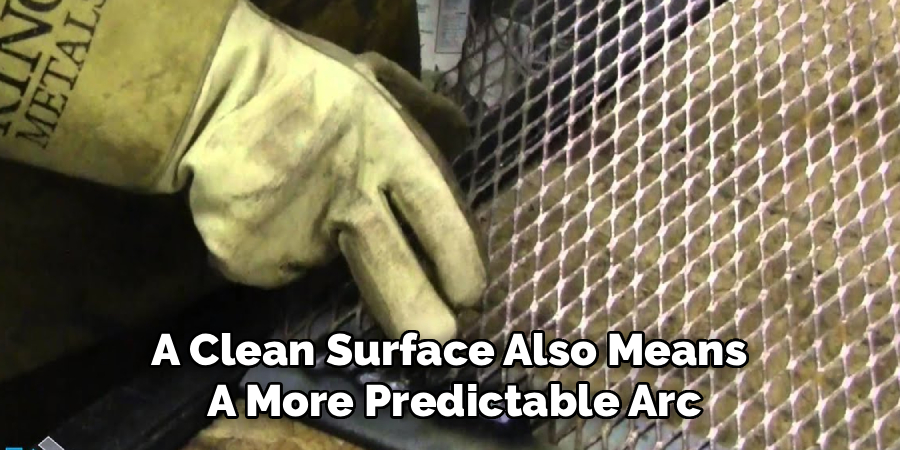
Weld only joins clean metal. Wire-brush the base plate to bare steel and wipe down the mesh to remove oil, rust, or any coating that could contaminate the joint.
A clean surface also means a more predictable arc. Skipping this step tends to show up later as porosity or a bond that never quite took hold.
Step 2: Set Up Your Welder and Dial In the Heat
Start your heat settings on the low side, leaning toward what the thin mesh can survive. You can always nudge the power up, but you can’t un-burn a melted strand.
Run a test pass on a scrap of similar mesh and plate first. That practice bead tells you far more than any chart, and it costs you nothing but a minute.
Step 3: Clamp and Position the Mesh on the Base Metal
Lay the mesh flat against the plate and clamp it down firmly. Good contact between the two pieces helps the heat transfer where you want it and keeps the mesh from shifting mid-weld.
Press the mesh tight against the base. Any gap underneath becomes a spot where the wire heats up alone, with nowhere for the warmth to escape, and that’s where burn-through loves to happen.
Step 4: Lay Down Small Tack Welds First
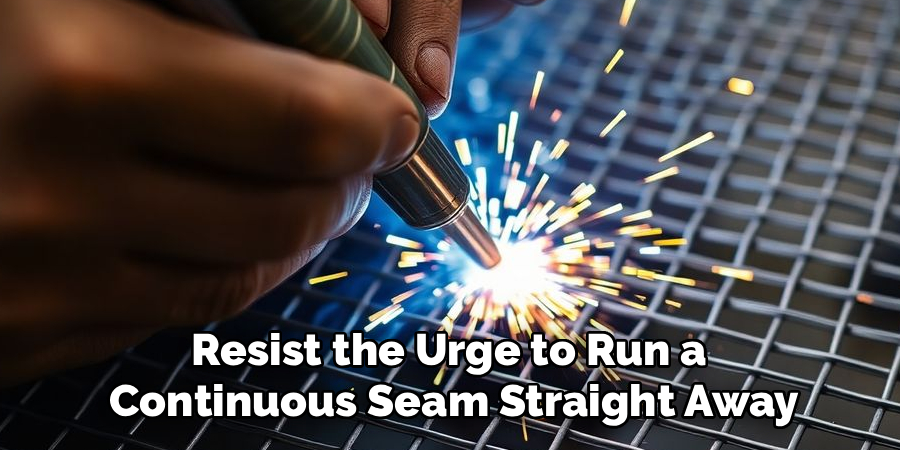
Resist the urge to run a continuous seam straight away. Begin with small tacks spaced along the joint to hold everything in position.
These tacks lock the mesh down and let you check your heat before committing. If a tack burns through, you’ve learned something cheaply and can back off the power before doing real damage.
Step 5: Weld in Short Bursts to Control Heat
With the tacks holding, work in quick bursts rather than long, lingering passes. Each short burst adds a little fusion without letting heat build up in the delicate mesh.
Think of it as dabbing rather than dragging. Pausing between bursts gives the area a moment to shed warmth, which keeps the thin wire from reaching its melting point.
Step 6: Work Around the Mesh to Spread the Heat
Jumping from spot to spot beats welding one continuous line. Hopping around the joint spreads the heat across the piece instead of concentrating it in one vulnerable area.
This habit also reduces warping. By the time you return to an earlier spot, it has cooled, so the overall temperature stays manageable and the mesh holds its shape.
Step 7: Inspect, Cool, and Clean Up the Joint
Once the welding’s done, let everything cool naturally before you handle it. Rushing this with water can introduce stress that weakens the joint.
Then inspect closely. Look for gaps, missed spots, or thin strands that didn’t bond, and clean off any spatter with a brush. A careful look now saves you from discovering a weak point under load later.
Dialing In the Right Heat and Settings
Heat is the whole game here, so it’s worth slowing down on exactly how to manage it. Small adjustments make a large difference.
Lowering Amperage to Protect the Mesh
The single most useful habit is keeping your amperage lower than you might for ordinary work. The mesh simply can’t absorb much energy before it gives way.
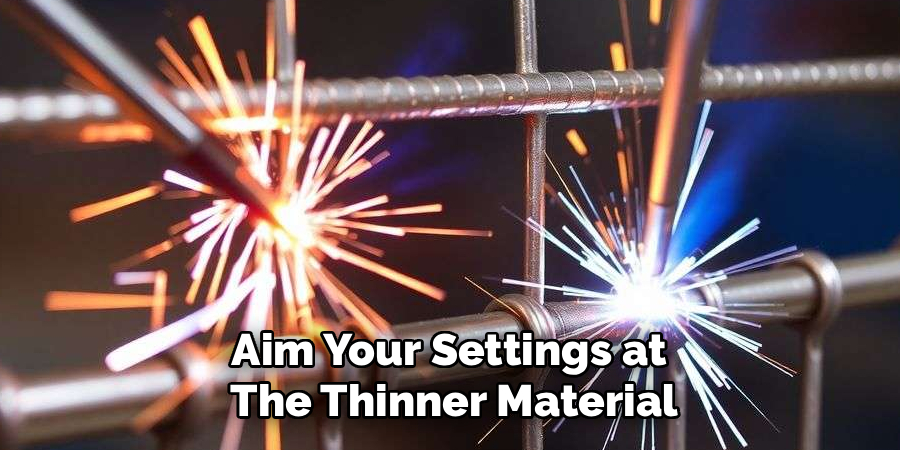
Aim your settings at the thinner material and lean on the technique to fuse the thick side. It may feel counterintuitive to weld a heavy plate on low power, but you compensate by directing the heat carefully rather than turning up the dial.
Using Pulse Settings and Quick Passes
If your welder offers a pulse function, this is where it shines. Pulsing cycles the heat on and off rapidly, delivering enough energy to fuse without the steady output that melts fine wire.
Quick passes achieve a similar effect by hand. Either way, the principle holds: brief shots of heat let the mesh survive while still building a sound bond to the base.
Techniques That Prevent Burn-Through
Burn-through is the most common frustration with this kind of weld. A couple of techniques tilt the odds firmly in your favor.
Aiming Heat at the Thick Metal, Not the Mesh
Point your arc primarily at the heavy base, letting the heat flow into the mesh rather than hitting it directly. The thick plate can take the warmth, then share it with the wire at a gentler intensity.
This small shift in aim changes everything. Striking the mesh head-on tends to vaporize it, while heating the plate and letting it carry the warmth across keeps the strands intact.
Using a Copper Backing Bar as a Heat Sink
A copper backing bar placed behind the joint pulls excess heat away fast. Copper doesn’t bond to your weld, yet it readily absorbs the warmth that would otherwise burn through.
Clamp the bar snugly against the back of the work. It acts like a safety net, soaking up the heat that threatens the mesh and giving you a wider margin for error.
Strengthening and Finishing the Joint
A weld that holds is the goal, but a clean, finished joint is what makes the work feel done. A little attention at the end pays off.
Adding Filler Where the Mesh Needs Support
Sometimes the mesh sits too thin to form a strong joint on its own. In those spots, a touch of filler bridges the gap and gives the connection more substance.
Add it sparingly. The aim is to reinforce the weak points, not to drown the mesh in metal, which would defeat the purpose and add weight where you don’t need it.
Grinding, Cleaning, and Smoothing the Weld
Once the joint has cooled and you’re satisfied it holds, dress it up. A light grind knocks down rough spots and any sharp spatter that could catch a hand.
Work gently near the mesh, since aggressive grinding can thin those fine strands further. A wire brush afterward clears the debris and leaves the joint looking tidy.
Protecting Your Work From Rust and Wear
A bare weld invites corrosion, especially around mesh where moisture lingers in the gaps. Protecting it now extends the life of everything you just built.
Treating the Weld and Surrounding Metal
Welding burns off any existing coating right around the joint, leaving fresh metal exposed. Clean that area thoroughly, then treat it to hold rust at bay before it gets a foothold.
A rust-inhibiting primer suits most jobs. Pay attention to the small crevices in the mesh, since those tight spots trap water and tend to corrode first if you overlook them.
Painting or Coating the Finished Piece
For a piece that lives outdoors or sees rough use, a finishing coat seals the deal. A protective coating or paint shields the weld and the surrounding metal from the elements.
Choose a product rated for exterior conditions if the piece faces the weather. That thin barrier quietly fends off rust and keeps your work looking sharp for far longer.
Common Mistakes to Avoid
A couple of predictable errors account for most ruined mesh welds. Both are easy to sidestep once you know to watch for them.
Using Too Much Heat on Thin Mesh
Cranking the power is the classic regret. It feels like the way to ensure a strong bond, yet it’s the fastest route to a melted, gap-riddled mesh.
Start low and creep up only if you must. The mesh forgives almost nothing on the high end, so erring toward caution beats erring toward heat every single time.
Skipping Cleaning and Proper Clamping
Welding over dirt or rust gives you a contaminated, unreliable joint. Loose clamping causes its own trouble, letting the mesh lift and burn where it loses contact with the plate.
Neither step is glamorous, but both decide whether the weld holds. A few minutes of cleaning and clamping spares you a joint that looks acceptable and fails under the first real test.
Conclusion
Now that you know how to weld fine wire mesh to thicker metal, you’ve got what you need to create a clean, strong joint without burning through that delicate grid. You’ve seen how to read both materials, pick a method that suits the job, keep your heat under control, and finish the weld so it actually lasts.
Even the trickiest welds come together once you make a start. So set up your gear, run a few practice passes on scrap first, and work through the steps at your own pace. Before long, you’ll be looking at a solid, professional-looking joint you welded yourself, and that’s a quietly satisfying result.

About
Stuart Rich is a distinguished figure in the world of metalworking and fabrication, with a decade of expertise creating innovative and sustainable metal projects. His professional focus lies in merging traditional blacksmithing and machining with modern manufacturing techniques, fostering designs that are both practical and durable. As the author of Metalenify, Stuart Rich delves into the art and science of metallurgy and DIY metal creation, inspiring artisans, hobbyists, and industry professionals alike.
Education
RMIT University
(Melbourne, Australia)
Associate Degree in Engineering Technology (Mechanical / Manufacturing)
Focus on metallurgical properties, industry-driven projects, and practical metal craftsmanship. Gained hands-on experience with traditional machining and digital manufacturing tools, such as CAD, CNC software, and precision welding equipment.
Nottingham Trent University
(United Kingdom)
Bachelor’s in Product Design and Materials Engineering (Honors)
Specialized in product design with a heavy focus on blending creativity with metal production and fabrication techniques. Participated in real-world industry projects, collaborating with architectural and hardware manufacturing companies to optimize material efficiency.
Publications and Impact
In Metalenify, Stuart Rich shares his insights on structural metal design processes, material grades, and strategies for efficient shop production. His writing bridges the gap between raw artisan knowledge and modern industrial needs, making it a must-read for both budding DIY metalworkers and seasoned fabrication professionals.