
You step up to your press, pull the handle, and something feels off. The ram stalls short of where it should, or it drifts to one side, or it slams down with far more force than the job ever called for.
I’ve felt that mismatch more times than I’d care to count. Usually, it isn’t the machine failing. It’s just out of tune.
The reassuring part is that learning how to adjust a hydraulic press is the difference between fighting your machine and feeling it respond like an extension of your own hands. With a few simple tools and a patient touch, you can dial it back in.
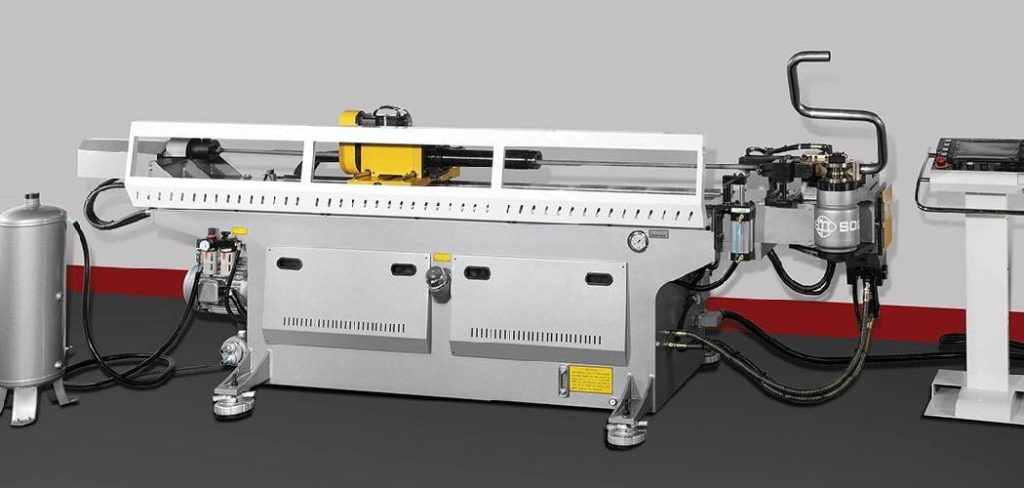
This guide walks through the parts you can adjust, how to prepare, and a step-by-step method you can lean on. By the end, the press should do exactly what you tell it to, no more and no less.
Why Adjusting a Hydraulic Press Matters
Before you touch a single valve, it helps to know what you stand to gain. A well-tuned press isn’t a luxury; it’s the thing standing between a clean result and a cracked part.
Getting the Right Force for Every Job
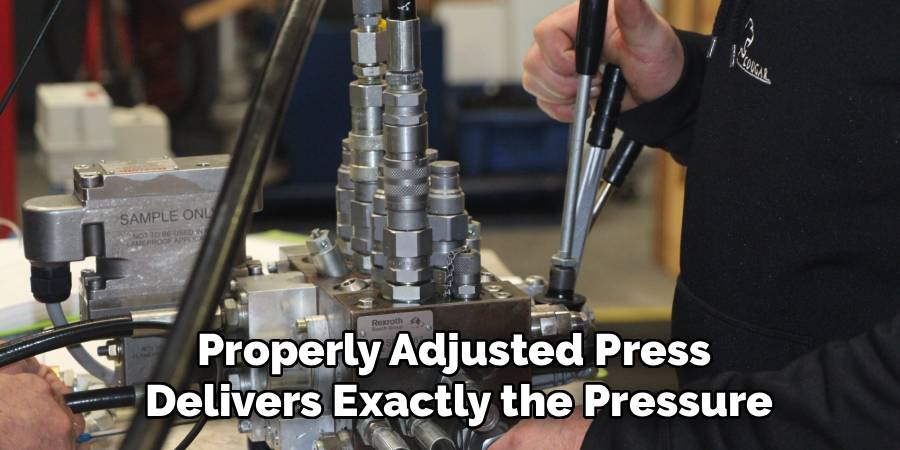
A properly adjusted press delivers exactly the pressure a task asks for. Pressing a delicate bearing into a housing needs a gentle, controlled push.
Bending heavy stock, on the other hand, wants real tonnage. The same machine handles both, but only if you set it for the job in front of you.
Picture what happens when the force is wrong. Too much push crushes a bearing or splits a workpiece, while too little leaves you cycling the ram over and over, wondering why nothing moves. The right setting protects the part, the tooling, and frankly, your fingers.
Protecting the Press and Your Workpiece
Beyond force, the stroke, alignment, and pressure settings all work together to spare the machine itself. Seals last longer when they aren’t strained past their limit.
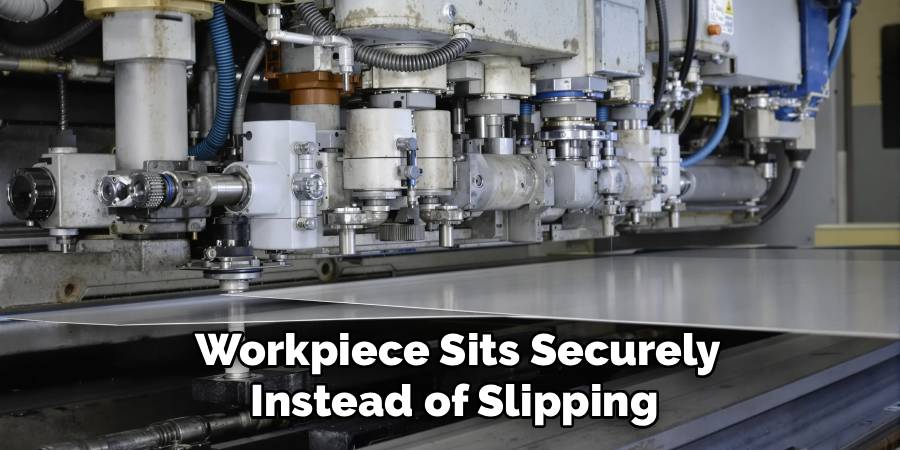
The ram tracks straight and true when it’s centered properly. A workpiece sits securely instead of slipping or cracking under uneven pressure.
A few minutes of careful tuning tends to pay back in cleaner results and a press that holds up for years. That return surprises people the first time they notice the difference.
Understanding the Adjustable Parts of a Hydraulic Press
Naming the controls now makes every later instruction land cleanly. You don’t need to memorize a schematic, just get familiar with the players.
Pressure Relief Valve and Ram Stroke
The pressure relief valve sets the ceiling on how much force the press will apply. Turn it up, and the ram can push harder before the valve bleeds off pressure. Turn it down, and you cap the force lower.
The ram stroke controls how far the ram travels on each cycle. Together, these two settings shape the heart of nearly every adjustment you’ll make.
Think of the relief valve as the “how hard” and the stroke as the “how far.” Once those two click for you, the rest of the controls feel like the supporting cast.
Bed Height, Bolster, and Ram Alignment
The adjustable bed, or bolster, sets the working distance between the ram and your workpiece. Move it up for short parts, down for taller ones, so the ram has room to build force without bottoming out.
Then there’s the centering of the ram over the work. This one quietly matters more than people expect.
When the ram sits squarely above the workpiece, the force flows straight down the line. Let it wander off-center, and that force wanders too, scarring seals and bending rods over time.
Tools and Materials You Will Need
The right gear turns a fussy adjustment into a smooth one. Nothing here is exotic, but having it within reach before you start makes a real difference.
Essential Hand Tools
The core kit is modest. A quality wrench and socket set, a set of hex keys, and a reliable straightedge or square cover most of the work.
Add a pressure gauge to that list, too. It’s the one tool that tells you the force you actually get, rather than the force you assume you’re getting. Guessing at pressure is how presses end up crushing things they shouldn’t.
Helpful Extras and Safety Gear
A few additions smooth out the rough spots. A level confirms the bed and frame sit true, a clean rag keeps fittings tidy, and thread sealant handles any valve connections you disturb.
Keep the manufacturer’s manual nearby as well, since pressure specs and adjustment points vary from press to press. And don’t skip the safety glasses and gloves. A little preparation keeps the job quick and your hands clear of harm.
Preparing the Press Before You Adjust
Rushing straight to the valve tends to backfire. A short setup phase shifts the odds in your favor, and it’s worth the few minutes.
Releasing Pressure and Securing the Machine
Before anything else, release the system pressure fully. Lower the RAM all the way and disconnect the power.
This step isn’t negotiable. A charged hydraulic system holds dangerous stored energy, and that energy has hurt people who treated it casually. Confirm the press is truly dead before your hands go near any control, because safety always comes before speed.
Inspecting Fluid Level and Components
With the machine secured, look everything over. Check the reservoir level, scan for leaks, and confirm that the ram, valves, and gauge all look healthy.
Adjusting around a worn part only masks the real problem. If a seal is weeping or the gauge sticks, sort that out first. Otherwise, you’ll dial in a careful setting on top of a fault that quietly undoes your work.
How to Adjust a Hydraulic Press: Step-by-Step Guide
This is the heart of it. Knowing how to adjust a hydraulic press really comes down to a calm sequence, where safety leads and each step sets up the next.
Don’t rush ahead, especially through the early steps. The whole method depends on starting from a safe baseline and working in small, controlled moves. Let each adjustment carry you to the next.
Step 1: Confirm the Press Is Depressurized and Safe
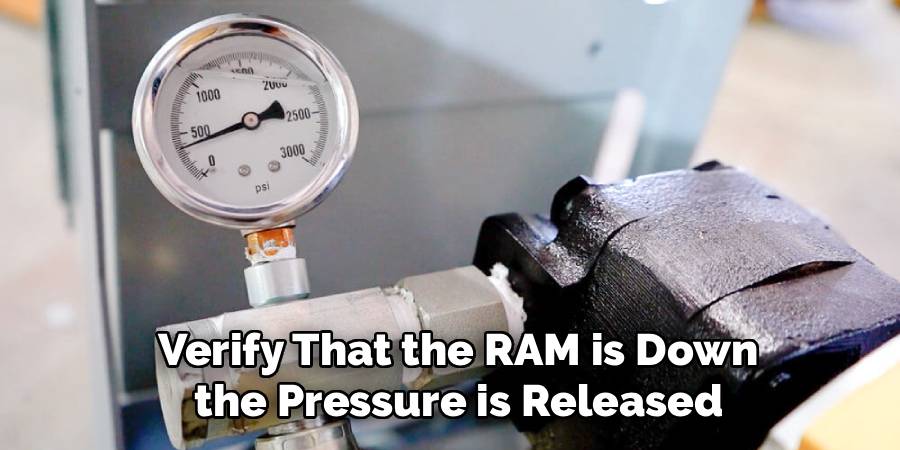
First, verify that the RAM is down, the pressure is released, and the power is off. I know we covered this in prep, but it bears repeating before you touch any valve.
A predictable, depressurized starting point is what keeps every adjustment that follows from turning into a surprise. Thirty seconds confirming it beats a sprayed line or a sudden ram movement.
Step 2: Set the Bed or Bolster to the Right Height
Now position the adjustable bed so your workpiece sits within a comfortable stroke range. You want the ram to have room to build force without bottoming out at the end of its travel.
Match the height to the part. A short workpiece needs the bed raised, a tall one needs it lowered. Get this right, and the ram works in its sweet spot rather than straining at the limits of its stroke.
Step 3: Center and Square the Ram Over the Work
Use a straightedge or square to line the ram up directly above the workpiece. This step protects the machine as much as the part.
Off-center force is sneaky trouble. It bends rods, scars seals, and ruins any chance at precision, all while looking fine until the damage adds up. Take the moment to center it properly, and the press rewards you with straight, even pressure.
Step 4: Adjust the Pressure Relief Valve
Locate the relief valve and turn it gradually to set your maximum force. Raise the pressure in small increments, watching the gauge climb toward your target.
The keyword here is gradually. Big confident turns overshoot the mark and risk damaging seals or the workpiece, so nudge it up a little at a time. The gauge is your guide; trust it over your gut.
Step 5: Set the Ram Stroke and Travel Limits
Dial in how far the ram descends and where it stops. You’re aiming for the same controlled motion on every cycle, without the RAM overrunning the work.
Consistent travel limits do two things at once. They protect whatever sits beneath the ram, and they make your results repeatable instead of varying with how far you happen to push the handle each time.
Step 6: Test Pressure With the Gauge
Slowly pressurize the system and read the gauge. You’re confirming the press reaches the force you set, without spiking past it or falling short.
Watch the needle as it climbs. It should rise smoothly to your target and settle there. If it overshoots or sags, back off and revisit the relief valve before you commit to a real press.
Step 7: Make a Trial Press and Fine-Tune
Now run a low-stakes test press, ideally on scrap or a forgiving part. Observe how the ram behaves through the full motion.
This is where the small adjustments happen. Nudge the relief valve or the stroke settings until the action feels smooth, square, and strong. A trial press often reveals a slight tweak the gauge alone wouldn’t show you, so it’s worth the extra cycle.
Step 8: Lock Settings and Verify Repeatability
Once everything feels right, secure any lock nuts or set screws so your settings hold. Then cycle the press a few times to confirm.
The same result on every pull is the goal. If the press delivers consistent force and travel cycle after cycle, you’ve done the job. That repeatability is the quiet payoff for all the care you put in.
How to Check Your Adjustments for Accuracy
Setting the press is one thing. Confirming the settings actually held is what gives you confidence that the job is done.
Reading the Pressure Gauge Under Load
Watch the gauge while the press works against a real load. It should climb smoothly to your set force and hold there steadily.
A needle that spikes, sags, or bounces is telling you something. Steady is good; erratic suggests a setting that didn’t quite take, or perhaps air in the system that needs chasing out before you trust the number.
Watching Ram Travel and Alignment
Observe the ram through a full stroke. It should move straight, stop where you set it, and show no wobble or drift.
Any side-to-side movement points back to alignment, while a ram that overruns its limit points back to the stroke setting. Catching either now is far easier than discovering it after a part comes out crooked or crushed.
Common Mistakes That Throw Off Your Settings
A few predictable slips quietly undo good work. Most are easy to dodge once you know they’re lurking.
Adjusting Pressure Too Far Too Fast
This is the classic error. Cranking the relief valve in big jumps overshoots the target and risks damaging seals or the workpiece in one impatient turn.
Small increments keep you in control. It may feel slow, but easing the pressure up while watching the gauge is the difference between a precise setting and a crushed part. The valve isn’t going anywhere; you can afford the extra minute.
Skipping Alignment and the Final Test
An uncentered ram or an untested setting tends to surface at the worst moment. Crooked presses, scarred parts, and that sinking realization that the damage was already done.
Both shortcuts feel harmless in the moment. Neither one is. The alignment check and the trial press take a couple of minutes between them, and they save you from problems that only appear once it’s too late to fix them cheaply.
Tips to Keep Your Press Dialed In Longer
A bit of foresight builds reliability into the routine. These small habits keep your settings intact between jobs.
Checking Fluid and Pressure Regularly
Make a habit of glancing at the fluid level and the gauge now and then. Low or dirty fluid quietly shifts how the press behaves, pulling your careful settings off the mark without any obvious warning.
A quick check catches that drift early. It’s the kind of two-minute look that spares you from wondering, weeks later, why a setting that once worked perfectly now feels slightly wrong.
Recording Your Settings for Repeat Jobs
Here’s a habit I wish I’d started sooner. Note the pressure, stroke, and bed height for the tasks you do often.
With those numbers written down, you return to a proven setup in seconds. No more rebuilding the adjustment from scratch every time a familiar job comes around, which feels almost luxurious once you’ve lived with it.
When to Call a Professional
Knowing your limits is its own kind of skill. There’s no shame in stepping back when the stakes climb higher than a routine adjustment is worth.
Some situations carry more risk than the job justifies. A high-tonnage industrial press, a faulty pump or valve that resists adjustment, or a frame showing signs of stress all fall into that territory.

The same goes for any precision system where a wrong setting could cause serious injury or costly damage. In those cases, bringing in a hydraulic specialist may be the smart move. Their tooling and experience often cost less than the damage a misjudged adjustment could do, especially once the work shades from routine tuning into repair or high-pressure territory. Asking for help is a confident choice, not a failure.
Conclusion
So there it is. Knowing how to adjust a hydraulic press turns a stubborn, unpredictable machine into a precise tool that responds exactly the way you intend.
The pattern is easy to hold onto. Depressurize and inspect first, square the ram, set the pressure in small steps, test with the gauge, and lock in settings that repeat reliably.
You’ve got the full roadmap now, from positioning the bed to verifying that the press delivers the same result on every pull. The next time the ram stalls short or pushes harder than the job needs, you won’t be guessing at what’s wrong.
You’ll know exactly where to start. Step up to the press, trust the process, and dial in that perfect setting so every press counts.

About
Stuart Rich is a distinguished figure in the world of metalworking and fabrication, with a decade of expertise creating innovative and sustainable metal projects. His professional focus lies in merging traditional blacksmithing and machining with modern manufacturing techniques, fostering designs that are both practical and durable. As the author of Metalenify, Stuart Rich delves into the art and science of metallurgy and DIY metal creation, inspiring artisans, hobbyists, and industry professionals alike.
Education
RMIT University
(Melbourne, Australia)
Associate Degree in Engineering Technology (Mechanical / Manufacturing)
Focus on metallurgical properties, industry-driven projects, and practical metal craftsmanship. Gained hands-on experience with traditional machining and digital manufacturing tools, such as CAD, CNC software, and precision welding equipment.
Nottingham Trent University
(United Kingdom)
Bachelor’s in Product Design and Materials Engineering (Honors)
Specialized in product design with a heavy focus on blending creativity with metal production and fabrication techniques. Participated in real-world industry projects, collaborating with architectural and hardware manufacturing companies to optimize material efficiency.
Publications and Impact
In Metalenify, Stuart Rich shares his insights on structural metal design processes, material grades, and strategies for efficient shop production. His writing bridges the gap between raw artisan knowledge and modern industrial needs, making it a must-read for both budding DIY metalworkers and seasoned fabrication professionals.





