
A fresh pulley waits on the bench. The shaft sits clean and ready, and there’s that quiet satisfaction of knowing you’re about to make a drive system come alive.
I used to think this job was fussier than it really is. The first few times, I fumbled the key, forced the bore, and wondered why the belt squealed afterward.
The truth is gentler than that. Learning how to install a pulley on a shaft is a foundational skill that keeps belts tracking true, protects your bearings, and gives every project a smooth, reliable spin.
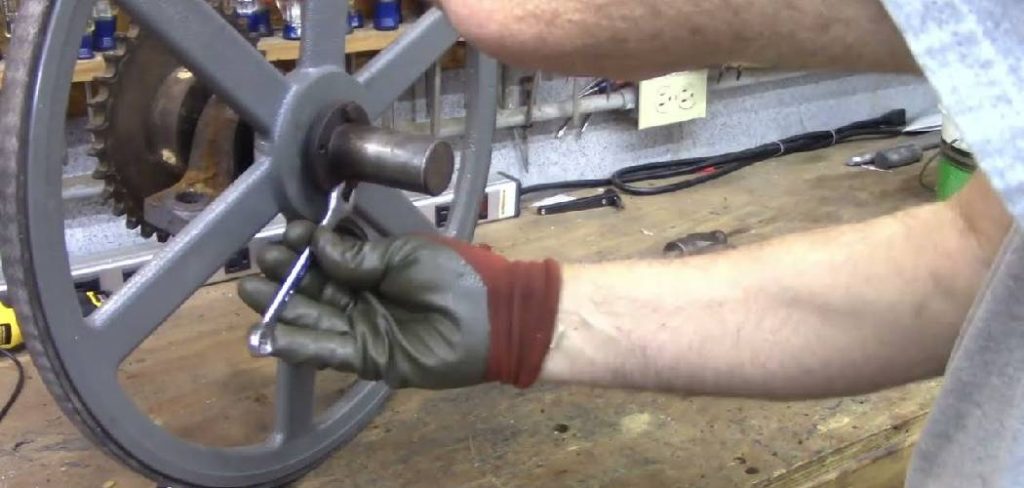
You don’t need anything exotic to do it well. This guide walks through how the pulley grips, the tools that help, and a step-by-step method you can lean on. By the end, mounting a pulley will feel like second nature.
Understanding the Pulley and Shaft Connection
Before you slide anything on, it helps to understand what actually holds the two parts together. A few seconds of context here saves real grief later.
How the Pulley Grips the Shaft
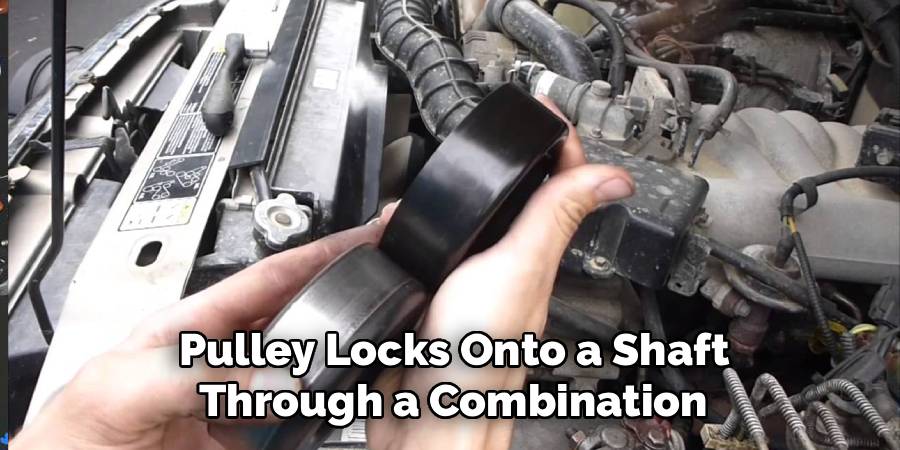
A pulley locks onto a shaft through a combination of three things working together. There’s the snug bore fit, the key seated in the keyway, and a set screw or bushing that clamps everything firm.
Picture each one doing its part. The bore positions the pulley, the key stops it from spinning loose, and the fastener keeps it from drifting along the shaft.
When all three cooperate, the pulley turns with the shaft as a single unit. No slipping, no wobble, no maddening squeal that tells you something’s off.
Common Mounting Styles You Will Meet
Not every pulley mounts the same way, and recognizing the style on your bench shapes the whole approach. Set screw pulleys are the simplest, gripping the shaft with one or two screws.
Keyed pulleys add a key for a stronger, slip-free hold. Then there are taper lock bushings and QD bushings, which wedge tight as you draw their bolts down.
Each style changes the installation a little. Knowing which one you’ve got before you start means you won’t be improvising halfway through with greasy hands.
Tools and Materials You Will Need
The right gear turns a fiddly task into a smooth, satisfying one. Nothing here is hard to find, but having it within reach before you begin makes a real difference.
Essential Hand Tools
The core kit is modest. Hex keys, a socket set, and a soft-faced mallet cover most of the work you’ll do.
Add a quality straightedge and a set of calipers, too. The straightedge confirms alignment later, and the calipers let you check the fit before anything goes together, which is far easier than discovering a mismatch after the pulley’s stuck halfway on.
Helpful Extras and Safety Gear
A few additions smooth out the rough spots. Anti-seize compound eases the pulley on and helps future removal, while a clean rag and emery cloth keep the surfaces tidy. A torque wrench earns its place when fasteners need to hit a spec.
Then there’s the gear that protects you. Safety glasses and gloves cost almost nothing and spare you a scuffed shaft or a bruised knuckle. A couple of minutes of preparation here pays off the whole way through.
Preparing the Shaft and Pulley Before Installation
Rushing straight to the slide-on tends to backfire. A short setup phase shifts the odds in your favor, and it’s worth the time.
Cleaning and Inspecting Both Parts
Start by wiping away grease, rust, and grime from both the shaft and the bore. You want the two surfaces meeting clean, not gritty.
While you’re at it, run your eye over everything. Burrs, scoring, or a rough patch on the shaft can turn an easy slide-on into a stubborn fight, so catching them now lets you smooth them out before they cause trouble.
Confirming the Fit and Key Size
Now check the numbers. Measure the bore diameter against the shaft, and confirm the key fits the keyway snugly without rocking.
This quick measurement prevents two headaches at once. A bore that’s too tight leaves the pulley stuck partway, while a sloppy key lets the pulley spin loose under load. A minute with the calipers spares you both.

How to Install a Pulley on a Shaft: Step-by-Step Guide
This is the heart of it. Knowing how to install a pulley on a shaft comes down to a clean sequence, where each step sets up the next, and small wins build into a drive that runs true.
Don’t skip ahead or force anything. A pulley that goes on square and seats properly will reward you for years, while a rushed install tends to haunt the drive with wobble and noise. Let each step carry you forward.
Step 1: Clean and Deburr the Shaft and Bore
Wipe both surfaces spotless, then gently smooth any burrs with emery cloth. A clean fit is the foundation of a pulley that seats true.
Take a moment here, even if it looks unnecessary. A tiny burr in the bore can gall the shaft as the pulley slides on, and that damage is far harder to undo than it was to prevent.
Step 2: Apply a Light Coat of Anti-Seize
Spread a thin film of anti-seize on the shaft. It eases the pulley on now and makes removal painless somewhere down the road.
Resist the urge to slather it. A light coat does the job, while too much just attracts grit and makes a mess that works its way into everything.
Step 3: Set the Key in the Keyway
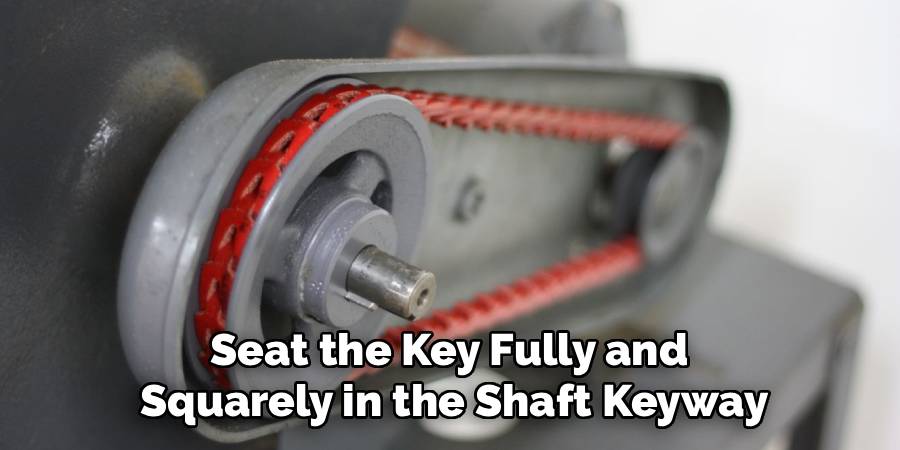
Seat the key fully and squarely in the shaft keyway. It should sit flush and stay put without rocking.
A key that wobbles or sits proud throws off everything that follows. Press it down, check that it’s seated evenly, and confirm it doesn’t shift when you nudge it. This small part carries the whole torque load, so it earns attention.
Step 4: Align the Pulley Bore with the Key
Line up the pulley’s keyway with the key before you slide the pulley on. Keep everything straight so nothing binds or gouges.
This is a moment where patience pays. Forcing a misaligned pulley over the key can shear the key or scar the bore, so take the extra second to get the two grooves lined up cleanly.
Step 5: Slide or Tap the Pulley Into Position
When the fit allows, push the pulley on by hand. For a snugger fit, use light, controlled taps with a soft-faced mallet.
The keyword is controlled. Never hammer it on crooked or pound it with a steel face, since that bends rims and dents shafts. Tap evenly, work it on straight, and let the fit guide your pace.
Step 6: Position the Pulley at the Correct Depth
Set the pulley at the proper spot along the shaft so it lines up with its mating pulley. This is where that straightedge comes in handy.
Lay it across both pulley faces and confirm they share the same plane. Getting the depth right now spares you a misaligned drive later, and a misaligned belt eats itself fast.
Step 7: Tighten the Set Screws or Bushing Bolts
Now lock it in place. Snug set screws onto the key flat in an even pattern, or draw down taper lock bolts gradually if that’s your style.
Even tightening matters more than you’d think. Crank one screw all the way before the others, and the pulley clamps slightly cocked, which sets up wobble. Work them in small, balanced turns instead.
Step 8: Torque, Recheck Alignment, and Test Spin
Finish by torquing the fasteners to spec. Then recheck the alignment with your straightedge, because tightening can pull a pulley slightly out of true.
Last, spin the pulley by hand and watch it. It should run smoothly and wobble-free. If it does, you’ve done the job right, and that clean rotation is the payoff for all the care you put in.
Checking Your Installation for a True Fit
Completing the install is one thing. Confirming it sits right is what gives you confidence the drive will run the way you intend.
Checking for Wobble and Runout
Spin the pulley slowly and watch its outer face closely. Look for any side-to-side wobble or up-and-down hop as it turns.
That movement, called runout, signals a poor seat or a tilted fit. A true-running pulley barely moves off its line, while a wobbling one tells you to back off and check the key, the bore, and the fasteners again.
Confirming Alignment with the Mating Pulley
Lay a straightedge across both pulley faces one more time. They should sit in the same plane, with the straightedge touching cleanly across both.
Good alignment here protects the belt and keeps the drive quiet. A pulley that’s offset, even slightly, drags the belt sideways and wears it out long before its time, so this final check is worth the thirty seconds.
Mistakes That Make Installation Harder
Plenty of installs go sideways, not from the task itself, but from a rushed approach to it. Knowing the common traps helps you sidestep them.
I’ve made most of these myself, usually more than once. Learning them the easy way beats the alternative.
Forcing a Pulley Onto a Dirty or Burred Shaft
This is the big one. Grime and burrs gall the bore and leave the pulley stuck partway, turning a simple slide-on into a frustrating standoff.
A clean, deburred shaft prevents the whole mess. The few minutes you spend wiping and smoothing the surfaces save you from a pulley wedged halfway with nowhere to go.
Skipping Alignment and Even Tightening
Two small oversights cause most of the trouble that surfaces later. Uneven set screws cock the pulley, and a misaligned face drags the belt off track.
Together, they breed wobble, belt wear, and a noise that nags at you every time the machine runs. A little care with the straightedge and a balanced turn on the fasteners spares you all of it.
Tips for a Smoother Installation Every Time
A bit of foresight builds ease into the routine. These small habits make every future install go faster and cleaner.
Using Anti-Seize for Easy Future Removal
That light coat of anti-seize does double duty. It eases the installation today, and it keeps corrosion from welding the pulley to the shaft over the months ahead.
In the future, you will appreciate it. When the time comes to pull the pulley off, it slides free instead of fighting every inch, which is a gift you give yourself with almost no effort now.
Matching Components and Torque Specs
Fit is everything with these parts. Match the key, the bore, and the fasteners precisely, and follow the manufacturer’s torque values rather than guessing by feel.
A properly matched and correctly torqued pulley seats clean and holds for the long haul. Skimp on either, and you invite the slipping, wobbling, and loosening that proper specs are designed to prevent.

When to Call a Professional
Knowing your limits is its own kind of skill. There’s no shame in stepping back when the stakes climb higher than a DIY install is worth.
Some situations carry more risk than the job justifies. A press-fit pulley that demands special tooling, a high-speed drive, a hardened shaft, or a precision system where a wobble could cause costly damage all fall into that territory.
If you find yourself there, bringing in someone with the right equipment may be the smart move. The cost of expert help often beats the cost of a ruined shaft, and asking for backup is a confident decision rather than a failure.
Conclusion
So there it is. Knowing how to install a pulley on a shaft turns an intimidating task into a quick, satisfying routine you can repeat anytime a drive needs building or rebuilding.
The pattern is easy to hold onto. Clean and inspect both parts first, seat the key squarely, slide the pulley on without forcing it, align the faces, and tighten evenly to spec.
You’ve got the full roadmap now, from a careful inspection to that final spin test that confirms everything runs true. The next time a bare shaft and a fresh pulley sit waiting on your bench, you won’t feel uncertain.
You’ll feel ready. Grab your tools, trust the process, and mount that pulley knowing you’ll end up with a smooth, true-running drive every time.

About
Stuart Rich is a distinguished figure in the world of metalworking and fabrication, with a decade of expertise creating innovative and sustainable metal projects. His professional focus lies in merging traditional blacksmithing and machining with modern manufacturing techniques, fostering designs that are both practical and durable. As the author of Metalenify, Stuart Rich delves into the art and science of metallurgy and DIY metal creation, inspiring artisans, hobbyists, and industry professionals alike.
Education
RMIT University
(Melbourne, Australia)
Associate Degree in Engineering Technology (Mechanical / Manufacturing)
Focus on metallurgical properties, industry-driven projects, and practical metal craftsmanship. Gained hands-on experience with traditional machining and digital manufacturing tools, such as CAD, CNC software, and precision welding equipment.
Nottingham Trent University
(United Kingdom)
Bachelor’s in Product Design and Materials Engineering (Honors)
Specialized in product design with a heavy focus on blending creativity with metal production and fabrication techniques. Participated in real-world industry projects, collaborating with architectural and hardware manufacturing companies to optimize material efficiency.
Publications and Impact
In Metalenify, Stuart Rich shares his insights on structural metal design processes, material grades, and strategies for efficient shop production. His writing bridges the gap between raw artisan knowledge and modern industrial needs, making it a must-read for both budding DIY metalworkers and seasoned fabrication professionals.





