
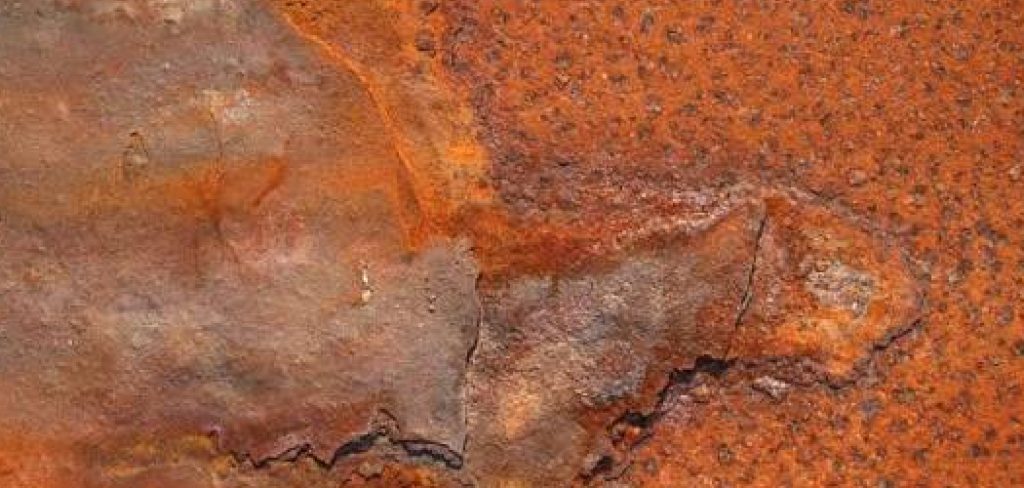
Few materials change as beautifully as copper. Leave a bright penny outside for a while and you will notice it slowly shifting toward warm browns, then soft blues and greens. That natural color shift is called patina, and you can create it on purpose for art, signage, jewelry, and home décor. Learning how to patina copper sheet metal lets you control that transformation and turn a plain, shiny surface into something with depth, character, and timeless appeal.
This guide is built for beginners, but it still respects the craft behind the process. You will learn what patina actually is, why people love it, and how to create it step by step using simple supplies. We will keep the language clear and the instructions practical, so you can follow along even if this is your very first project. By the time you finish reading, you will feel ready to grab a sheet of copper and start experimenting with confidence and a steady hand.
Why Patinating Copper Sheet Metal Matters
Patina is more than a pretty finish. It tells a story, giving copper that aged, handcrafted look that mass-produced items simply cannot match. For artists and makers, this means your work stands out with a one-of-a-kind appearance that buyers and admirers notice right away.
There is a practical side too. A stable patina layer helps protect the copper underneath from further oxidation, acting almost like a natural shield. That can extend the life of outdoor pieces and architectural details. Beyond protection, the process is affordable and accessible, since many patina solutions use common household ingredients. You gain creative control, repeatable results, and a finish that looks far more expensive than the small investment it actually requires.
Step-by-Step Guide To How to Patina Copper Sheet Metal
Step 1: Gather Your Supplies And Workspace
Start by collecting everything you need before you begin, because a smooth setup makes the whole project easier. You will want your copper sheet, gloves, safety glasses, a patina solution such as vinegar and salt or a store-bought formula, a spray bottle or brush, and clean rags. Learning how to patina copper sheet metal begins with good preparation, since the quality of your results depends heavily on a clean, organized space. Work in a well-ventilated area, ideally outdoors or near an open window. Lay down a protective surface like cardboard or plastic to catch drips, and keep water nearby for quick cleanup.
Step 2: Clean The Copper Surface Thoroughly
Copper straight from the store often carries oils, fingerprints, and a protective coating that blocks chemical reactions. To get an even color, you must remove all of that first. Wipe the sheet with isopropyl alcohol or wash it with dish soap and warm water, then dry it completely. For stubborn coatings, a gentle scrub with fine steel wool or a baking soda paste works well. Avoid touching the clean surface with bare hands afterward, since skin oils can leave marks. A spotless surface lets the solution grip evenly, which is the secret to a consistent, professional-looking finish.
Step 3: Choose Your Patina Solution
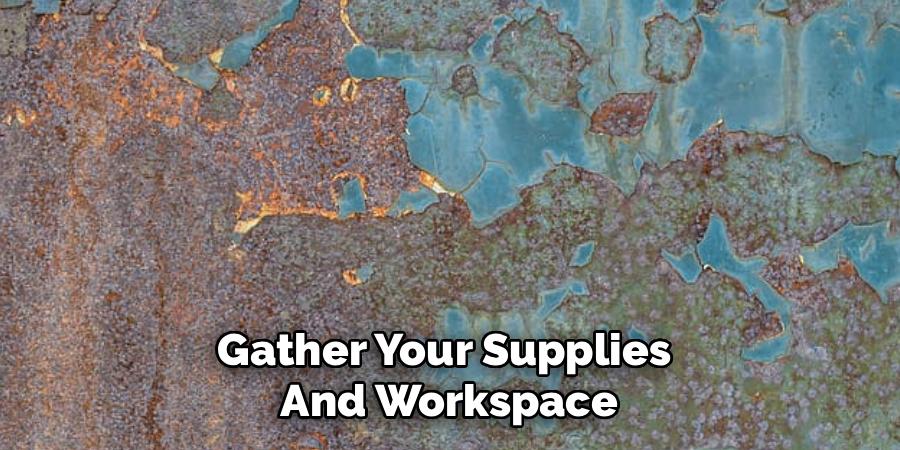
Different solutions create different colors, so this step shapes your final look. A classic mix of white vinegar and table salt produces lovely blue-green tones over time. Ammonia fumes can speed up greens and blues, while liver of sulfur leans toward browns, blacks, and iridescent shades. Many beginners enjoy mastering how to patina copper sheet metal with simple vinegar-based recipes first, then experimenting once they feel comfortable. Whatever you choose, mix small test batches and keep notes on ratios and timing. That record helps you repeat your favorite results later and avoid guessing your way through future projects.
Step 4: Apply The Solution Evenly
Now the fun begins. Put on your gloves and glasses, then apply your chosen solution to the copper. You can spray it for a speckled, organic texture, brush it for streaks and movement, or dab it with a sponge for a mottled effect. For broad, even coverage, mist lightly and repeatedly rather than soaking the sheet all at once. The goal is a thin, consistent layer that reacts gradually. Work from one edge to the other so you do not miss spots, and resist the urge to rush, since patient layering produces the richest and most interesting colors.
Step 5: Let The Reaction Develop
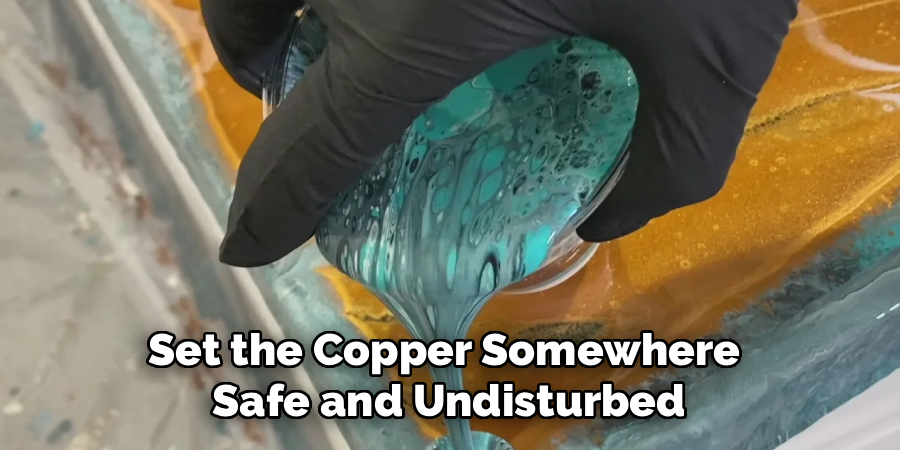
Patience pays off here. Once the solution is applied, the chemistry needs time to work its magic. Set the copper somewhere safe and undisturbed, then watch the color slowly shift. Vinegar and salt methods may take several hours or even a day, while fume methods often work faster inside a covered container. Humidity and warmth speed things up, so a slightly damp environment encourages stronger greens. Check on your piece periodically and reapply solution if you want deeper color. Stop the process whenever the shade looks right to your eye, since timing is entirely your creative choice.
Step 6: Rinse And Neutralize The Surface
When you reach the color you love, you need to halt the reaction. Gently rinse the copper with clean water to wash away excess solution and loose residue. For acid-based methods, a quick wipe with a baking soda and water mix helps neutralize any lingering chemicals. Be gentle, because the fresh patina is still delicate and can rub off if you scrub too hard. Pat the surface lightly with a soft cloth or let it air dry. This step locks in your progress and prepares the piece for the final protective stage that follows.
Step 7: Seal And Protect The Finish
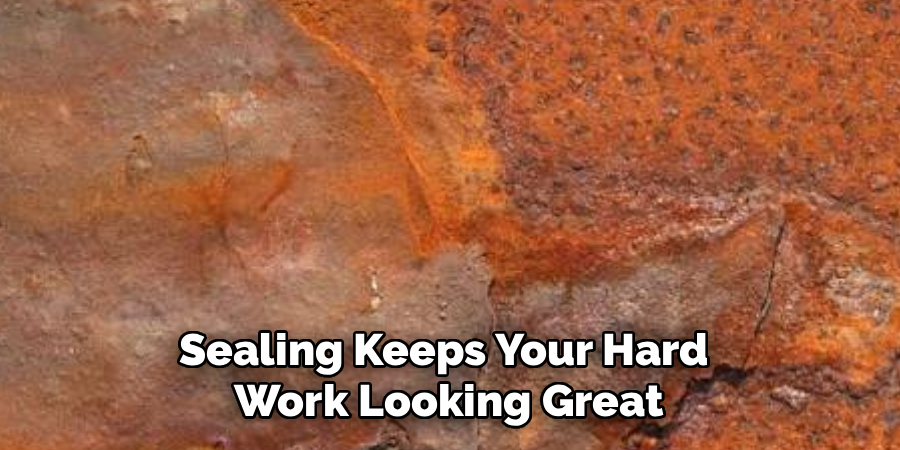
Sealing keeps your hard work looking great for years. Without protection, the patina may continue changing or wear away with handling. Once the copper is fully dry, apply a clear sealer such as a wax, lacquer, or specialized patina sealant. Wax gives a soft, natural sheen and is easy to reapply, while lacquer offers a harder, longer-lasting shield. Use thin, even coats and allow each one to cure fully. For outdoor pieces, choose a UV-resistant sealer to fight fading. With the finish sealed, your patinated copper is ready to display, wear, or proudly share with others.
Frequently Asked Questions
How Long Does It Take To Patina Copper?
It depends on your method and conditions. Vinegar and salt recipes often need several hours to a full day to develop rich color, while ammonia fume methods can work in a few hours inside a sealed container. Warmth and humidity speed things up. Check your piece regularly, since timing is flexible and you can stop the reaction the moment the shade looks right to you.
Is The Patina Process Safe To Do At Home?
Yes, when you take sensible precautions. Always wear gloves and safety glasses, and work in a well-ventilated space or outdoors. Some chemicals, like ammonia, give off strong fumes, so keep them away from your face and out of reach of kids and pets. Store solutions in labeled containers, and rinse your hands and tools afterward. With basic care, beginners can complete the project safely.
Why Is My Copper Patina Uneven?
Uneven results usually come from a surface that was not fully clean. Oils, fingerprints, or leftover coatings block the reaction in spots, creating blotchy color. Inconsistent application can also cause it, since heavy pools react differently than thin mist. To fix this, clean the copper thoroughly, apply the solution in light even layers, and keep the temperature and moisture steady throughout the entire reaction period.
Can I Remove A Patina If I Do Not Like It?
Absolutely. Since patina sits on the surface, you can usually remove it and start over. A scrub with vinegar and salt, fine steel wool, or a metal polish will bring back the bright copper underneath. For sealed pieces, you may need to strip the sealer first. Once the metal is clean and shiny again, you can simply repeat the process to try a new color.
Do I Really Need To Seal The Finished Piece?
Sealing is highly recommended, though not strictly required. Without a sealer, the patina will keep reacting with air and moisture, so the color may shift or rub off over time. A wax or lacquer locks in your chosen look and protects against handling and weather. For jewelry, décor, or outdoor items, sealing is the best way to preserve your results and keep them looking sharp.
Conclusion
Creating a patina is one of the most rewarding ways to give plain copper real personality. With a clean surface, the right solution, patient timing, and a protective seal, you can turn an ordinary sheet into a stunning piece full of color and character. The seven steps in this guide walk you through the entire journey, from gathering supplies to sealing the final finish, so nothing catches you off guard.
Now that you understand how to patina copper sheet metal from start to finish, the only thing left is to try it for yourself. Start with a small test piece, keep notes on what works, and adjust as you go. Each project teaches you something new and brings results you can repeat with confidence. Grab your copper, pick a color you love, and let your creativity lead the way.

About
Stuart Rich is a distinguished figure in the world of metalworking and fabrication, with a decade of expertise creating innovative and sustainable metal projects. His professional focus lies in merging traditional blacksmithing and machining with modern manufacturing techniques, fostering designs that are both practical and durable. As the author of Metalenify, Stuart Rich delves into the art and science of metallurgy and DIY metal creation, inspiring artisans, hobbyists, and industry professionals alike.
Education
RMIT University
(Melbourne, Australia)
Associate Degree in Engineering Technology (Mechanical / Manufacturing)
Focus on metallurgical properties, industry-driven projects, and practical metal craftsmanship. Gained hands-on experience with traditional machining and digital manufacturing tools, such as CAD, CNC software, and precision welding equipment.
Nottingham Trent University
(United Kingdom)
Bachelor’s in Product Design and Materials Engineering (Honors)
Specialized in product design with a heavy focus on blending creativity with metal production and fabrication techniques. Participated in real-world industry projects, collaborating with architectural and hardware manufacturing companies to optimize material efficiency.
Publications and Impact
In Metalenify, Stuart Rich shares his insights on structural metal design processes, material grades, and strategies for efficient shop production. His writing bridges the gap between raw artisan knowledge and modern industrial needs, making it a must-read for both budding DIY metalworkers and seasoned fabrication professionals.





