
There’s a sound every machinist dreads. A sharp little snap, and then nothing but half a carbide bit buried deep inside a part you spent hours setting up.
Your stomach drops. You already know this won’t be a quick fix.
If you’re a machinist, fabricator, or serious DIYer, you know the urge to save that part rather than scrap it. Learning how to remove a broken carbide drill bit is tougher than backing out a snapped steel bit; I won’t pretend otherwise. It’s far from impossible, though, once you understand why carbide behaves the way it does.
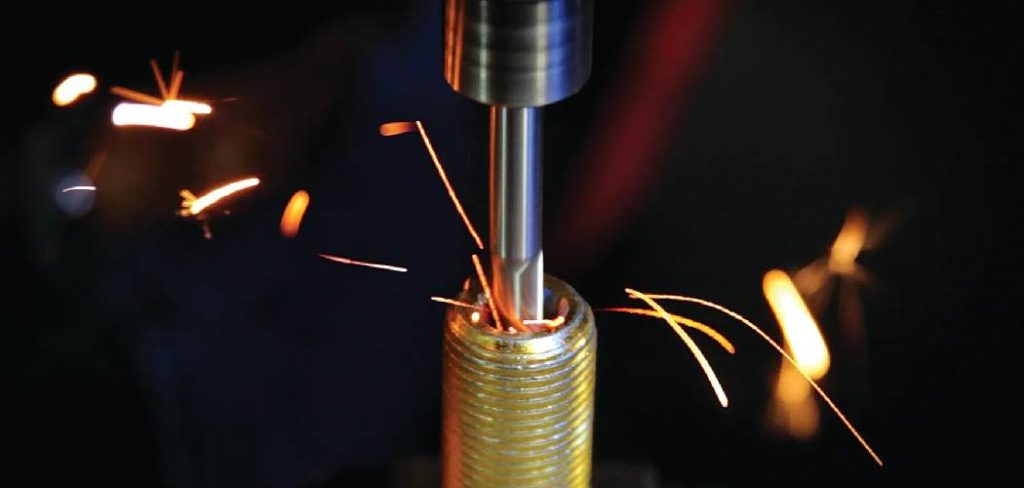
The right method matters here more than muscle. From a simple penetrant trick to spark erosion, even a stubborn shard can come free.
This guide walks through the whole job. Carbide basics, the tools, safety, the full step-by-step process, repairing the hole afterward, and the mistakes that turn one accident into a ruined workpiece.
Bring patience and the right approach, and clean removal is genuinely within reach.
Why Removing a Broken Carbide Bit Matters
Before you reach for a tool, it helps to understand why technique beats force every single time. The stakes are higher than the broken bit itself.
Protecting an Expensive Workpiece
That broken bit is rarely the costly part. The workpiece around it is.
Careful removal preserves a finished casting, a near-complete project, or a component you can’t easily replace. Rush the job, and you risk cracking the surrounding material, which turns a single mistake into a total loss.
So the gentle path isn’t timidity. It’s protecting the value you’ve already poured into the part.
Avoiding a Bigger, Costlier Repair
A clean extraction restores a usable hole, and that saves you real money. You sidestep machine shop fees, part replacement, and the gut-punch of scrapping hours of labor over one broken tip.
Think of it as damage control. The few extra minutes of care could spare you a far larger bill down the line.
Understanding Carbide vs. HSS and Why Carbide Is Harder to Extract
Knowing what makes this job uniquely tricky is what makes the methods later actually make sense. Carbide isn’t just a tougher version of a regular bit. It’s a fundamentally different beast.
How Carbide Differs From High-Speed Steel
High-speed steel has a forgiving quality. It flexes a little, and a snapped HSS bit can sometimes be drilled into or backed out with the right approach.
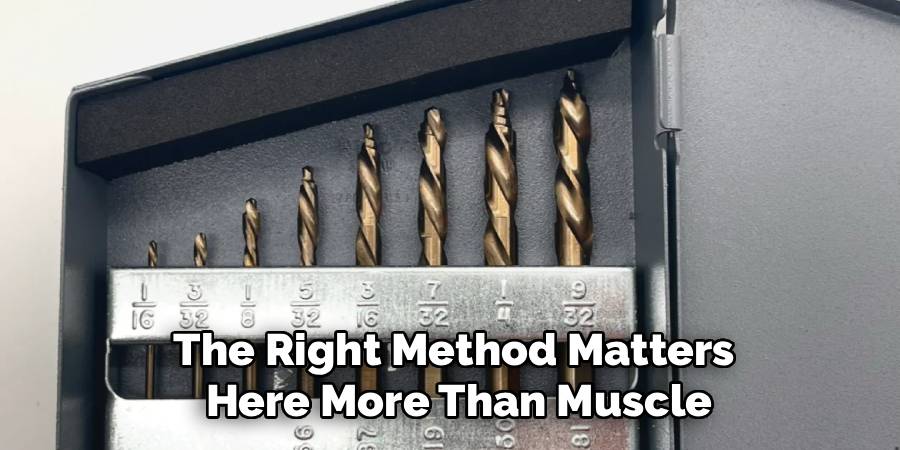
Tungsten carbide offers no such mercy. It’s far harder, far more rigid, and almost impossible to cut with an ordinary bit.
That extreme hardness is exactly what makes a broken piece so stubborn. The very property that lets carbide cut through tough material is the property fighting you now.
Why Carbide Resists Normal Removal
Here’s the real headache. Carbide shatters rather than bends, so it often snaps clean off below the surface where you can’t reach it.
Its hardness defeats standard extractors and drill bits outright. Push a normal extractor against it, and the extractor loses.
This is why the usual tricks fail you. A left-hand bit and some elbow grease, the old standby for broken fasteners, simply won’t touch carbide. You generally need diamond tooling or spark erosion instead, which appears to surprise people working on their first broken carbide.
Tools and Materials You’ll Need
Gathering everything before you start keeps the job flowing without frustrating stops. Halfway through a delicate extraction is a bad time to go hunting for cutting fluid.
Essential Removal Tools
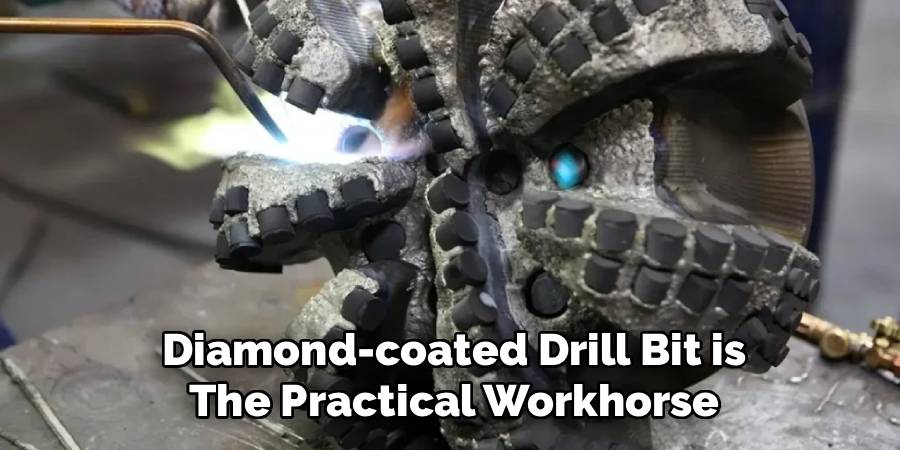
The heart of your kit depends on what’s available to you. A diamond-coated drill bit is the practical workhorse, since it’s one of the few things that genuinely cuts carbide.
A carbide-specific extractor or, better yet, a spark erosion setup gives you cleaner options if you can access one. Add sharp picks, fine punches, a center finder, and a steady drill or drill press for control.
Keep the selection tight. Quality matters far more than quantity with these tools.
Penetrants, Lubricants, and Supplies
Penetrating oil and cutting fluid round out the chemical side. The oil helps free loosely wedged shards, while the fluid keeps your diamond bit cool during the actual cutting.
You’ll also want a magnet and a shop vacuum for clearing chips, along with tweezers or fine needle-nose pliers for picking out fragments. A thread tap set comes in handy if the hole is threaded.
Don’t forget rust-resistant primer for any freshly exposed metal afterward. Bare steel doesn’t stay clean for long.
Safety Preparation Before You Begin
Broken carbide produces razor-sharp shards, and drilling hardened material throws genuinely dangerous chips. A little preparation here is not optional.
Personal Protective Gear
Start with your eyes. Safety glasses, or a full face shield, guard against fragments that can flick free without warning during picking, punching, or drilling.
Cut-resistant gloves protect your hands from those brittle, knife-sharp edges. Closed-toe shoes catch whatever drops, and carbide shards are sharp enough to do real damage on the way down.
Carbide breaks in unpredictable ways. Treat every fragment as if it’s looking for skin to find.
Securing the Workpiece and Clearing the Area
A part that shifts mid-extraction can grab a tool or snap your bit deeper. Clamp the workpiece firmly in a vise before you touch anything.
Work on a stable surface with strong lighting so you can actually see what you’re doing. Clear the clutter around you, too, so chips and shards have nowhere awkward to land while both hands stay free to control the tool.
How to Remove a Broken Carbide Drill Bit: Step-by-Step Guide
Here’s the core of the job. Each step builds on the one before, and starting gently before reaching for spark erosion or diamond drilling protects both the part and your patience.
Step 1: Assess the Break and Plan Your Approach
Look before you leap. Inspect how the bit snapped, and note whether a stub protrudes or sits flush with the surface.
Check how deep it broke as best you can. That depth, along with whether any carbide is exposed, tells you whether picking, spark erosion, or diamond drilling fits the situation best.
Decide early. A clear plan now spares you the wasted, damaging attempts that make a bad break worse.
Step 2: Apply Penetrant and Try Gentle Removal
Always start soft. Soak the broken area with penetrating oil and give it several minutes to work its way down around the shard.
Then, carefully work any exposed stub with a fine pick or tweezers. A loosely wedged piece sometimes lifts free with nothing more than this, before harsher methods ever become necessary.
It rarely works on a deep break, true. When it does, though, you’ve saved yourself a great deal of trouble.
Step 3: Use EDM or Spark Erosion if Available
This is the method to reach for if you can. Electrical discharge machining, or a portable spark erosion unit, burns carbide away with controlled sparks without ever touching it mechanically.
For a flush or deeply broken bit, nothing else is as clean or as safe. The process removes the carbide while leaving the surrounding hole untouched, which is precisely the outcome you’re after.
Not everyone has EDM on hand, of course. If you do, it’s almost always your best move here.
Step 4: Try a Carbide Extraction Tool
When some carbide protrudes, a dedicated extractor may grip it. Seat a carbide-rated extractor or fine-grabbing tool against the exposed portion.
Apply light, steady counterclockwise pressure and ease the piece out gradually. Slow is the operative word.
One warning carries real weight: never force it. Carbide snaps again rather than bending free, and a forced extraction usually leaves you with a shorter, deeper, even harder problem.
Step 5: Drill It Out With a Diamond Bit
Sometimes, picking and extraction both fail. When they do, a diamond-coated bit is the only practical way to actually cut carbide.
Drill slowly, with constant cutting fluid flowing over the work. Use light pressure, and pause often to let everything cool.
The goal is to let the diamond grind the shard down, not to power through it. Patience here protects both your expensive bit and the part beneath it, since heat is the enemy of clean results.
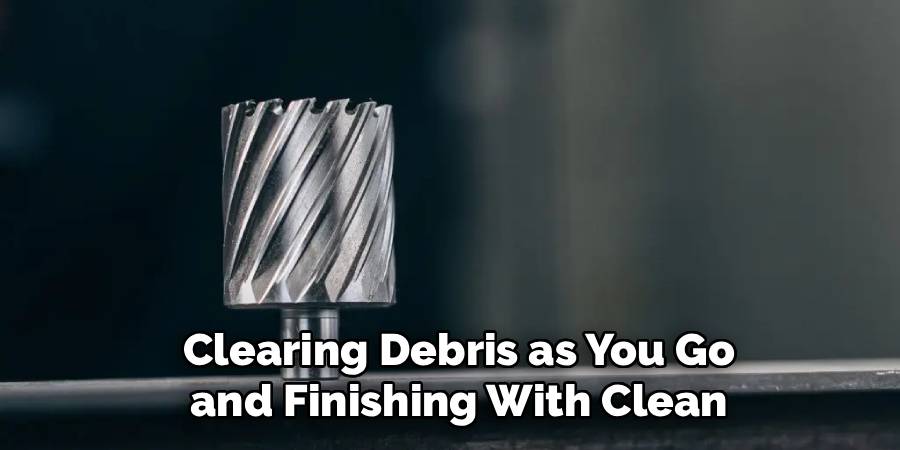
Step 6: Clear Debris and Loosened Fragments
Stop frequently to clean up. Flush out the carbide dust and fragments with cutting fluid, a magnet, and your vacuum.
Trapped grit causes three quiet problems. It dulls the diamond bit, scratches the hole, and hides whether the broken piece has finally come loose.
Clearing as you go keeps the cut clean and lets you actually see your progress.
Step 7: Inspect the Hole and Confirm Removal
Wipe the hole clean and look closely under good light. Any remaining carbide will glint back at you if you angle the light right.
Run a finger or a probe gently into the bore, feeling for snags or rough spots. Confirm the hole is clear and undamaged before you move on to any repair work.
Re-Tapping or Repairing the Hole Afterward
Getting the broken bit out is most of the battle, but the hole isn’t quite ready yet. A little finishing work brings the project full circle.
Cleaning and Chasing Damaged Threads
If the hole was threaded, extraction probably bruised a few of those threads. Run a matching tap through to clear debris and reshape them.
Use cutting fluid as you go, and back the tap out often. That backing-off habit lets carbide grit and chips clear cleanly instead of jamming the tap and creating a fresh headache.
Repairing With an Insert or Resizing
Sometimes the original threads are too far gone to save. A thread repair insert restores strong, dependable threads in a damaged hole, which is a tidy solution for a stripped or chewed-up bore.
Reaming the hole to the next usable size is another route. Done carefully, it gives you a clean, slightly larger bore that’s just as reliable as the original.
Common Mistakes to Avoid
A few predictable errors turn a tricky job into a ruined part. Knowing them ahead of time costs you nothing.
Trying to Drill Carbide With Standard Bits
This one catches people constantly. Ordinary steel, cobalt, and titanium bits simply cannot cut hardened carbide, full stop.
Try anyway, and the bit dulls instantly while heat builds fast. Worse, the friction often welds or smears metal around the break, which makes the broken piece even harder to remove than when you started.
Reach for diamond or EDM. There’s no shortcut around this physical reality.
Forcing Extraction or Skipping Cooling
Aggressive prying is the other classic blunder. Carbide is brittle, so force snaps it deeper into the hole rather than freeing it.
Skipping the cutting fluid is just as costly. Drilling dry overheats both the diamond bit and the workpiece, which can lead to cracked parts, glazed tooling, and a far more expensive setback than the broken bit ever was.
When to Call a Professional
Some breaks clearly warrant expert help, and recognizing that is smart judgment rather than giving up. Carbide snapped deep inside an expensive casting is a strong candidate.
The same goes for hardened or critical components, and for holes with tight tolerances where a slightly oversized bore won’t do. If you lack EDM access and diamond drilling simply isn’t working, that’s another honest signal to step back.
A machine shop with proper EDM equipment can erode broken carbide away cleanly, without ever touching the surrounding metal. For a valuable part, that service often costs far less than what it rescues.
Conclusion
Knowing how to remove a broken carbide drill bit turns a heart-sinking accident into a manageable, even oddly satisfying repair. It rescues valuable parts and keeps a stalled project moving again.
Look back at the path you’ve traveled. You assess the break, soak it, and try gentle picking, then reach for spark erosion or a diamond bit when the situation demands, clearing debris as you go and finishing with clean, repaired threads.
Work patiently throughout. Respect how brittle and how hard carbide truly is, and resist the temptation to force a stubborn shard that will only snap deeper for your trouble.
The right tooling and a steady, cooling-friendly approach are what separate a cracked, ruined part from a clean, usable hole. So gather the proper tools, take the gentle path first, and trust that careful work will bring that broken piece free.

About
Stuart Rich is a distinguished figure in the world of metalworking and fabrication, with a decade of expertise creating innovative and sustainable metal projects. His professional focus lies in merging traditional blacksmithing and machining with modern manufacturing techniques, fostering designs that are both practical and durable. As the author of Metalenify, Stuart Rich delves into the art and science of metallurgy and DIY metal creation, inspiring artisans, hobbyists, and industry professionals alike.
Education
RMIT University
(Melbourne, Australia)
Associate Degree in Engineering Technology (Mechanical / Manufacturing)
Focus on metallurgical properties, industry-driven projects, and practical metal craftsmanship. Gained hands-on experience with traditional machining and digital manufacturing tools, such as CAD, CNC software, and precision welding equipment.
Nottingham Trent University
(United Kingdom)
Bachelor’s in Product Design and Materials Engineering (Honors)
Specialized in product design with a heavy focus on blending creativity with metal production and fabrication techniques. Participated in real-world industry projects, collaborating with architectural and hardware manufacturing companies to optimize material efficiency.
Publications and Impact
In Metalenify, Stuart Rich shares his insights on structural metal design processes, material grades, and strategies for efficient shop production. His writing bridges the gap between raw artisan knowledge and modern industrial needs, making it a must-read for both budding DIY metalworkers and seasoned fabrication professionals.





