
Heating a piece of steel until it glows and then plunging it into oil creates a blade that is incredibly hard, but also dangerously brittle. That hardened metal can snap like glass under stress. This is where tempering steps in to save the day. Learning how to temper metal teaches you to reduce that brittleness while keeping much of the hardness you worked so hard to build. It is the finishing touch that turns a fragile piece into a tough, reliable tool you can trust.
Whether you are a hobbyist forging your first knife or a curious DIYer fixing a worn chisel, this guide breaks the process into clear, friendly steps anyone can follow. We will cover the tools you need, the temperatures that matter, and the small tricks that make a big difference. By the end, you will understand the science in plain terms and feel ready to temper your own projects with confidence and safety.
Why Tempering Metal Matters
Tempering matters because hardness alone is not enough. A freshly quenched piece of steel may resist scratches well, yet it can fracture under a single sharp impact. Tempering relieves the internal stress left behind by quenching, trading a little hardness for a huge gain in toughness. The result is a tool that holds an edge while surviving real-world use.
This balance is what separates a usable tool from a wall decoration. A properly tempered blade flexes slightly instead of shattering, and a tempered spring returns to shape instead of cracking. Beyond performance, tempering improves safety, since brittle metal can break unexpectedly and cause injury. Mastering this skill empowers you to create durable, dependable results every single time.
Step-by-Step Guide To How to Temper Metal
Step 1: Gather Your Tools And Materials
Start by collecting everything you need before any heat is involved. You will want a reliable heat source such as a kitchen oven, a torch, or a forge, plus heat-resistant gloves, safety glasses, metal tongs, and a clean cloth. A wire brush and some fine sandpaper also help you read the metal clearly later.
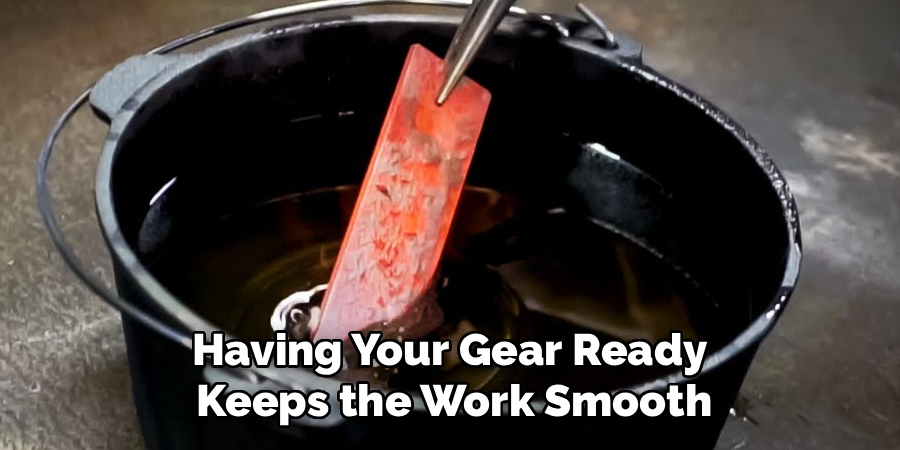
Having your gear ready keeps the work smooth and safe, since you will not be scrambling once timing becomes important. Knowing how to temper metal begins with good preparation, because the right tools directly affect both your safety and your final result. A tidy, organized workspace lets you focus fully on the metal itself.
Step 2: Harden The Metal First
Tempering only works on metal that has already been hardened, so this step comes first. Heat your steel evenly until it reaches a bright cherry-red glow, which signals it has passed its critical temperature. A magnet helps here, because the steel stops attracting a magnet once it is ready to quench.
Quickly submerge the hot metal into oil or water, depending on your steel type, moving it gently to cool it fast. This rapid cooling locks the steel into a very hard but brittle state. Do not skip or rush this stage, since proper hardening sets the foundation for everything that follows in the process.
Step 3: Clean The Surface Thoroughly
Before applying tempering heat, take a moment to clean the metal. After quenching, the surface is usually covered in dark scale, oil residue, and grime that hide the color changes you need to watch. Use a wire brush first to knock off the loose scale, then polish lightly with fine sandpaper.
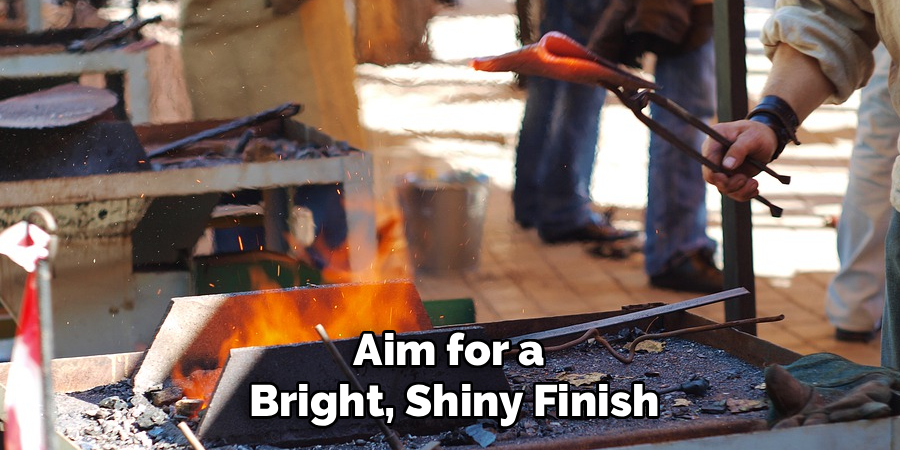
Aim for a bright, shiny finish on at least part of the piece. This polished surface acts like a window, letting you see the tempering colors as they appear during heating. A clean surface makes the difference between guessing and knowing exactly what stage your metal has reached.
Step 4: Choose Your Tempering Temperature
Now decide how tough or hard you want the finished piece, since temperature controls that balance. Lower temperatures around 350°F keep more hardness and suit cutting tools, while higher temperatures near 600°F create greater toughness for springs and impact tools. The metal itself reveals these stages through changing surface colors.
A light straw yellow appears at lower heat, shifting to bronze, purple, and finally blue as the temperature climbs. When practicing how to temper metal, matching the color to your intended use is the heart of the whole craft. Pick your target color now so you know exactly when to stop heating later.
Step 5: Apply Controlled Heat
With your target chosen, gently and evenly heat the metal. A kitchen oven offers excellent control for small pieces, holding a steady temperature for an hour or more. For a torch or forge, move the flame slowly and keep it moving so no single spot overheats while the rest stays cool.
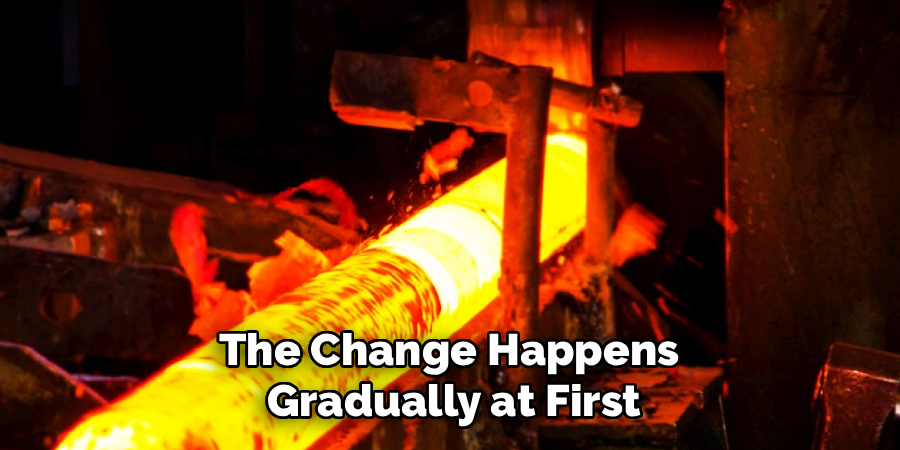
Watch your polished surface closely as the colors begin to creep across it. , then speeds up, so stay attentive. Even, patient heating gives you a consistent result throughout the piece, while rushing creates soft and hard spots that weaken the tool and undo your careful work.
Step 6: Monitor The Color Closely
This stage rewards patience and a sharp eye. As the metal warms, watch the tempering colors travel across your polished surface in a predictable order. The moment your chosen shade reaches the working area, you are at the correct hardness for that purpose. Timing here truly defines the final character of your tool.
Keep good lighting nearby, because these colors can be subtle and easy to misjudge in shadow. If the color passes your target, the metal has grown softer than you wanted, and you may need to harden and start over. Catching the right shade at the right moment is the skill that improves with practice.
Step 7: Cool And Inspect The Result
Once the metal reaches your desired color, stop the heat right away to lock in that state. Quench it again in water or simply let it air cool, depending on your steel and goal. Cooling promptly prevents the color from advancing further and over-softening your carefully tempered piece.
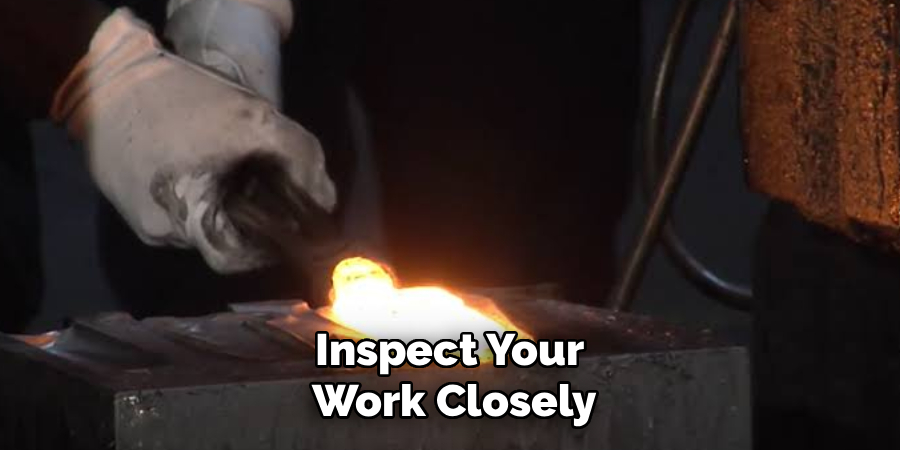
After it cools completely, inspect your work closely. Check for an even color across the working area and feel for any rough or uneven spots. Test the toughness gently before trusting it with heavy use. A clean inspection now gives you confidence that your finished piece is both hard enough and tough enough to perform.
Frequently Asked Questions
What Is The Difference Between Hardening And Tempering?
Hardening and tempering are two separate stages that work together. Hardening heats the steel and quenches it quickly, making it very hard but brittle. Tempering then reheats that hardened metal to a lower temperature, relieving stress and adding toughness. You always harden first, then temper, because tempering on its own has no hardened structure to soften and balance.
Can I Temper Metal In A Kitchen Oven?
Yes, a kitchen oven works wonderfully for small pieces like knife blades and tools. Ovens hold a steady, controllable temperature, which makes them ideal for beginners learning the craft. Simply set your target temperature, place the hardened piece inside, and hold it there for about an hour. Just be aware that oven fumes from any oil residue mean you should ventilate the room well.
How Do I Know Which Temperature To Use?
The right temperature depends on what the tool will do. Cutting tools that need to stay sharp prefer lower heat around 350°F to 400°F, keeping more hardness. Tools facing heavy impact, like chisels and springs, benefit from higher heat near 500°F to 600°F for greater toughness. Watching the surface colors gives you a reliable visual guide to hitting your target.
What Happens If I Overheat The Metal?
Overheating during tempering makes the metal softer than intended, which means it may bend, lose its edge, or wear out fast. If you pass your target color, the hardness you gained from quenching slips away. The good news is that this stage is recoverable, since you can simply harden the piece again and repeat the tempering process more carefully.
Do All Metals Need To Be Tempered?
Not every metal needs tempering, since the process mainly benefits hardenable steels with enough carbon content. High-carbon and tool steels respond beautifully, while low-carbon mild steel will not harden or temper in the same way. Aluminum, brass, and copper follow entirely different treatment methods. Always confirm your material type first so you choose the correct approach for reliable results.
Conclusion
Tempering is the quiet hero of metalwork, transforming brittle, hardened steel into tough, dependable tools that stand up to real use. By gathering your tools, hardening the metal, cleaning the surface, choosing your temperature, and watching the colors carefully, you gain full control over the final balance of hardness and toughness. Each step builds on the last, so patience and attention pay off in stronger, safer results.
Now that you understand how to temper metal, you have the knowledge to take on everything from kitchen-oven knife projects to forge-based tool repairs with confidence. Start small, practice reading the colors, and trust that your skill will sharpen with every attempt. So gather your gear, fire up your heat source, and give your next project the durable, professional finish it deserves.

About
Stuart Rich is a distinguished figure in the world of metalworking and fabrication, with a decade of expertise creating innovative and sustainable metal projects. His professional focus lies in merging traditional blacksmithing and machining with modern manufacturing techniques, fostering designs that are both practical and durable. As the author of Metalenify, Stuart Rich delves into the art and science of metallurgy and DIY metal creation, inspiring artisans, hobbyists, and industry professionals alike.
Education
RMIT University
(Melbourne, Australia)
Associate Degree in Engineering Technology (Mechanical / Manufacturing)
Focus on metallurgical properties, industry-driven projects, and practical metal craftsmanship. Gained hands-on experience with traditional machining and digital manufacturing tools, such as CAD, CNC software, and precision welding equipment.
Nottingham Trent University
(United Kingdom)
Bachelor’s in Product Design and Materials Engineering (Honors)
Specialized in product design with a heavy focus on blending creativity with metal production and fabrication techniques. Participated in real-world industry projects, collaborating with architectural and hardware manufacturing companies to optimize material efficiency.
Publications and Impact
In Metalenify, Stuart Rich shares his insights on structural metal design processes, material grades, and strategies for efficient shop production. His writing bridges the gap between raw artisan knowledge and modern industrial needs, making it a must-read for both budding DIY metalworkers and seasoned fabrication professionals.





